Are you tired of struggling with rough, uneven cuts when working on your electrical projects? Using a conduit cutter can make a huge difference in how clean and precise your cuts turn out.
Imagine finishing your job faster, with less frustration, and a professional-looking result every time. You’ll discover simple tips to use a conduit cutter effectively, helping you get perfect cuts that save you time and effort. Keep reading to learn how to take your work to the next level with just the right tool and technique.
Credit: www.amazon.in
Choosing The Right Conduit Cutter
Using a conduit cutter helps you make clean cuts on pipes. Picking the right cutter is key for safety and accuracy. This guide explains what to look for in a conduit cutter.
Different cutters fit different needs. Learn about types, materials, and blade care to get the best results.
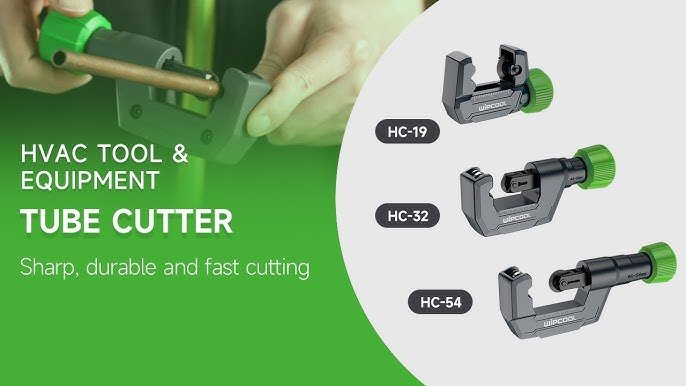
Types Of Conduit Cutters
There are three main types of conduit cutters. Each type works best for certain jobs and materials.
- Rotary Cutters:These have a round blade that spins around the pipe. They give smooth cuts on metal and plastic.
- Ratchet Cutters:These use a ratchet system for more force. Good for thick or hard conduits.
- Hacksaw:A manual saw used for cutting various conduits but may leave rough edges.
Material Compatibility
| Conduit Material | Recommended Cutter Type |
| PVC | Rotary Cutter or Hacksaw |
| EMT (Metal) | Rotary Cutter or Ratchet Cutter |
| Rigid Metal | Ratchet Cutter or Hacksaw |
| Flexible Metal | Rotary Cutter |
Check the cutter’s label for material use. Using the wrong cutter can damage the pipe or the tool.
Blade Quality And Maintenance
Sharp blades cut cleanly and safely. Look for high-quality steel blades with corrosion resistance.
- Clean blades after use to remove debris.
- Sharpen blades regularly or replace when dull.
- Store cutters in dry places to avoid rust.
Preparing For The Cut
Using a conduit cutter helps make clean and precise cuts on conduit pipes. Proper preparation is important to get the best results. This guide covers key steps to prepare for the cut.
Take time to measure, secure, and follow safety rules. These steps will keep your work safe and accurate.
Measuring And Marking
Measure the conduit length carefully before cutting. Use a tape measure to get exact lengths needed for your project.
- Mark the cut line clearly with a pencil or marker.
- Double-check measurements to avoid mistakes.
- Mark all sides of the conduit for better visibility.
Securing The Conduit
Hold the conduit firmly to prevent movement during the cut. Use a clamp or vise to keep it steady.
| Tool | Purpose | Tip |
|---|---|---|
| Clamp | Hold conduit tight | Place near the cut mark |
| Vise | Secure conduit firmly | Protect conduit with soft jaws |
| Work Surface | Stable base | Use a flat, strong table |
Safety Precautions
Wear protective gear before cutting the conduit. Safety keeps you safe from sharp edges and debris.
- Use safety glasses to protect your eyes.
- Wear gloves to avoid cuts on your hands.
- Ensure the workspace is clean and well-lit.
- Keep fingers clear of the cutting path.
Cutting Techniques
Using a conduit cutter helps you make clean and straight cuts on metal pipes. Good cutting techniques improve safety and accuracy.
Follow simple steps to use the cutter correctly. This will help prevent damage to the conduit and your tools.
Proper Hand Placement
Hold the conduit cutter firmly with both hands. Place one hand on the handle and the other near the cutting blade.
This grip gives you control and helps keep the cutter steady. Avoid holding the cutter too close to the blade.
Applying Consistent Pressure
Apply steady pressure as you rotate the cutter around the conduit. Do not press too hard or too softly.
Consistent pressure helps the blade cut smoothly through the metal. Stop and tighten the cutter a little after each turn.
- Start with light pressure to score the conduit
- Increase pressure gradually with each rotation
- Keep the cutter aligned straight on the conduit
Avoiding Common Mistakes
Do not rush the cutting process. Cutting too fast can cause uneven edges or damage the blade.
Make sure the cutter is sharp and clean before use. Dull blades make rough cuts and need more force.
- Do not twist the cutter unevenly
- Avoid cutting on uneven surfaces
- Check that the conduit is secured before cutting

Credit: www.mutttools.com
Post-cut Finishing
Using a conduit cutter leaves a clean cut on metal pipes. After cutting, some finishing is needed. This helps prepare the conduit for use and ensures safety.
Finishing steps include removing burrs, checking the cut quality, and keeping the cutter in good condition. These steps improve your work and tool life.
Removing Burrs
Burrs are small, rough edges left after cutting metal. They can cause injury or stop pipes from fitting properly. Removing burrs is important for safety and accuracy.
Use a deburring tool or sandpaper to smooth the edges. Run the tool gently around the cut edge until it feels smooth to touch. Check all sides carefully.
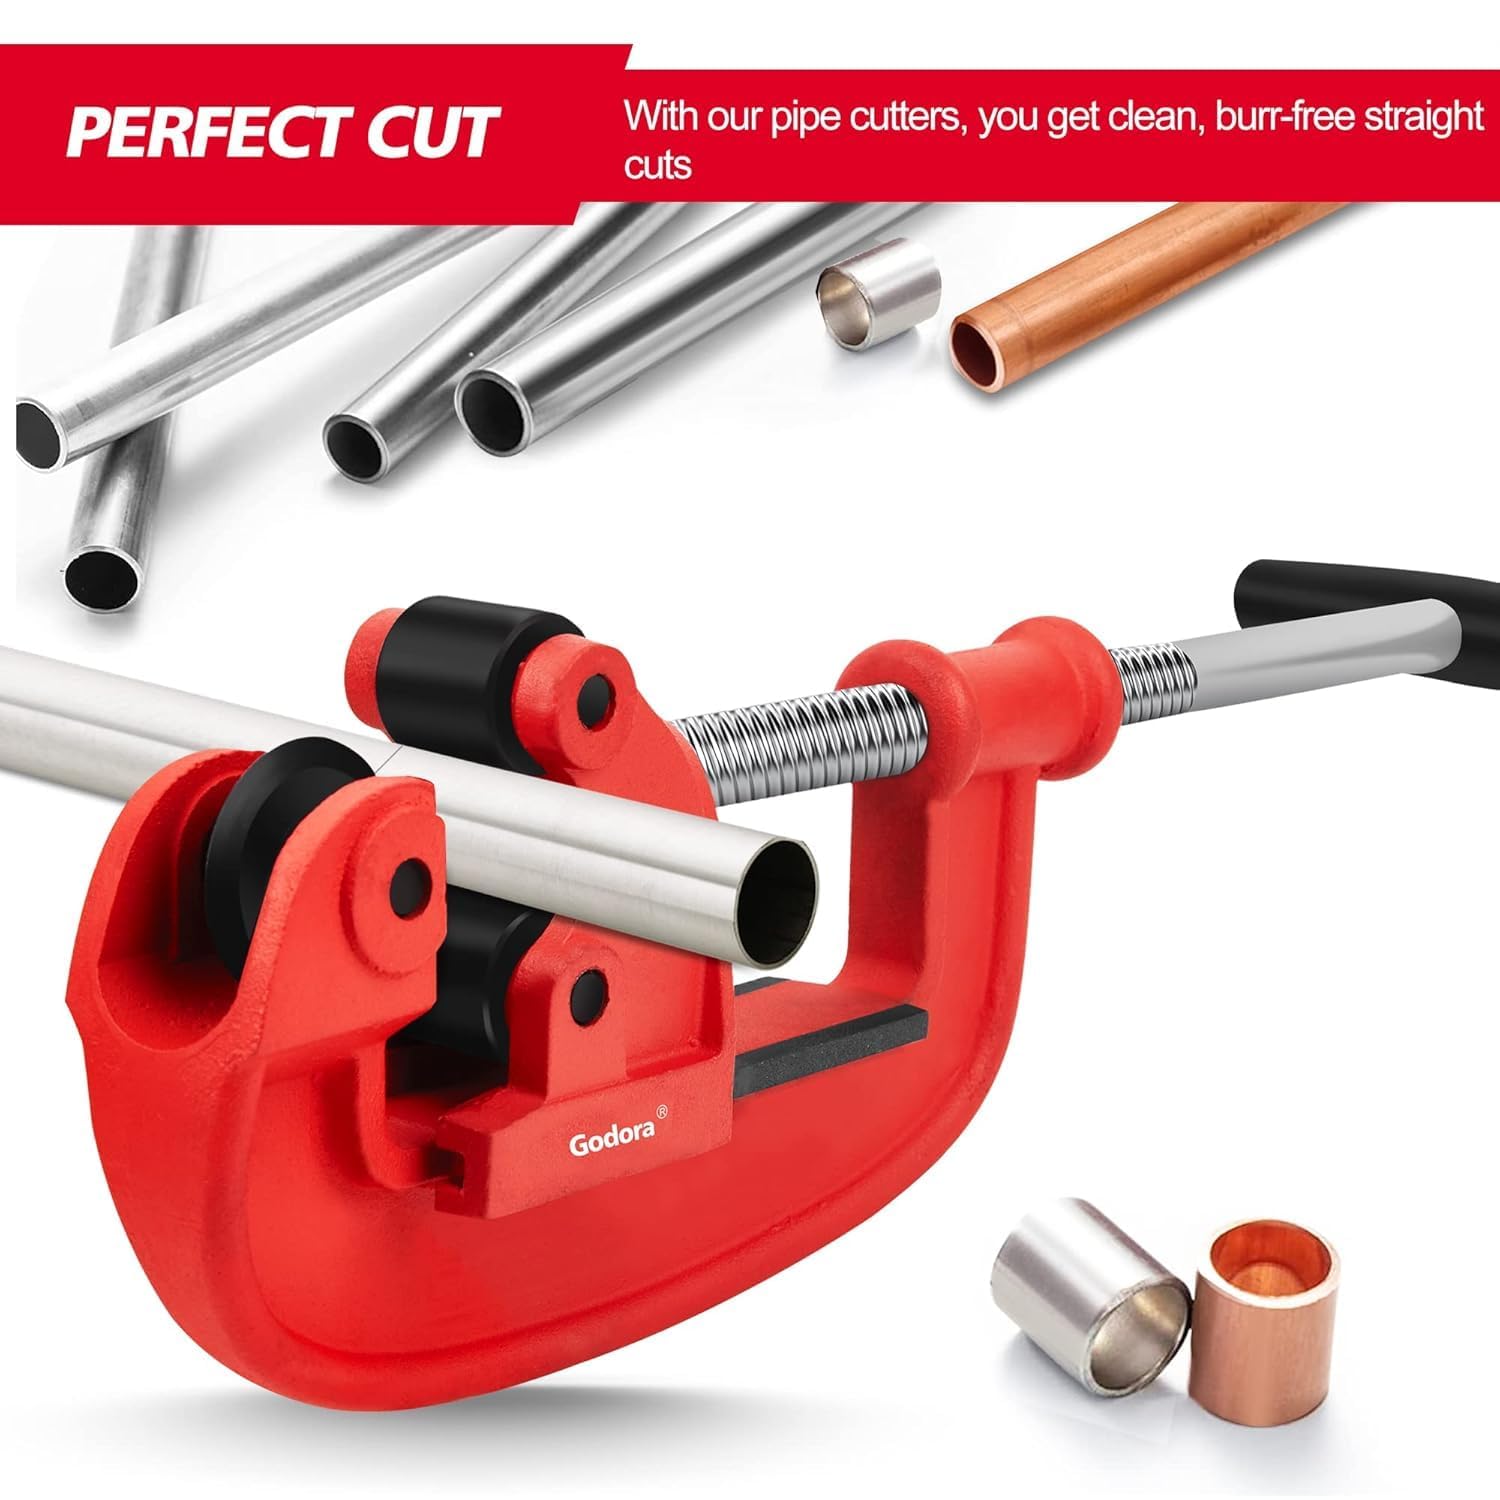
Inspecting Cut Quality
Look closely at the cut edge to check its quality. The cut should be straight and even without cracks or dents. A poor cut can cause leaks or fitting problems.
If the cut is uneven, recut or use a file to make it smooth. Make sure the pipe end is round and fits well with connectors or other pipes.
Maintaining The Cutter
Keep your conduit cutter clean and sharp. Clean the cutter after each use to remove metal shavings and dirt. This helps the tool last longer and work better.
Sharpen or replace the cutter blade if it becomes dull. Store the cutter in a dry place to prevent rust. Check for loose parts and tighten them regularly.
Troubleshooting Common Issues
Using a conduit cutter can make cutting pipes easier. Sometimes problems happen that affect the cut quality. Knowing how to fix these issues saves time and effort.
This guide covers common problems like rough cuts, dull blades, and stuck cutters. Follow these tips to keep your cuts clean and smooth.
Dealing With Rough Cuts
Rough cuts happen when the cutter does not rotate evenly or the blade slips. This can cause jagged edges on the conduit.
To fix rough cuts, check that the cutter is tight around the pipe. Turn the cutter smoothly and evenly. Avoid rushing the cut.
- Make sure the cutter fits the pipe size
- Apply steady pressure while rotating
- Keep the pipe stable during cutting
- Remove burrs after cutting with a deburring tool
Blade Dullness Signs
A dull blade makes cuts harder and less clean. You may notice the cutter needs more force or the cut looks rough.
Look for these signs to know if the blade is dull:
- Increased effort to rotate the cutter
- Uneven or jagged edges on the cut pipe
- Visible nicks or damage on the blade edge
- Slow cutting progress despite normal effort
Replace the blade or sharpen it to restore clean cuts.
Handling Stuck Cutters
A cutter can get stuck if it is too tight or debris blocks the blade. This stops the cutter from turning smoothly.
Try these steps to free a stuck cutter:
- Loosen the cutter slightly to reduce pressure
- Clean the blade and pipe surface from dirt or metal shavings
- Apply light oil to the cutter’s moving parts
- Gently rock the cutter back and forth to release it
Never force the cutter hard as this can damage the tool or pipe.

Credit: www.vevor.ca
Frequently Asked Questions
What Is A Conduit Cutter Used For?
A conduit cutter is designed to make clean, precise cuts on electrical conduit pipes. It prevents crushing and deformation, ensuring proper fitting and connection. It’s ideal for metal and plastic conduits, providing a smooth edge for safe wiring installations.
How Do You Use A Conduit Cutter Safely?
To use a conduit cutter safely, secure the conduit firmly. Rotate the cutter around the pipe evenly while tightening gradually. Wear protective gloves and eye protection. Avoid rushing to prevent jagged edges or injury. Proper technique ensures clean cuts and safe handling.
Can Conduit Cutters Cut All Types Of Conduit?
Most conduit cutters can cut metal and plastic conduits like EMT, PVC, and flexible types. However, some cutters are specialized, so check the tool’s specifications before use. Using the right cutter ensures clean cuts and protects the conduit’s integrity.
Why Choose A Conduit Cutter Over A Hacksaw?
A conduit cutter provides cleaner, more precise cuts than a hacksaw. It reduces burrs and rough edges, saving time on sanding or filing. It also prevents deformation of thin-walled conduits, ensuring better fitting and safer electrical connections.
Conclusion
Using a conduit cutter makes tasks more efficient. Clean cuts save time and effort. Proper use ensures safety during cutting. Always measure and mark accurately. This prevents mistakes and wastage. Regular maintenance of tools is key. Keeps blades sharp and ready.
Practice leads to better skill and confidence. Remember to choose the right cutter. Fit the job’s requirements perfectly. With this knowledge, cutting conduits becomes easier and faster. Perfect for anyone needing precise cuts. Achieve professional results every time. Enjoy the satisfaction of a job well done.