Are you ready to transform your furniture into stunning pieces that truly stand out? Wood finishing techniques can make all the difference in bringing out the natural beauty of your wood and protecting it for years to come.
Whether you’re a beginner or looking to sharpen your skills, understanding the right methods will help you achieve a smooth, durable, and eye-catching finish. Keep reading to discover simple yet powerful tips that will take your woodworking projects to the next level—and make your furniture the envy of everyone who sees it.
Credit: www.familyhandyman.com
Choosing The Right Wood Finish
Wood finishing protects furniture and enhances its beauty. Choosing the right finish depends on the wood type and furniture use.
Some finishes give a natural look. Others add shine or extra protection. Knowing each option helps you pick the best one.
Oil-based Finishes
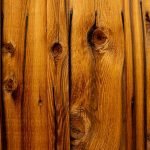
Oil-based finishes soak into the wood to bring out its natural grain. They give a warm, rich color and a smooth feel.
These finishes dry slowly but last a long time. They are good for hardwood furniture that gets regular use.
Lacquer And Shellac
Lacquer dries fast and creates a hard, shiny surface. It is often used on fine furniture and musical instruments.
Shellac comes from natural resin and gives a warm amber tone. It is easy to apply but not very water-resistant.
Polyurethane Options
Polyurethane forms a tough, protective layer on wood. It works well on floors and tables that face heavy wear.
| Type | Finish Look | Durability | Drying Time |
| Oil-Based | Glossy or Satin | Very High | Long |
| Water-Based | Clear, Less Yellow | High | Short |
Wax Finishes
Wax finishes add a soft shine and smooth texture to wood. They are easy to apply and repair but offer little protection.
- Best for furniture with little wear
- Needs reapplication over time
- Can be used over other finishes
Credit: www.popularwoodworking.com
Preparing Furniture For Finishing
Preparing furniture before finishing is important. It helps the finish stick well and look smooth.
Good preparation makes furniture last longer and look nicer. It involves sanding, cleaning, and fixing any damage.
Sanding Techniques
Sanding smooths the wood surface and removes old finishes. Use sandpaper with the right grit for best results.
Start with coarse grit to remove rough spots. Then use finer grit to make the wood smooth and ready for finishing.
- Use 80-120 grit to remove old finish and rough areas
- Use 150-220 grit to smooth the surface
- Sand along the wood grain to avoid scratches
Cleaning And Dust Removal
Cleaning the furniture removes dust and dirt from sanding. Dust can ruin the finish and cause bumps.
Use a vacuum or brush to clear dust. Then wipe the surface with a damp cloth or tack cloth for best results.
- Vacuum or brush dust off thoroughly
- Wipe with a damp cloth to remove fine dust
- Use a tack cloth to pick up remaining particles
Repairing Imperfections
Fix dents, cracks, and holes before finishing. This makes the surface even and ready for paint or stain.
Use wood filler or putty for small holes. Sand the area smooth after it dries to blend with the wood.
- Apply wood filler to dents and holes
- Let the filler dry completely
- Sand the repaired spots smooth
- Check for any remaining imperfections
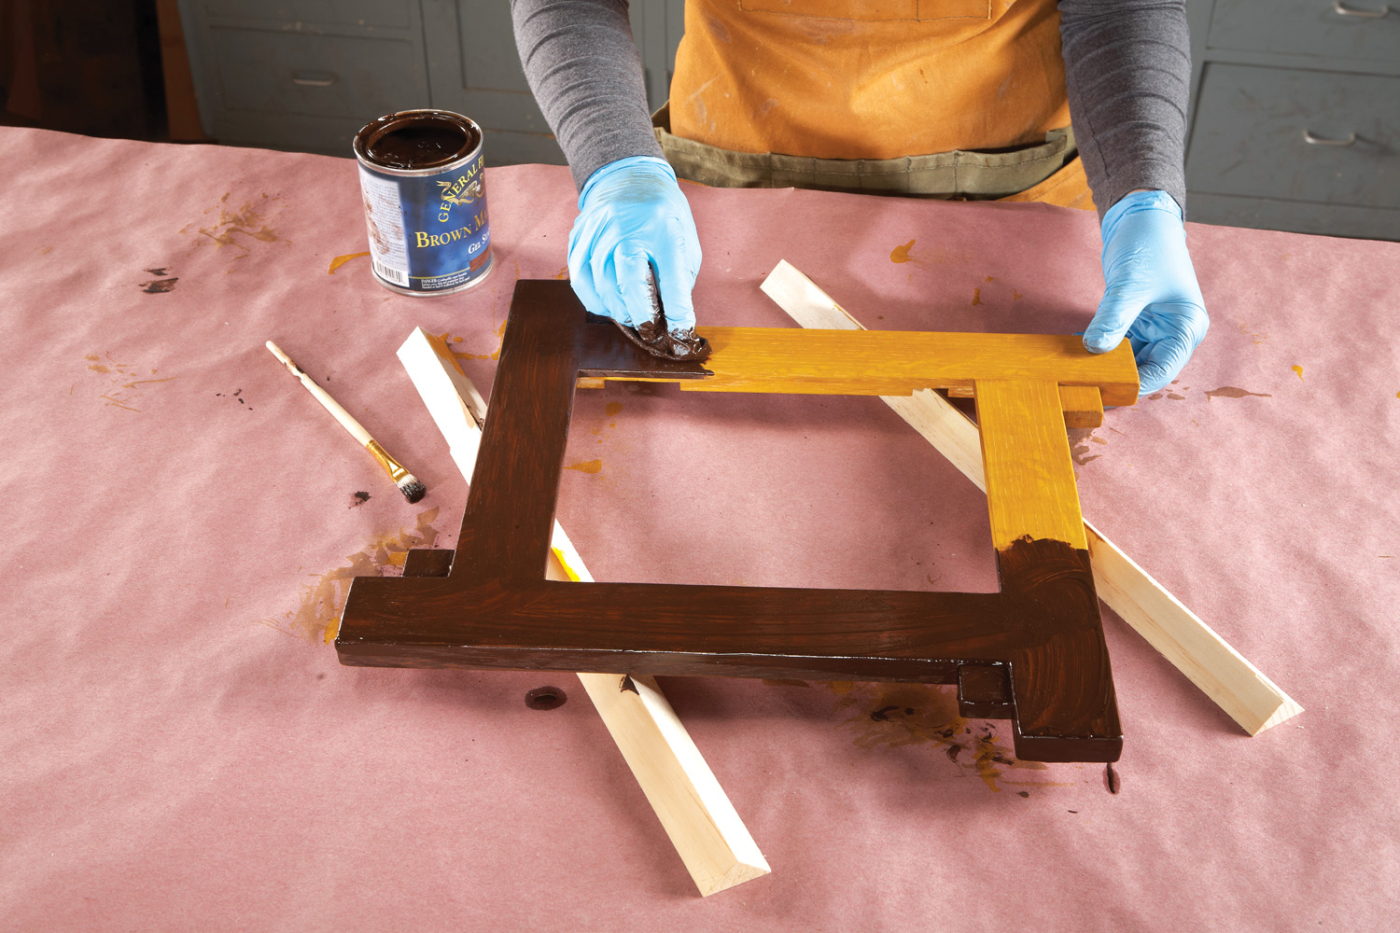
Applying Wood Stains
Wood stains bring out the beauty of furniture by adding color and depth. They soak into the wood and highlight its natural features.
Knowing how to apply stains correctly helps you get a smooth, even finish. This guide covers stain types, grain enhancement, and color consistency.
Types Of Wood Stains
There are several wood stain types. Each one works differently and suits certain projects better. Here are the most common types:
- Oil-based stains:Penetrate deeply and dry slowly. They enhance wood grain and last long.
- Water-based stains:Dry quickly and have low odor. They clean up easily with water.
- Gel stains:Thick and easy to control. Good for vertical surfaces and uneven woods.
- Lacquer stains:Fast drying and offer a smooth finish. Often used in commercial work.
Enhancing Grain Patterns
Stains can make wood grain stand out or blend in softly. You can use techniques to highlight grain patterns:
- Apply stain with a cloth to follow the grain direction.
- Use a pre-stain conditioner to reduce blotches on soft woods.
- Wipe off extra stain quickly to avoid dark spots.
- Try layering light and dark stains for contrast.
Achieving Even Color
Getting a consistent color means preparing the wood and applying stain carefully. This table shows steps to keep color even:
| Step | Action | Tip |
|---|---|---|
| 1 | Sand the surface | Use fine grit for smoothness |
| 2 | Remove dust | Wipe with a damp cloth |
| 3 | Apply pre-stain conditioner | Helps prevent blotchy stains |
| 4 | Apply stain evenly | Use brush or cloth with steady strokes |
| 5 | Wipe excess stain | Do this before stain dries |
| 6 | Let stain dry fully | Follow manufacturer’s drying time |

Credit: www.youtube.com
Sealing And Protecting Wood
Sealing wood helps stop damage from water, dirt, and wear. It keeps furniture looking new for longer.
Protecting wood also makes cleaning easier and prevents stains. Using the right methods is key to good results.
Choosing Sealers
Pick a sealer based on the wood type and where the furniture will be used. Some sealers add shine, others keep a natural look.
- Polyurethane works well for strong protection indoors.
- Shellac dries fast and gives a warm tone.
- Lacquer is smooth and good for detailed furniture.
- Tung oil soaks in and keeps the wood natural.
- Water-based sealers dry quickly and have low odor.
Layering For Durability
Applying many thin layers is better than one thick coat. Each layer adds strength and hides flaws.
| Layer Number | Effect |
| First | Seals pores and grips wood |
| Second | Adds smoothness and depth |
| Third | Increases protection and shine |
| Additional | Improves durability and finish |
Maintaining Finished Surfaces
Keep wood looking good by cleaning and repairing small damage fast. Avoid harsh chemicals that harm the finish.
- Dust furniture often with a soft cloth.
- Use mild soap and water for cleaning.
- Apply furniture wax every few months.
- Fix scratches by lightly sanding and resealing.
- Protect surfaces from heat and moisture.
Advanced Finishing Techniques
Advanced finishing techniques add beauty and character to furniture. They help protect wood and bring out its natural charm.
These techniques require skill and patience. They include special effects that go beyond basic sanding and staining.
Distressing And Antiquing
Distressing makes new furniture look old and worn. It adds scratches, dents, and marks to show age.
Antiquing uses paint or glaze to create an aged look. It highlights details and adds depth to the surface.
- Use tools like chains, hammers, or sandpaper for distressing
- Apply dark glaze to crevices for an antique effect
- Seal the finish with wax or clear coat
Layered Finishes And Glazing
Layered finishes use several coats of paint or stain. Each layer changes the color and texture slightly.
Glazing adds a thin, tinted coat over the base finish. It softens colors and creates a smooth look.
- Start with a base coat of paint or stain
- Apply glaze with a brush or cloth while wet
- Wipe off excess glaze to control the effect
- Repeat layers for richer color depth
Using Buffing And Polishing
Buffing smooths the finish by removing tiny bumps and dust particles. It makes the surface shine.
Polishing adds a final glossy or satin look. It protects the wood and improves its appearance.
- Use fine steel wool or a soft cloth for buffing
- Apply polish in small amounts and rub gently
- Repeat polishing for a deeper shine
- Keep tools clean to avoid scratches
Common Mistakes To Avoid
Wood finishing makes furniture look beautiful and last longer. Many people make simple mistakes that hurt the final result.
Knowing these mistakes helps you get a smooth and strong finish on your wood pieces.
Overapplication Of Finish
Putting too much finish on wood can cause problems. Thick layers may dry unevenly or stay sticky for a long time.
It can also hide the wood grain and cause bubbles or cracks in the finish.
- Apply thin, even coats for best results
- Use a good brush or cloth to spread finish smoothly
- Let each layer dry before adding another
- Sand lightly between coats to remove bumps
Ignoring Drying Times
Each finish needs time to dry fully. Skipping or rushing this step can ruin the surface.
Wet or soft finishes get damaged easily and may not protect the wood well.
- Check the label for recommended drying times
- Wait longer in humid or cold weather
- Do not touch or use the furniture too soon
- Patience ensures a strong, smooth finish
Poor Surface Preparation
Good surface prep is key to a nice finish. Dust, dirt, or old finish can cause rough or uneven results.
Skipping sanding or cleaning can make the finish peel or chip over time.
- Sand the wood smoothly before finishing
- Remove all dust with a tack cloth or brush
- Clean the surface from oils or dirt
- Fix cracks or holes before applying finish
Tools And Materials Essentials
Wood finishing improves furniture looks and protects it. Using the right tools and materials helps get smooth results.
This guide covers key tools and materials you need for wood finishing.
Brushes And Applicators
Brushes help spread stain, varnish, or paint evenly on wood surfaces. Choose the right brush for your finish type.
Foam applicators and cloths are good for wiping stains or applying oil finishes smoothly.
- Natural bristle brushes work well with oil-based finishes
- Synthetic brushes suit water-based finishes
- Foam brushes reduce streaks on smooth surfaces
- Lint-free cloths help apply and wipe stains evenly
Safety Gear
Safety gear protects your skin, eyes, and lungs from harmful chemicals in finishes. Always wear proper equipment.
Good ventilation is important. Use fans or open windows to avoid breathing fumes.
- Gloves protect skin from stains and solvents
- Safety goggles keep chemicals out of your eyes
- Respirator masks filter out harmful vapors
- Wear old clothes to avoid stains
Cleaning Supplies
Cleaning supplies remove dust, dirt, and old finishes before starting your work. Clean surfaces improve finish quality.
Use the right cleaners for your tools to keep them in good shape and ready for next time.
- Sandpaper smooths rough wood and removes old finish
- Tack cloths pick up fine dust after sanding
- Mineral spirits clean brushes used with oil finishes
- Soap and water clean brushes used with water finishes
- Lint-free cloths for wiping surfaces clean
Frequently Asked Questions
What Are The Most Common Wood Finishing Techniques?
Common wood finishing techniques include staining, varnishing, oiling, waxing, and painting. Each method enhances wood’s beauty and durability. Choose based on desired appearance and protection level. Proper surface preparation ensures the best finish results.
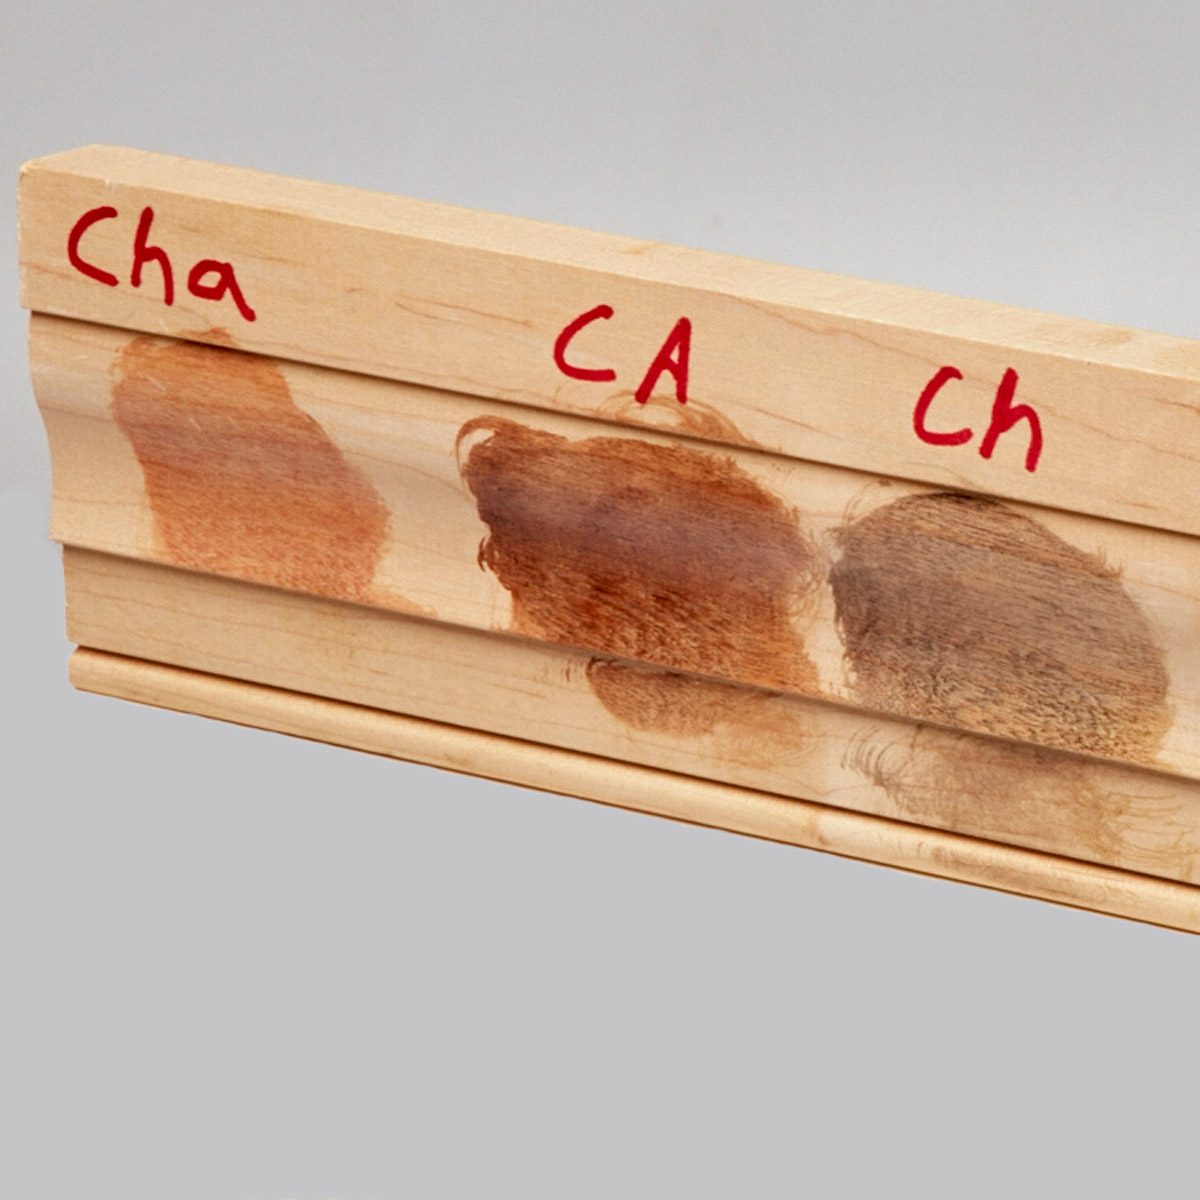
How Do I Choose The Right Finish For Furniture?
Select a finish based on wood type, usage, and desired look. For durability, use varnish or polyurethane. For natural appearance, choose oil or wax. Test finishes on a wood scrap before applying to furniture.
Can I Refinish Old Wooden Furniture Myself?
Yes, you can refinish old furniture with proper tools and patience. Sand the surface to remove old finish. Apply the new finish evenly, following product instructions. Refinishing restores beauty and extends furniture life.
How Long Does Wood Finishing Take To Dry?
Drying time varies by finish type and environmental conditions. Oil finishes may take 24-48 hours. Varnishes and polyurethanes typically dry within 6-8 hours. Always allow full curing before heavy use for best durability.
Conclusion
Exploring wood finishing techniques enhances your furniture’s beauty and durability. Each method offers unique results. Consider your furniture type and desired finish. Experiment with stains and varnishes for best effects. Always prepare your wood surface well. Sanding is key for a smooth finish.
Test finishes on small areas first. This avoids unwanted surprises. Patience and practice improve results over time. Protect your work by using sealants. Keep your furniture in top condition. Enjoy the satisfaction of a job well done. Your efforts will shine through in every piece.