You’ve worked hard to create something beautiful from wood, but the finishing touches can make all the difference. If you want your project to look professional and last longer, knowing the right wood finishing tips is key.
Don’t worry if you’re new to this—this guide is made just for you. By the end, you’ll feel confident to bring out the natural beauty of your wood and protect it from damage. Ready to transform your work with simple, effective techniques?
Let’s dive in!
Choosing The Right Wood
Choosing the right wood is important for a good finish. Some woods work better for beginners.
Different woods have different looks and textures. This affects how the finish will appear.
Hardwood Vs Softwood
Hardwoods come from trees like oak and maple. They are strong and dense.
Softwoods come from pine and cedar trees. They are lighter and easier to work with.
- Hardwoods last longer and resist dents
- Softwoods are easier to cut and sand
- Hardwoods have tight grain patterns
- Softwoods have wider grain and knots
Grain Patterns And Texture
Grain patterns show the wood’s natural lines and shapes. They affect the wood’s look.
Smooth textures are easier to finish. Rough textures may need extra sanding.
- Tight grain means a smooth finish
- Open grain shows more texture and pores
- Wood with knots adds character but needs care
- Look for wood with consistent color and pattern
Essential Tools And Materials
Wood finishing is important to protect and beautify your wood projects. Using the right tools and materials helps you get smooth and lasting results.
This guide covers the main tools and products beginners need to finish wood properly. Start with good supplies to make your work easier.
Sanding Supplies
Sanding smooths the wood surface before applying any finish. It removes rough spots and old finishes for a clean start.
Common sanding supplies include sandpaper, sanding blocks, and power sanders. Choose the right grit for each step.
- Coarse grit (60-80) for rough shaping
- Medium grit (100-150) for smoothing
- Fine grit (220-320) for final sanding
- Sanding block to hold sandpaper evenly
- Orbital sander for larger surfaces
Brushes And Applicators
Brushes and applicators spread the finish evenly on wood. Using the right type helps avoid streaks and bubbles.
Natural bristle brushes work well with oil-based finishes. Synthetic brushes suit water-based finishes better.
- Flat brushes for smooth, large surfaces
- Foam brushes for thin, even coats
- Lint-free cloths for wiping or rubbing finishes
- Spray applicators for quick and smooth coverage
Finishing Products
Finishing products protect wood and enhance its look. Choose the product that fits your project style and wood type.
Common finishes include varnish, stain, oil, and wax. Each gives different color, shine, and protection levels.
- Varnish adds a hard, clear coat
- Stain changes wood color without hiding grain
- Oil penetrates wood for a natural look
- Wax gives soft shine and smooth feel
Preparing The Wood Surface
Preparing wood before finishing is very important. It helps the finish stick well and look nice. Clean and smooth surfaces give the best results.
This guide covers two main steps. First, cleaning and sanding the wood. Then, removing any imperfections you find.
Cleaning And Sanding
Start by cleaning the wood surface. Remove dust, dirt, and oils. Use a soft cloth and mild soap if needed. Let the wood dry fully before sanding.
- Use a vacuum or brush to remove loose dirt
- Wipe with a damp cloth and mild soap
- Dry the wood completely
- Sand with medium grit sandpaper (120-150 grit)
- Finish sanding with fine grit sandpaper (220 grit)
- Remove dust with a tack cloth or vacuum
Removing Imperfections
Check the wood for dents, scratches, or holes. Small damage can ruin the finish. Fix these imperfections before applying any finish.
| Type of Imperfection | How to Fix | Tools Needed |
| Small dents | Use a damp cloth and iron to steam out dents | Iron, damp cloth |
| Scratches | Fill with wood filler and sand smooth | Wood filler, putty knife, sandpaper |
| Holes or gaps | Use wood filler or wood putty | Wood filler, putty knife |

Credit: www.familyhandyman.com
Selecting A Finish
Choosing the right finish is important for wood projects. It protects the wood and adds beauty.
Different finishes work better for certain uses. Learn about oil-based, water-based, and wax finishes.
Oil-based Finishes
Oil-based finishes soak deep into the wood. They bring out the wood’s natural color and grain.
This finish is strong and lasts a long time. It works well for furniture and floors.
- Takes longer to dry
- Has a strong smell
- Needs good ventilation
- Gives a warm, amber look
Water-based Finishes
Water-based finishes dry quickly and have less odor. They are easy to clean with soap and water.
This finish keeps the wood’s natural color clear. It is good for light woods and modern projects.
- Dries fast, usually in hours
- Less yellowing over time
- Lower fumes and safer indoors
- May need more coats for protection
Wax And Polyurethane
Wax gives a soft shine and smooth feel. It is easy to apply but offers less protection.
Polyurethane is a tough finish. It resists water, scratches, and heat well.
- Wax is good for decorative pieces
- Polyurethane protects floors and tables
- Wax needs regular reapplication
- Polyurethane can be oil or water-based
Applying The Finish
Applying a wood finish is an important step to protect and beautify wood surfaces. It helps the wood last longer and look better.
There are different ways to apply finish, such as brushing, spraying, and wiping. Each way has its own benefits and challenges.
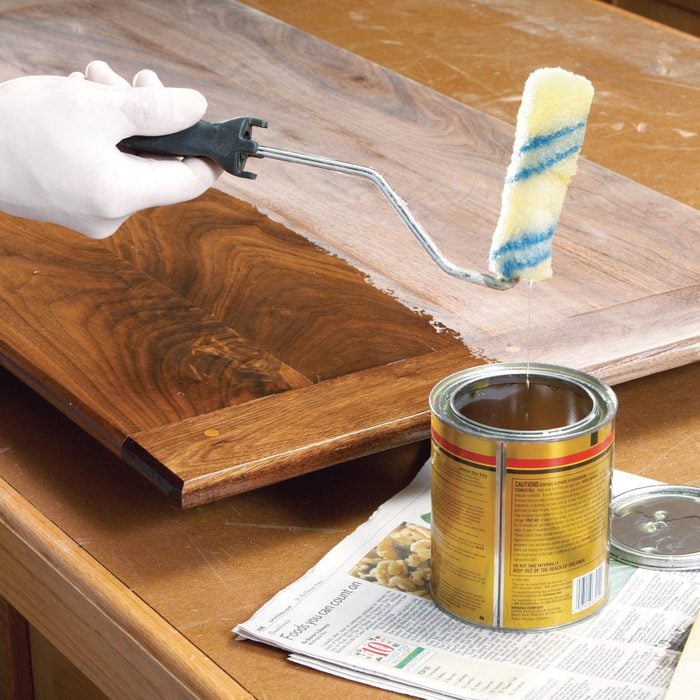
Brushing Techniques
Brushing is a common way to apply wood finish. Use a good quality brush with soft bristles for smooth results.
Apply the finish in long, even strokes. Move the brush along the wood grain to avoid streaks and bubbles.
- Dip brush lightly into finish
- Remove excess on the side of the can
- Brush in one direction with steady pressure
- Watch for drips and smooth them out quickly
Spraying Methods
Spraying applies finish quickly and evenly. It works well for large or detailed pieces of wood.
Use a spray gun or aerosol can. Keep a steady distance to avoid drips and uneven spots.
- Shake spray can or mix paint in spray gun
- Spray in light, even coats
- Move the sprayer smoothly across the surface
- Overlap each pass slightly for full coverage
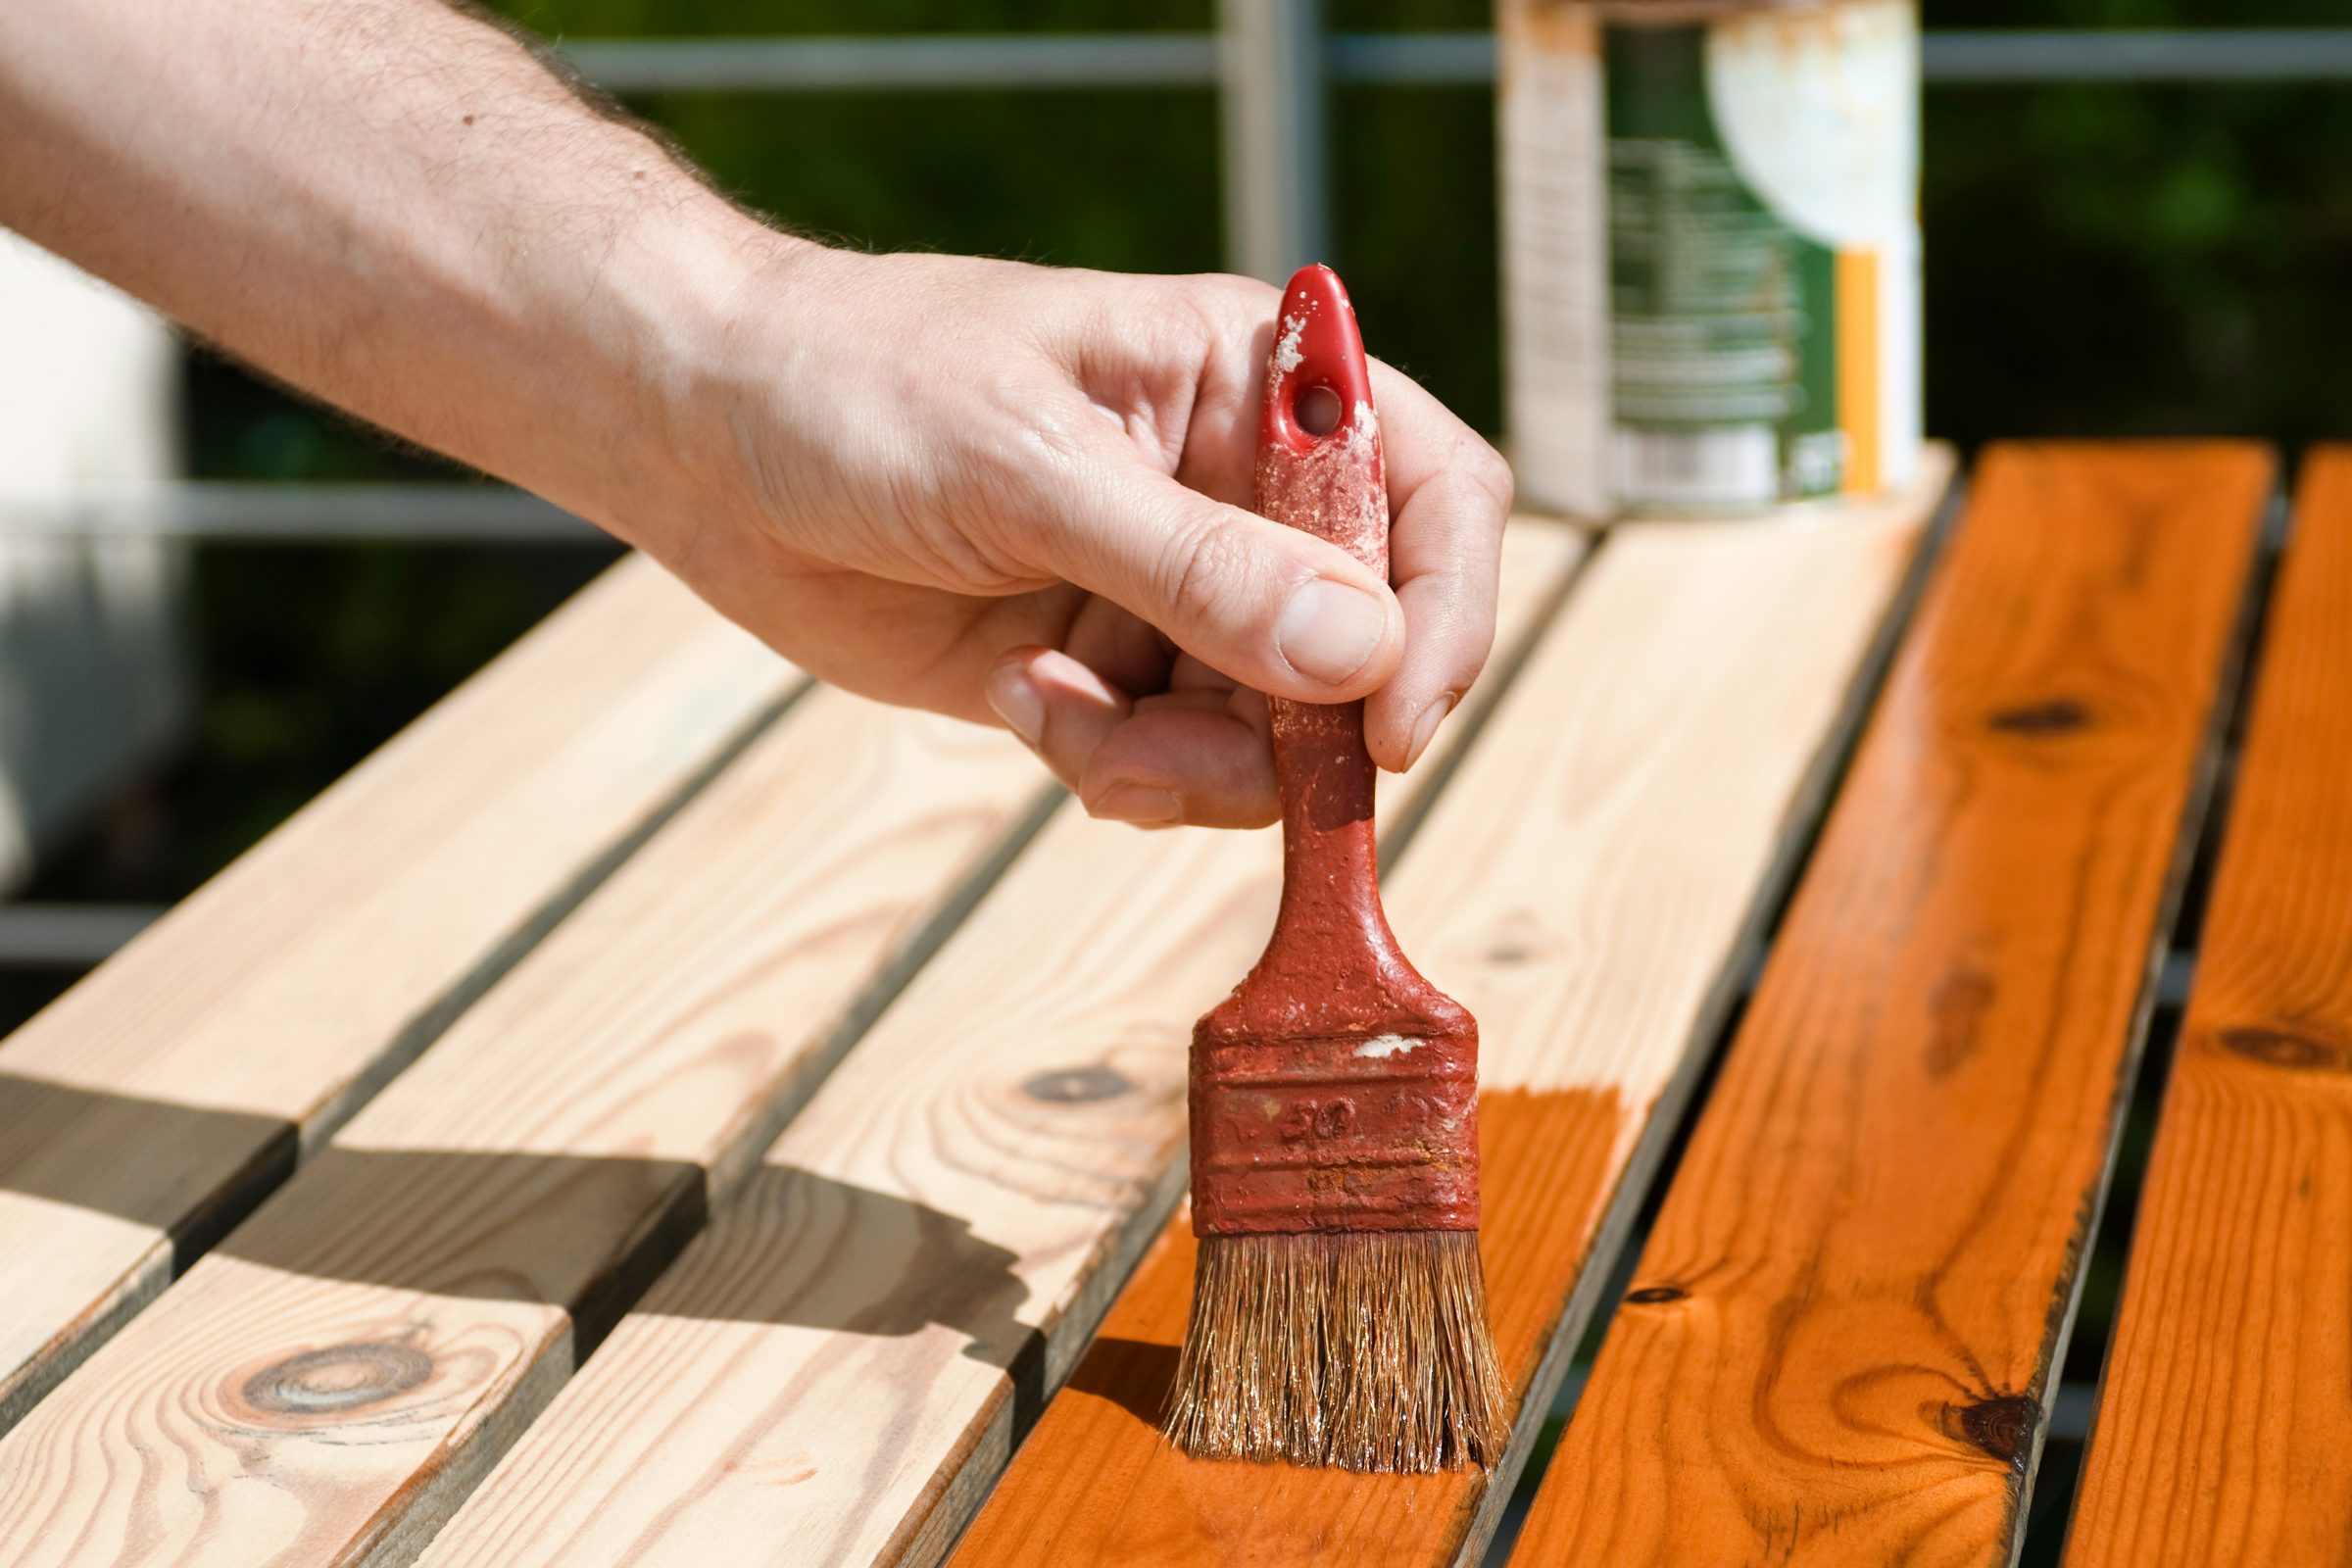
Wiping And Rubbing
Wiping finish is simple and works well for oils and stains. Use a clean cloth to apply the finish evenly.
Rubbing finish helps it soak into the wood deeply. Rub in small circles or follow the wood grain for best results.
- Pour finish onto cloth, not directly on wood
- Apply with smooth, even pressure
- Wipe off extra finish to avoid sticky spots
- Rub gently for a smooth, polished look
Credit: www.familyhandyman.com
Drying And Curing Tips
Drying and curing wood is a key step in finishing. It helps protect the wood and gives it a smooth look.
Knowing how to create the right conditions and how long to wait makes the process easier for beginners.
Optimal Conditions
Wood finishes dry best in clean, dust-free areas. The temperature should be steady, not too hot or cold.
- Keep air temperature between 65°F and 75°F (18°C to 24°C).
- Maintain humidity around 40% to 50% to avoid slow drying or cracks.
- Ensure good air circulation but avoid direct wind on the wood.
- Work in a well-ventilated space to help fumes escape.
Timeframes To Expect
| Finish Type | Touch Dry | Fully Cured |
|---|---|---|
| Oil-based Varnish | 6-8 hours | 7-14 days |
| Water-based Polyurethane | 1-2 hours | 3-5 days |
| Lacquer | 15-30 minutes | 24-48 hours |
| Shellac | 30 minutes | 1-2 days |
Maintaining Finished Wood
Finished wood looks great and lasts longer with proper care. Keeping it clean and fixing small damage helps maintain its beauty.
Simple habits can protect your wood from dirt, scratches, and wear. This guide explains easy ways to clean, polish, and repair finished wood.
Cleaning And Polishing
Dust your finished wood regularly with a soft cloth. Avoid using wet rags or harsh cleaners that can damage the finish.
Polishing adds shine and protects the surface. Use a polish made for finished wood and apply it with a clean, dry cloth.
- Use a microfiber or soft cotton cloth for dusting
- Apply polish sparingly to avoid buildup
- Test polish on a small area first
- Buff gently in the direction of the wood grain
Repairing Minor Damage
Small scratches or dents can be fixed without sanding. Use wood markers or wax sticks that match the wood color.
For light surface damage, rubbing a walnut or applying a bit of olive oil can help blend the scratch with the wood.
- Clean the area before repair
- Choose repair products close to the wood color
- Apply gently and wipe off excess
- Repeat if needed for better blending
Common Mistakes To Avoid
Wood finishing can be tricky for beginners. Mistakes can ruin the look and feel of your project.
Knowing what to avoid helps you get better results and saves time and materials.
Over-applying Finish
Applying too much finish causes uneven surfaces and sticky spots. It can hide the wood’s natural beauty.
- Use thin coats rather than thick ones.
- Allow each coat to dry fully before adding another.
- Sand lightly between coats to smooth the surface.
- Follow the product’s instructions on application amounts.
Ignoring Surface Preparation
Surface prep is key to a smooth finish. Dirt, dust, or rough patches cause flaws.
| Common Surface Issues | Effect on Finish |
| Dust and dirt | Rough texture and poor adhesion |
| Uneven sanding | Visible scratches and blotchy finish |
| Old finish not removed | Peeling and bubbling |
| Moisture in wood | Finish doesn’t dry properly |
Credit: www.familyhandyman.com
Frequently Asked Questions
What Are The Best Wood Finishes For Beginners?
The best wood finishes for beginners include polyurethane, shellac, and varnish. These are easy to apply, dry quickly, and offer good protection. Start with water-based polyurethane for a low-odor, user-friendly option that enhances wood grain and durability.
How Do I Prepare Wood Before Finishing?
Start by sanding the wood surface with fine-grit sandpaper. Remove all dust using a tack cloth or vacuum. Proper preparation ensures smooth application and better finish adhesion, preventing blotches and uneven stains.
How Many Coats Of Finish Should I Apply?
Typically, apply 2 to 3 coats of finish for optimal protection and appearance. Allow each coat to dry completely before lightly sanding between coats. This builds durability and enhances the wood’s natural beauty.
Can I Finish Wood Without Staining First?
Yes, you can finish wood without staining. Clear finishes like polyurethane or shellac protect and highlight natural wood grain. Staining is optional and mainly used to change the wood’s color or tone.
Conclusion
Starting your wood finishing journey can be exciting. Remember, practice makes perfect. Each project helps you learn more. Choose the right finish for your wood. Use brushes or cloths as needed. Sand between coats for a smooth look. Let each coat dry completely.
Patience is key. Safety is important, so wear gloves and masks. Enjoy the process and watch your skills grow. Soon, you’ll create beautiful wood pieces. Keep these tips handy. They guide you to better results. Happy wood finishing!