Are you tired of using the wrong tools that damage your wood or make your projects harder than they should be? A good woodworking mallet can change everything.
It gives you the right amount of force without leaving marks or dents. Whether you’re just starting out or want to improve your skills, this guide will help you choose, use, and care for the perfect mallet. By the end, you’ll feel confident handling your projects with precision and ease.
Keep reading to discover the secrets that pros don’t always share!

Credit: woodworkersinstitute.com
Choosing The Right Wood
Picking the right wood for a woodworking mallet is very important. The wood affects how strong and useful the mallet will be.
Good wood helps the mallet last longer and work better on different projects.
Hardwood Vs Softwood
Hardwood comes from trees that lose their leaves each year. Softwood comes from trees that keep their leaves all year.
Hardwood is usually stronger and lasts longer. Softwood is lighter but can dent or wear out faster.
- Hardwood is good for heavy use mallets
- Softwood is easier to shape but less durable
- Choose hardwood for long-lasting mallets
Best Wood Types For Mallets
Some woods are better for mallets because they are tough and resist damage. These woods help your mallet work well.
- Maple: strong and hard, good for heavy work
- Beech: tough and easy to find
- Oak: very durable and heavy
- Hickory: strong with good shock absorption
- Cherry: hard but smooth for fine work
Sustainability Considerations
Using wood that is grown and harvested in a safe way helps protect forests. Choose wood that comes from well-managed sources.
Look for woods certified by groups that check for good forest care. This helps keep nature safe for the future.
- Choose FSC or PEFC certified wood
- Avoid wood from endangered or rare trees
- Buy local wood to reduce transport pollution
- Use reclaimed wood when possible
Mallet Design Basics
Woodworking mallets come in many shapes and sizes. Their design affects how well they work with wood tools. Choosing the right mallet means understanding the parts that matter most.
This guide covers the main design points: head shapes and sizes, handle styles and lengths, and weight and balance. Knowing these helps you pick or make the best mallet for your needs.
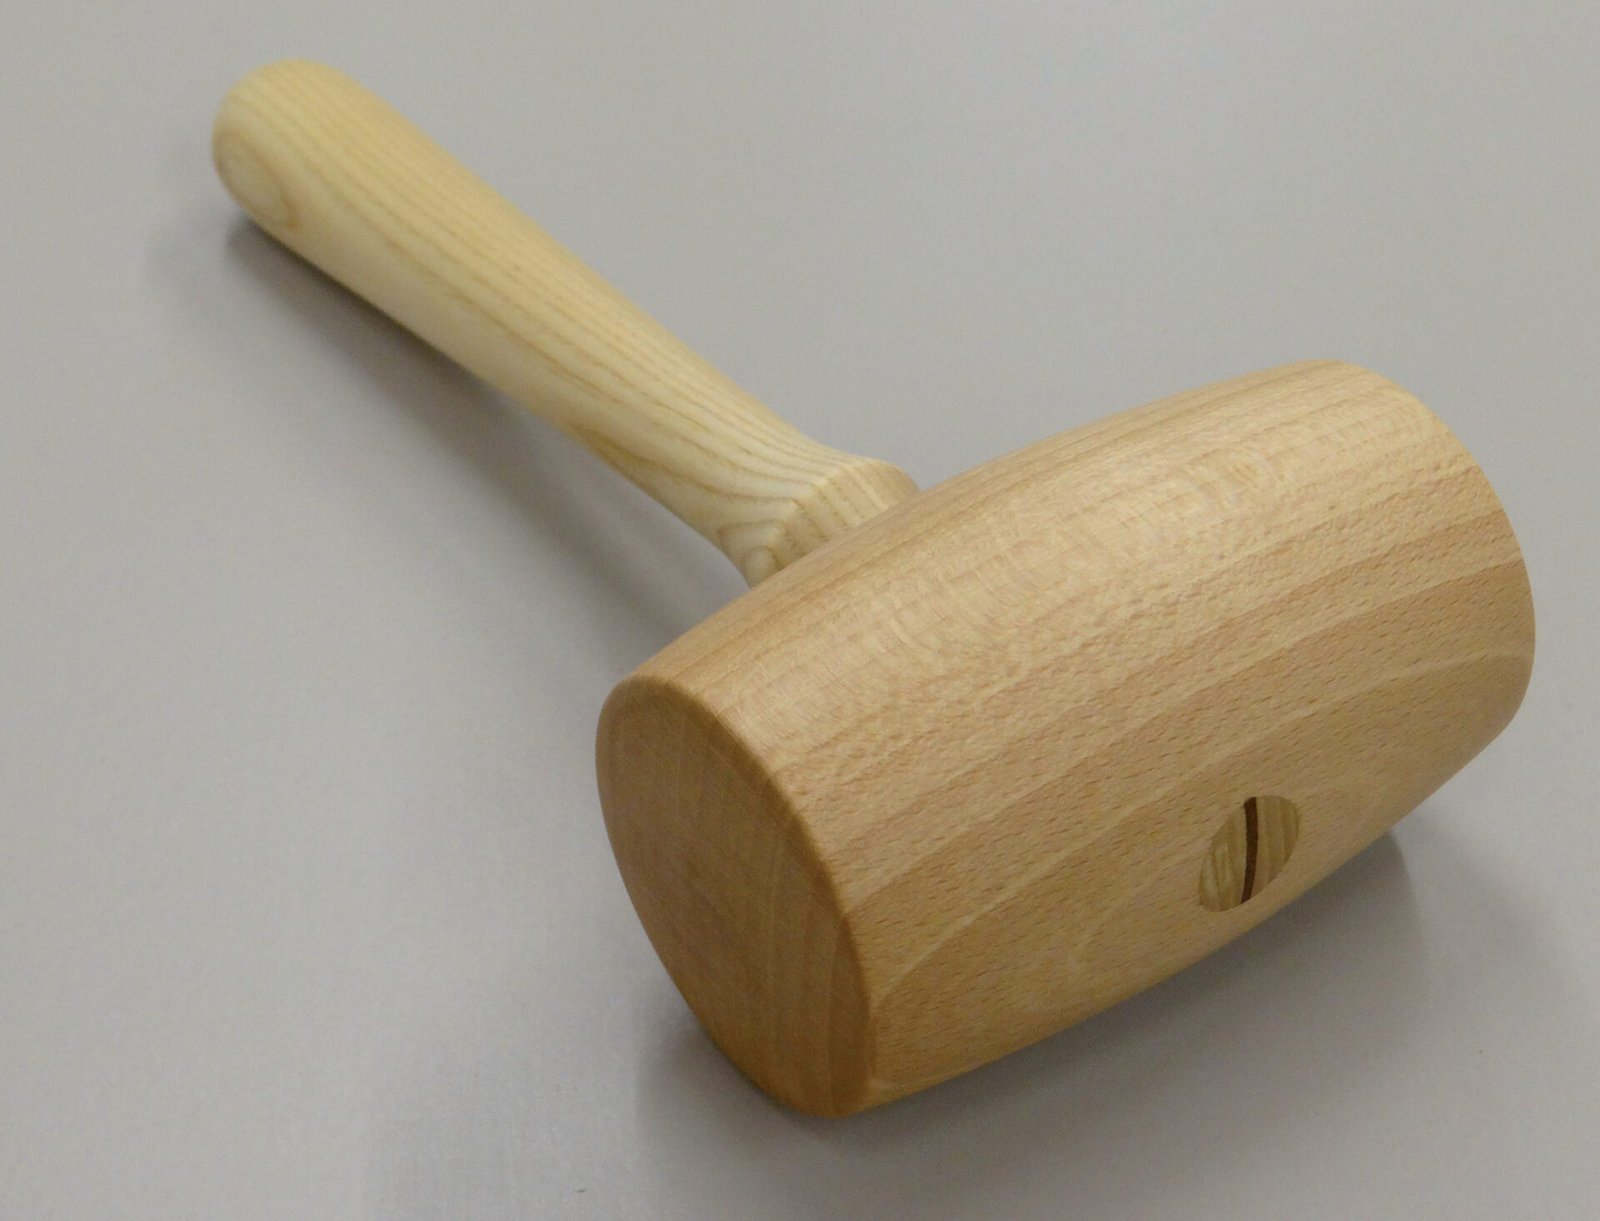
Head Shapes And Sizes
The mallet head hits the chisel or tool. Its shape and size affect power and control. Some heads are round, others square or rectangular. Each shape suits different tasks.
- Round headsspread force evenly and reduce damage.
- Square headsgive more control for precise work.
- Rectangular headsoffer a larger hitting surface for heavy work.
- Small headsare lighter and easier for fine work.
- Large headsadd weight for stronger blows.
Handle Styles And Lengths
Handles come in different shapes and lengths. The style affects grip and comfort. A good handle helps you swing the mallet smoothly and safely.
| Handle Style | Description | Best Use |
| Straight | Simple, straight wooden handle | General purpose, easy to hold |
| Curved | Shaped to fit the hand | Better grip and control |
| Long | Extends far from the head | More leverage and power |
| Short | Compact length | Better for fine detail work |
Weight And Balance
Weight affects how hard the mallet hits. Balance helps you control each strike. A well-balanced mallet feels natural and reduces fatigue.
Key points to check:
- The head should be heavier than the handle.
- The center of balance should be near the head.
- The mallet should feel steady when swung.
- Too heavy makes it hard to control.
- Too light reduces impact strength.
Tools And Materials Needed
Woodworking mallets require specific tools and materials to build properly. Gathering the right items ensures your project goes smoothly. This guide covers what you need.
Choosing the correct tools helps you shape and finish your mallet with care. Let’s look at the main categories of tools and supplies.
Essential Hand Tools
Hand tools give you control and precision when shaping wood. They are vital for cutting, smoothing, and assembling the mallet parts.
- Wood saw for cutting blanks
- Chisels of various sizes
- Wooden mallet for carving
- Clamps to hold pieces firmly
- Hand plane for smoothing surfaces
- Sandpaper or sanding block
- Measuring tape and marking tools
Power Tools Options
Power tools speed up the work and help with detailed shaping. They are optional but useful for larger or more complex mallets.
| Tool | Purpose |
| Band saw | Cut rough shapes from wood blocks |
| Drill press | Drill precise holes for dowels or pins |
| Router | Create smooth edges and decorative profiles |
| Orbital sander | Speed up sanding and surface finishing |
Finishing Supplies
Finishing makes the mallet look good and protects the wood. Choose supplies that bring out the wood’s natural beauty.
- Wood stain or oil for color and protection
- Clear varnish or lacquer for a hard finish
- Brushes or clean cloths for applying finish
- Fine grit sandpaper for smooth final sanding
- Wood glue for assembling parts securely

Credit: www.msn.com
Step-by-step Construction
Building a woodworking mallet requires care and precision. You need to choose the right wood and shape each part properly.
This guide explains how to prepare the wood, shape the head, craft the handle, and assemble the mallet step by step.
Preparing The Wood
Select hardwood like maple, beech, or oak for strength. Cut the wood into blocks slightly larger than your final mallet parts.
- Check wood for cracks or knots
- Cut to rough size with a saw
- Plane surfaces to smooth and square
- Allow wood to dry if freshly cut
Shaping The Head
Shape the mallet head into a rectangular block with rounded edges. Keep it heavy enough for good impact but balanced.
| Dimension | Typical Size |
| Length | 5 to 7 inches |
| Width | 2 to 3 inches |
| Height | 2 to 3 inches |
Crafting The Handle
Carve the handle to fit comfortably in your hand. It should taper slightly and fit the head hole snugly.
- Use a straight grain wood piece
- Shape with a drawknife or rasp
- Smooth with sandpaper for comfort
- Check length, about 10 to 14 inches
Assembly Techniques
Attach the handle to the head firmly. Use a wooden wedge to expand the handle inside the head for a tight fit.
Follow these steps for assembly:
- Drill a hole in the head for the handle.
- Insert the handle into the hole.
- Tap a wooden wedge into the handle end to expand it.
- Trim excess handle and wedge.
- Sand the joint smooth.
Finishing Touches
Finishing your woodworking mallet is important. It makes the mallet last longer and look better.
Good finishing also helps protect the wood from damage and makes the mallet comfortable to use.
Sanding Tips
Sanding smooths the wood and removes rough spots. Start with coarse sandpaper and use finer grit later.
Sand along the grain to avoid scratches. Check all surfaces for even smoothness before moving on.
- Use 80-grit sandpaper first
- Follow with 120-grit for medium smoothness
- Finish with 220-grit for a smooth surface
- Wipe dust off after sanding
Applying Protective Coatings
Protective coatings shield the wood from moisture and wear. They keep the mallet strong over time.
Choose oil, wax, or varnish to finish your mallet. Each type adds a different look and feel.
- Use linseed or tung oil for a natural finish
- Apply wax for a soft, smooth feel
- Varnish adds a shiny and tough layer
- Apply thin coats and let dry fully between layers
Enhancing Grip And Comfort
A good grip makes the mallet easier to hold and use. It prevents slipping and hand strain.
You can add grip by shaping the handle or adding a finish that feels nice in your hand.
- Shape the handle to fit your hand comfortably
- Sand the handle smooth but not too slippery
- Use a matte finish to improve grip
- Consider wrapping leather or rubber for extra comfort

Credit: toolguyd.com
Maintenance And Care
Proper maintenance helps your woodworking mallet last longer. Caring for it keeps the wood strong and the tool safe to use.
Regular attention prevents damage and keeps the mallet performing well over time.
Cleaning Practices
Clean your mallet after each use to remove dirt and wood dust. Use a dry cloth or a soft brush for best results.
- Wipe the head and handle with a dry cloth
- Use mild soap and water if stuck with grime
- Dry thoroughly to avoid moisture damage
- Do not soak the mallet in water
Repairing Wear And Damage
Check your mallet regularly for cracks or dents. Small issues can get worse if not fixed early.
- Sand rough or splintered areas gently with fine sandpaper
- Fill cracks with wood glue or filler and clamp until dry
- Replace the handle if it is loose or broken
- Apply wood oil or wax to protect repaired areas
Storage Recommendations
Store your mallet in a dry place away from extreme temperatures. This keeps the wood from warping or splitting.
| Storage Tip | Reason |
|---|---|
| Keep off damp floors | Prevents wood swelling and mold growth |
| Hang on tool rack | Avoids damage from heavy items |
| Store at room temperature | Stops cracks from temperature shifts |
| Cover with cloth | Keeps dust off mallet |
Using Mallets Effectively
Woodworking mallets help you tap chisels and shape wood safely. Using them right keeps your tools sharp and your work clean.
Learn how to use mallets to improve your woodworking skill and avoid damage to wood or tools.
Proper Striking Techniques
Hold the mallet near the end of the handle for better control and power. Strike with the flat face to spread the force evenly.
Use smooth, controlled swings. Avoid hitting too hard to prevent wood damage or tool slips.
- Grip the mallet firmly but relaxed
- Strike perpendicular to the chisel or wood
- Use moderate force, not too heavy
- Keep your wrist straight and stable
Avoiding Common Mistakes
Do not hit the chisel handle at an angle. This can cause the chisel to slip or break. Avoid hitting the mallet’s edge or side.
Do not use a metal hammer as a substitute. It can damage both the mallet and the tool you work with.
- Never strike with the mallet’s edge
- Do not use excessive force
- Avoid hitting at an angle
- Keep the mallet head clean and smooth
Applications In Different Woodworking Tasks
Mallets work well for carving, fitting joints, and assembling furniture parts. They help avoid dents and marks on the wood.
Use softer mallets for delicate tasks and harder ones for heavy assembly work. Choose the right mallet for the job.
- Carving: Use a wooden mallet for smooth, light taps
- Joinery: Tap joints gently to fit parts together
- Assembly: Use heavier mallets for strong force
- Chiseling: Control strikes to guide the chisel cleanly
Frequently Asked Questions
What Is A Woodworking Mallet Used For?
A woodworking mallet is used to strike chisels and shape wood. It provides controlled force without damaging the tool or wood surface. Mallets help in joinery and carving tasks, making them essential for precise woodworking projects.
How Do Wooden Mallets Differ From Metal Hammers?
Wooden mallets deliver softer blows, reducing wood damage. Metal hammers apply harder impact, risking dents or splits. Mallets distribute force evenly, preserving tool edges and wood integrity during woodworking.
What Wood Types Are Best For Making Mallets?
Hardwoods like maple, beech, and oak are ideal. They offer durability, resistance to dents, and excellent shock absorption. These woods ensure a long-lasting mallet suitable for rigorous woodworking tasks.
How To Maintain And Care For A Woodworking Mallet?
Keep mallets dry and clean after use. Avoid exposure to extreme moisture or heat to prevent warping. Regularly check for cracks and sand rough edges for safe, effective use.
Conclusion
Woodworking mallets are essential tools for any woodworker. They provide control. Whether you’re a beginner or experienced, choosing the right mallet matters. Each type serves a unique purpose. Wooden, rubber, or metal—each has its strengths. Consider your project needs before selecting.
A good mallet ensures precision in your work. Practice using different types to improve your skills. Explore various techniques for better results. Remember, practice makes perfect. Your projects will reflect your efforts. Enjoy the journey of crafting with confidence. Embrace the art of woodworking.
Happy crafting!