Are you ready to transform your DIY projects with just one tool? Imagine the satisfaction of creating something with your own hands, feeling the power of each turn, and witnessing your ideas come to life.
The secret weapon? A simple hand drill. Whether you’re a seasoned DIY enthusiast or a curious beginner, mastering the use of a hand drill can elevate your projects to new heights. In this blog post, we’ll dive into practical tips that will not only make your DIY tasks easier but also more enjoyable.
Stay with us, and discover how a hand drill can become your best friend in the workshop. You won’t want to miss these insights that promise to enhance your crafting adventures and bring your creative visions to fruition.
Choosing The Right Hand Drill
Using the right hand drill makes your DIY projects easier and safer. It helps you work faster and with better results.
Before starting, learn about different drills, drill bits, and how to hold the tool well. This guide covers these key points.
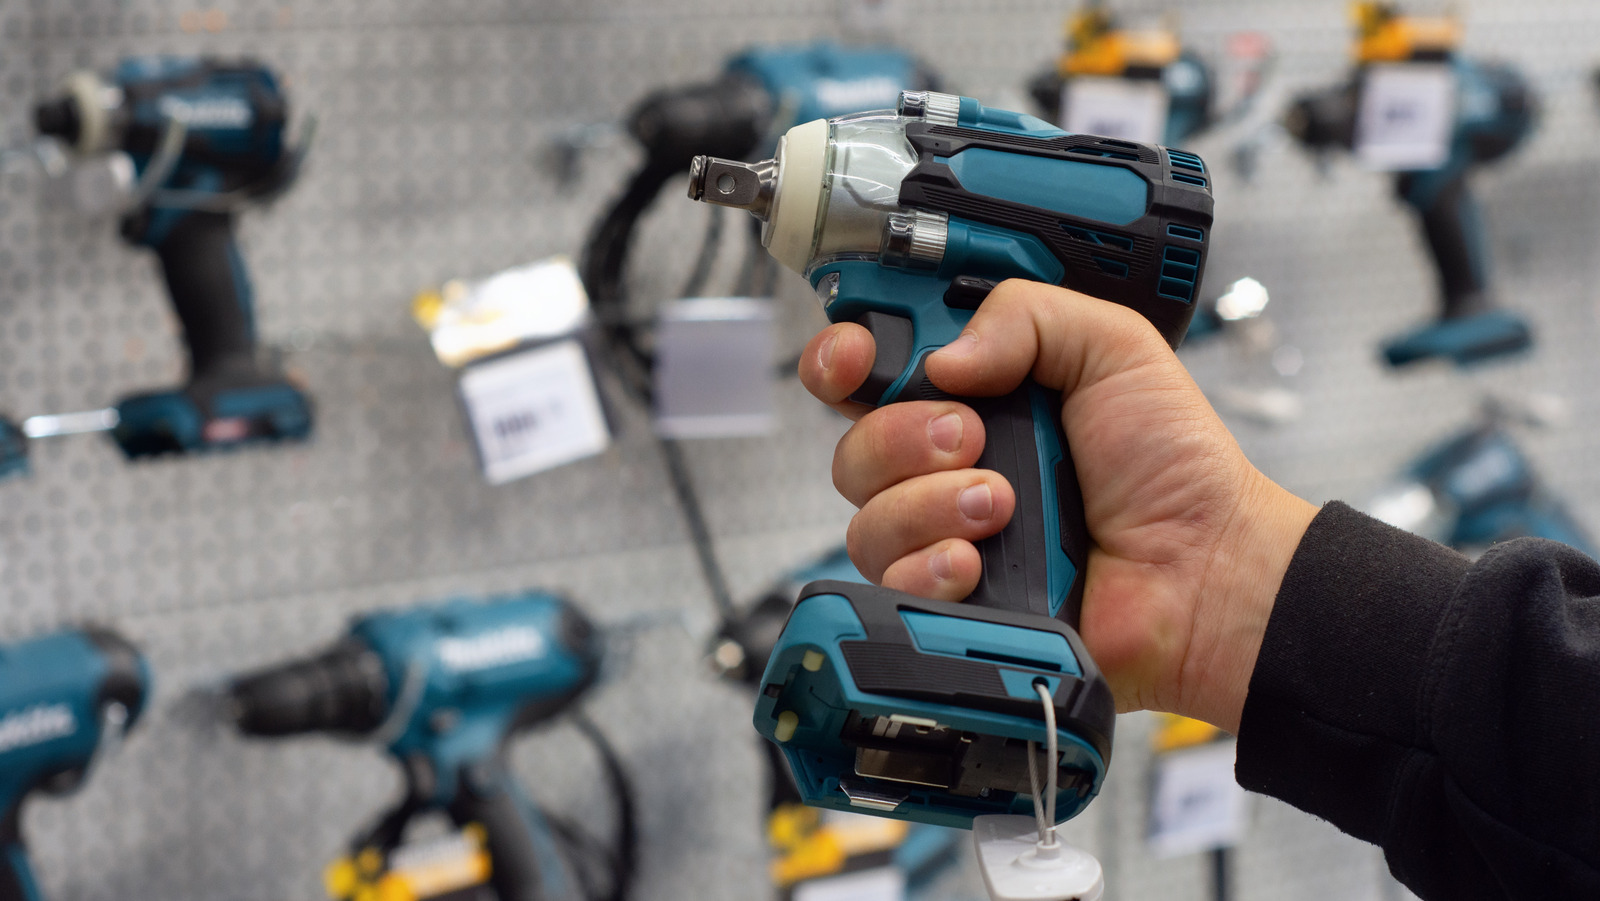
Types Of Hand Drills
There are several hand drill types for different tasks. Choose one that fits your project size and power needs.
- Manual hand drills:Powered by hand turning, good for small holes and light work.
- Electric drills:Use a motor for faster drilling, ideal for most DIY tasks.
- Cordless drills:Battery-powered and portable, perfect for work without power outlets.
- Hammer drills:Add a pounding action for drilling into hard materials like concrete.
Selecting Drill Bits
Drill bits come in many shapes and sizes. Pick the right bit for the material and hole size you need.
| Material | Best Bit Type | Use |
| Wood | Spade or twist bit | Making holes in wood pieces |
| Metal | High-speed steel (HSS) bit | Drilling metal sheets or pipes |
| Masonry | Carbide-tipped bit | Drilling into brick, stone, or concrete |
| Plastic | Brad-point bit | Clean holes in plastic materials |
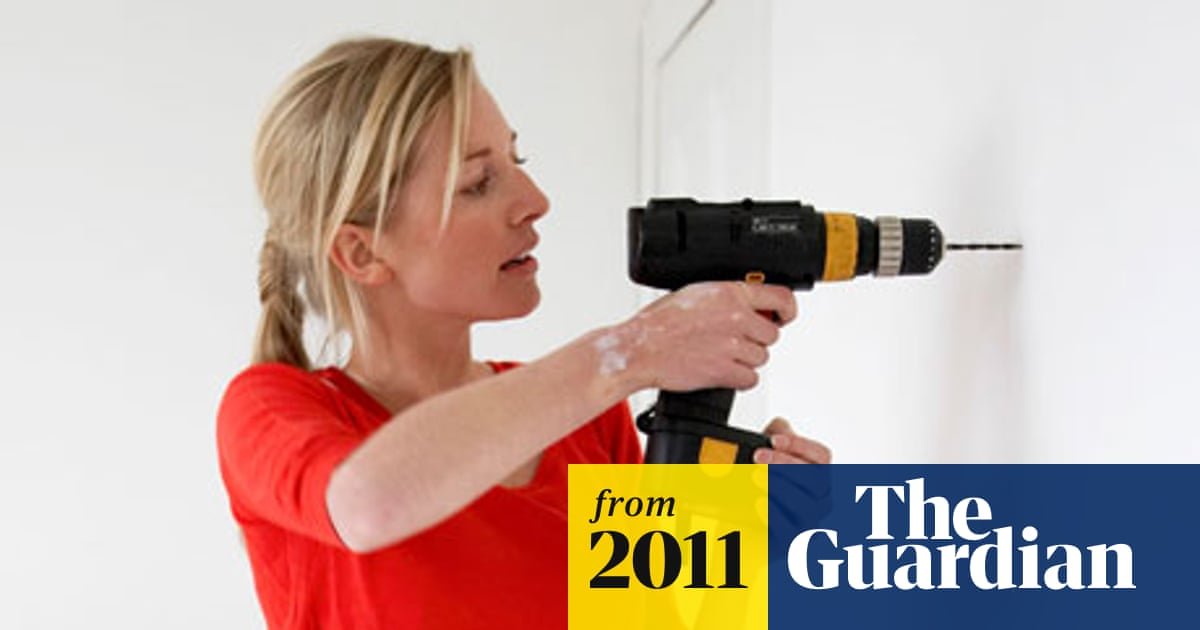
Ergonomics And Grip
Comfort and control are key for safe drilling. Choose a drill with a good grip and balance.
- Pick a drill with a soft, non-slip handle.
- Use two hands when possible for better control.
- Keep your wrist straight to avoid strain.
- Choose a lightweight drill for longer use.
Credit: www.familyhandyman.com
Preparing Your Workspace
Setting up your workspace well makes using a hand drill easier and safer.
Good preparation helps you stay focused and finish your DIY project faster.
Safety Precautions
Keep safety gear close and wear it at all times. This protects you from dust and sharp bits.
- Wear safety goggles to protect your eyes.
- Use gloves to avoid splinters and cuts.
- Keep your workspace clear of clutter to prevent accidents.
- Make sure the drill’s power cord is not in your way.
- Check your drill and bits for damage before starting.
Organizing Tools And Materials
Arrange your tools and materials neatly. This saves time and reduces mistakes.
| Tool | Recommended Storage |
| Hand drill | On a sturdy workbench or wall hook |
| Drill bits | In a labeled box or case |
| Screws and nails | Sorted in small containers or jars |
| Measuring tape | Within easy reach on your bench |
| Safety gear | Near the entrance of your workspace |
Drilling Techniques
Using a hand drill properly makes your DIY projects easier. Good drilling techniques help you get clean holes and avoid mistakes.
Focus on marking, controlling speed, and keeping the drill steady. These tips improve your work quality and safety.
Marking And Measuring
Start by measuring carefully before you drill. Mark the exact spot with a pencil or a center punch. This helps the drill stay in place.
- Use a ruler or tape to measure your mark
- Make a small indentation with a center punch
- Check your marks twice before drilling
Controlling Drill Speed
Adjust the drill speed based on the material you work on. Soft materials need slower speeds. Hard materials require higher speeds but steady pressure.
| Material | Recommended Drill Speed (RPM) |
| Wood | 500 – 1500 |
| Plastic | 300 – 1000 |
| Metal | 100 – 800 |
Maintaining Drill Stability
Keep the drill steady to avoid slipping and uneven holes. Hold the drill with both hands and keep your arms close to your body.
- Use a clamp to hold the workpiece
- Start drilling at a slow speed
- Keep the drill bit perpendicular to the surface
- Apply steady, even pressure
Credit: www.slashgear.com
Handling Different Materials
Using a hand drill for DIY projects means working with many materials. Each material needs a different approach. Knowing how to handle wood, metal, plastic, and others helps you drill safely and cleanly.
Choosing the right drill bit and speed is key. You must adjust your technique depending on the material type to avoid damage.
Wood Drilling Tips
Wood is one of the easiest materials to drill. Use a sharp wood bit for clean holes. Always start with a small pilot hole to guide the larger bit.
Keep the drill straight and steady to avoid splintering. Use clamps to hold the wood in place. Slow down as you finish the hole to keep edges neat.
- Choose a brad point or spade bit for wood
- Start with a small pilot hole
- Keep drill speed moderate
- Use clamps to secure the wood
- Slow down near hole exit to reduce splinters
Drilling Into Metal
Metal needs a strong drill bit made for hard surfaces. Use a high-speed steel (HSS) or cobalt bit. Mark the spot with a center punch before drilling.
Drill slowly and apply steady pressure. Using cutting oil helps cool the bit and metal. Avoid forcing the drill to prevent bit damage.
- Use HSS or cobalt drill bits
- Mark the hole with a center punch
- Drill at low speed with steady pressure
- Apply cutting oil to reduce heat
- Do not push too hard on the drill
Working With Plastic And Other Materials
Plastic can crack if drilled too fast or with the wrong bit. Use a sharp bit designed for plastic or a standard twist bit. Drill slowly and support the plastic from behind.
Other materials like ceramics or glass need special bits and very slow speeds. For these, use a diamond or carbide bit and water to cool the drill.
- Use sharp bits made for plastic
- Drill slowly to prevent cracking
- Support the plastic during drilling
- Use diamond or carbide bits for glass and ceramics
- Keep bits cool with water when drilling hard materials
Preventing Common Mistakes
Using a hand drill can be easy if you avoid some common mistakes. These errors can slow your work or damage your tools.
Focus on key tips to keep your drill work smooth and safe. This guide covers how to avoid slippage, overheating, and bit breakage.
Avoiding Drill Bit Slippage
Drill bit slippage happens when the bit moves on the material or in the chuck. This can ruin your project and waste time.
Make sure to tighten the chuck firmly and start drilling at a slow speed. Using the right drill bit for the material also helps.
- Check that the drill bit fits tightly in the chuck
- Use a center punch to mark the spot before drilling
- Begin drilling slowly to keep the bit steady
- Pick drill bits made for the material you work on
Preventing Overheating
Overheating can damage the drill bit and the material. It happens when you apply too much pressure or drill too fast.
Keep the drill speed moderate and do not force the drill. Take breaks if the bit or material gets hot.
- Use slow to medium drill speed for most materials
- Do not push hard on the drill; let the bit do the work
- Pause drilling to cool the bit if it gets hot
- Use cutting oil or water for metal drilling to reduce heat
Managing Drill Bit Breakage
Drill bits can break if used incorrectly. This waste money and can cause injury.
Use the right drill bit size and type. Keep the drill steady and avoid bending the bit while drilling.
- Choose a drill bit suitable for your project
- Do not use a bent or damaged drill bit
- Hold the drill steady and straight while drilling
- Avoid twisting or forcing the drill bit
Maintenance And Care
Taking care of your hand drill helps it last longer. Proper maintenance keeps it working smoothly.
Regular cleaning and storage protect your tool from damage. Sharpening drill bits ensures better drilling results.
Cleaning And Lubrication
Clean your hand drill after every use. Remove dirt and dust from all parts.
Use a soft brush or cloth to clean hard-to-reach areas. Avoid water to stop rust from forming.
Apply a small amount of machine oil to moving parts. This reduces friction and keeps the drill turning smoothly.
- Wipe off excess oil to prevent dirt buildup
- Lubricate gears and the chuck regularly
- Check for rust and clean it immediately
Storing Your Hand Drill
Store your hand drill in a dry place. Avoid damp areas to stop rust and corrosion.
Keep it in a toolbox or case to protect it from dust and damage. Avoid heavy items on top of the drill.
- Use silica gel packs to absorb moisture
- Store drill bits separately in a box
- Keep the drill away from direct sunlight
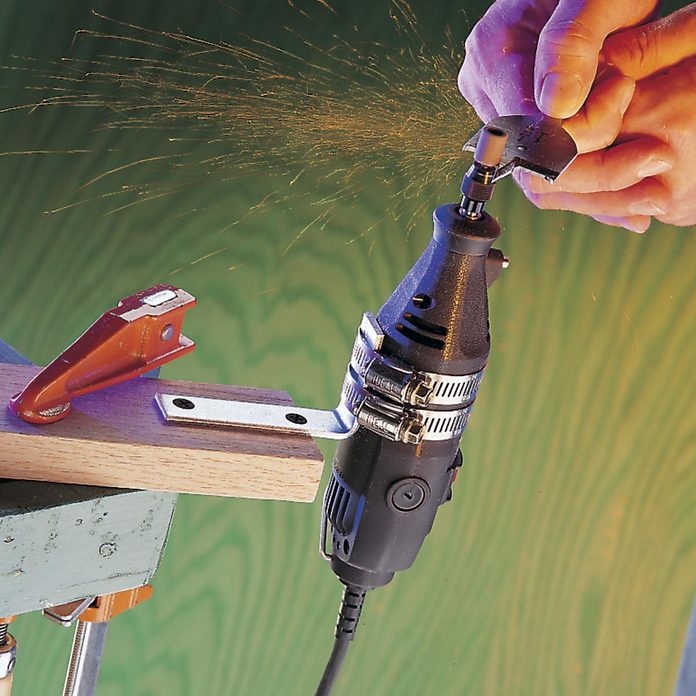
Sharpening Drill Bits
Dull drill bits make drilling harder and less accurate. Sharpen bits to keep them cutting well.
Use a sharpening stone or a drill bit sharpener. Hold the bit at the correct angle while sharpening.
- Check drill bits for cracks before sharpening
- Sharpen both cutting edges evenly
- Clean bits after sharpening to remove metal dust
Advanced Tricks For Efficiency
Using a hand drill can be faster and easier with some clever tricks. These tips help you work better and save time on your DIY projects.
Understanding how to use your hand drill smartly lets you get cleaner holes and avoid mistakes. Try these ideas to improve your drilling skills.
Using Pilot Holes
Pilot holes guide your drill and stop wood from splitting. They make drilling straight and smooth holes easier.
Start with a smaller drill bit to make a pilot hole. Then, use the right size bit for the final hole.
- Choose a pilot bit smaller than the screw or final hole size
- Drill slowly to keep control
- Use pilot holes on hard or thin wood to prevent cracks
Drilling At Angles
Sometimes you need to drill at an angle instead of straight down. This helps join pieces or reach tight spots.
Hold the drill steady and mark the angle before drilling. Using a guide or block keeps the drill from slipping.
- Use an angle guide or protractor for accuracy
- Clamp wood firmly to avoid movement
- Start with a small pilot hole at the angle
Speeding Up Repetitive Tasks
Drilling many holes of the same size and depth can take a long time. Using simple tricks makes this faster and consistent.
Mark your drilling spots clearly. Use a depth stop or tape on the bit to drill the same depth every time.
- Make a drilling jig to hold the wood in place
- Use tape on the drill bit to mark depth limits
- Mark holes with a pencil or template before starting

Credit: www.lowes.com
Frequently Asked Questions
How Do I Choose The Right Drill Bit For My Project?
Select a drill bit based on your material type and hole size. Use wood bits for wood, masonry bits for concrete, and metal bits for metal. Ensure the bit fits securely in the hand drill chuck for safe, accurate drilling.
What Safety Tips Should I Follow When Using A Hand Drill?
Always wear safety goggles and gloves to protect yourself. Keep your work area clean and secure the material firmly. Avoid loose clothing and tie back long hair to prevent accidents during drilling.
How Can I Maintain My Hand Drill For Longevity?
Regularly clean the drill and bits after use. Lubricate moving parts as recommended by the manufacturer. Store the drill in a dry, safe place to prevent rust and damage.
What Is The Best Drilling Speed For Diy Projects?
Use slower speeds for harder materials like metal and masonry. Faster speeds work well for softer materials like wood. Adjust speed based on material resistance for clean, precise holes.
Conclusion
Using a hand drill can make DIY projects easier and more fun. Always hold the drill steady and choose the right bit for the job. Take your time and work carefully for the best results. Practice helps improve your skills and builds confidence.
Safety matters—wear goggles and keep your hands clear. Keep these tips in mind to enjoy your DIY work more. Small steps lead to great projects. Try these ideas on your next task and see the difference.