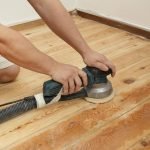
Are you ready to transform your floors into smooth, flawless surfaces? Using an orbital sander for sanding floors can make the job faster and easier than you might think.
But if you’re not sure where to start or how to get the best results, this guide is made just for you. You’ll discover simple, step-by-step tips that anyone can follow—no special skills needed. Keep reading to learn how to use your orbital sander like a pro and bring out the true beauty of your floors.
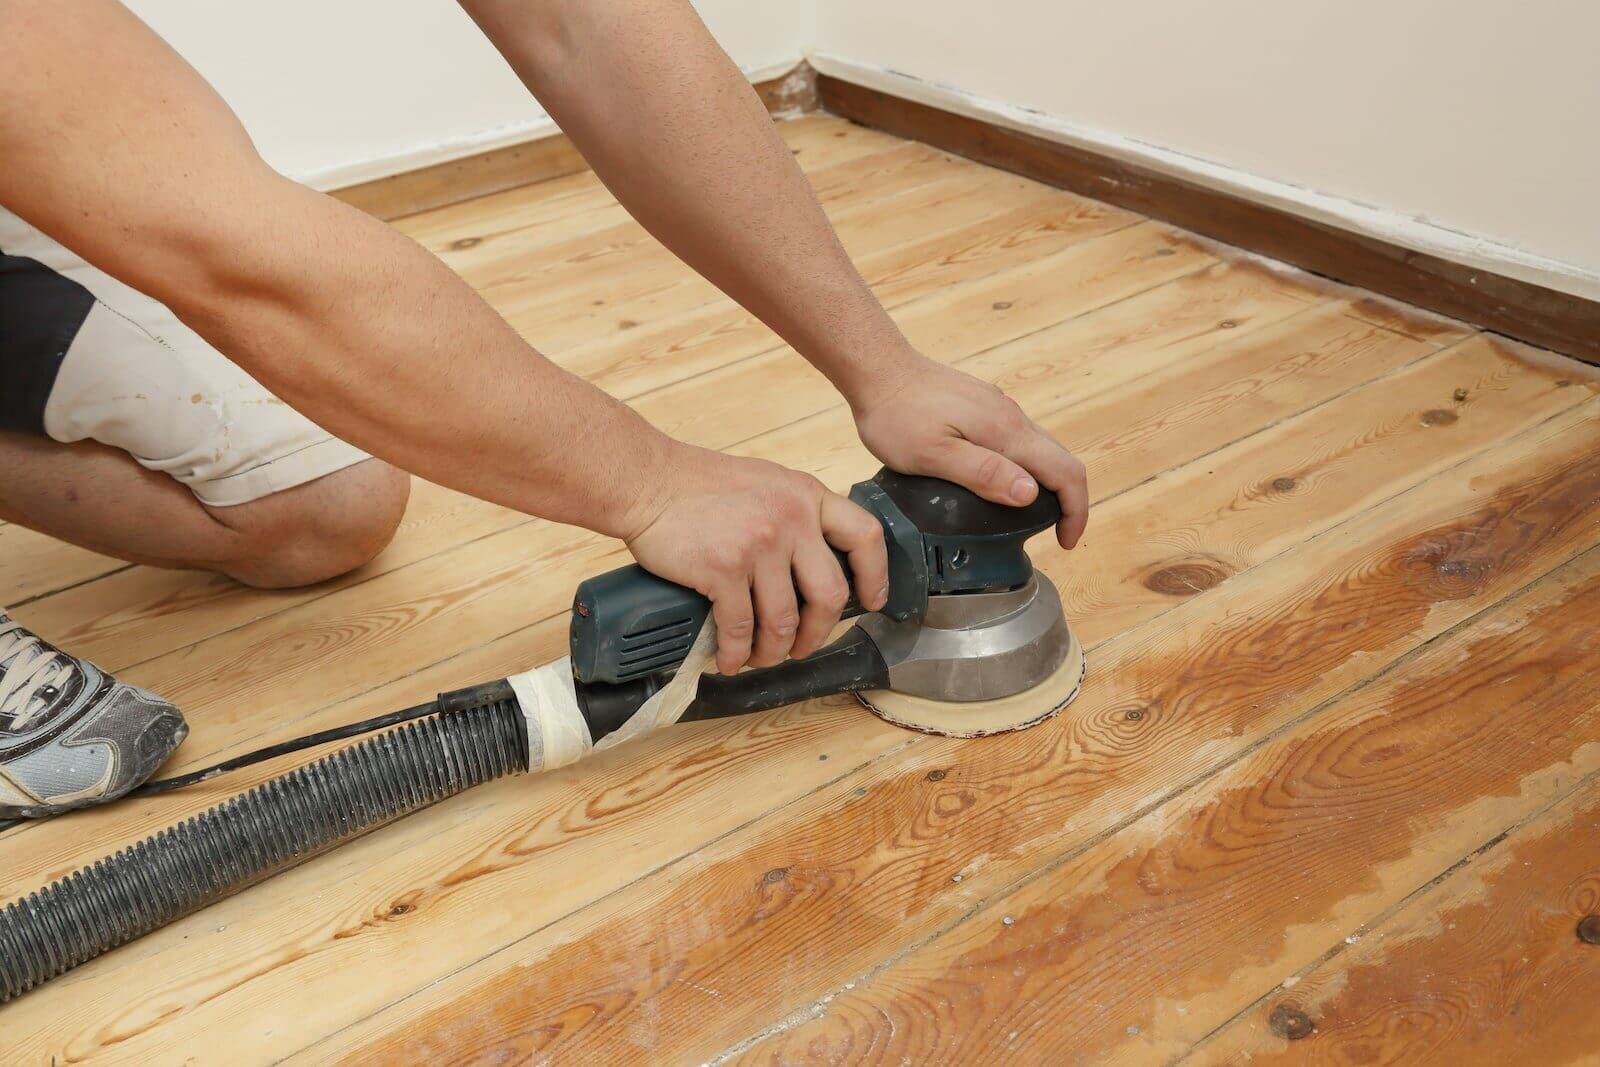
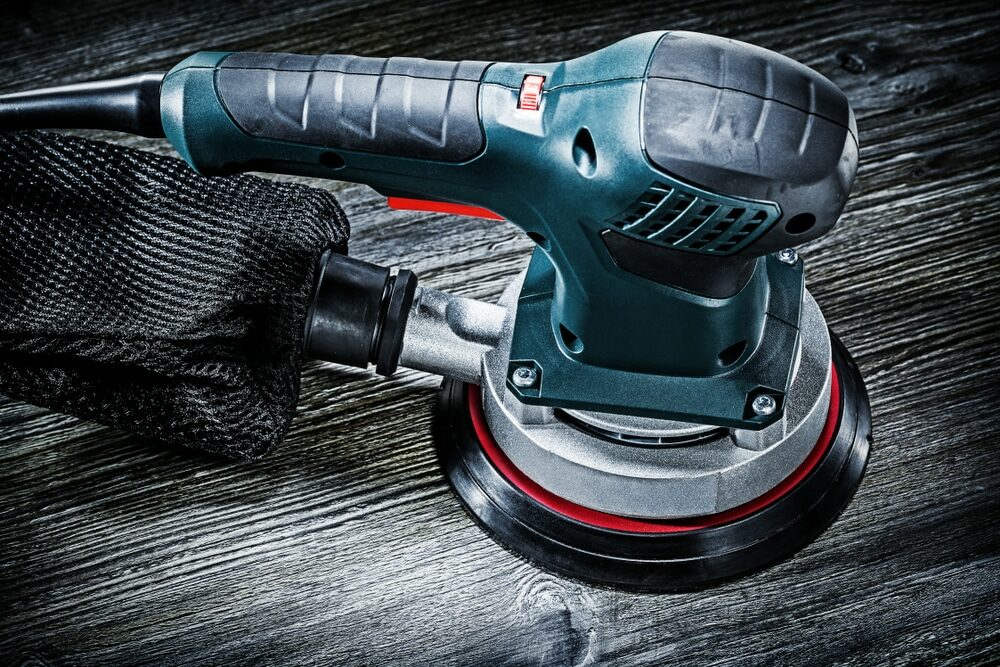
Credit: www.familyhandyman.com
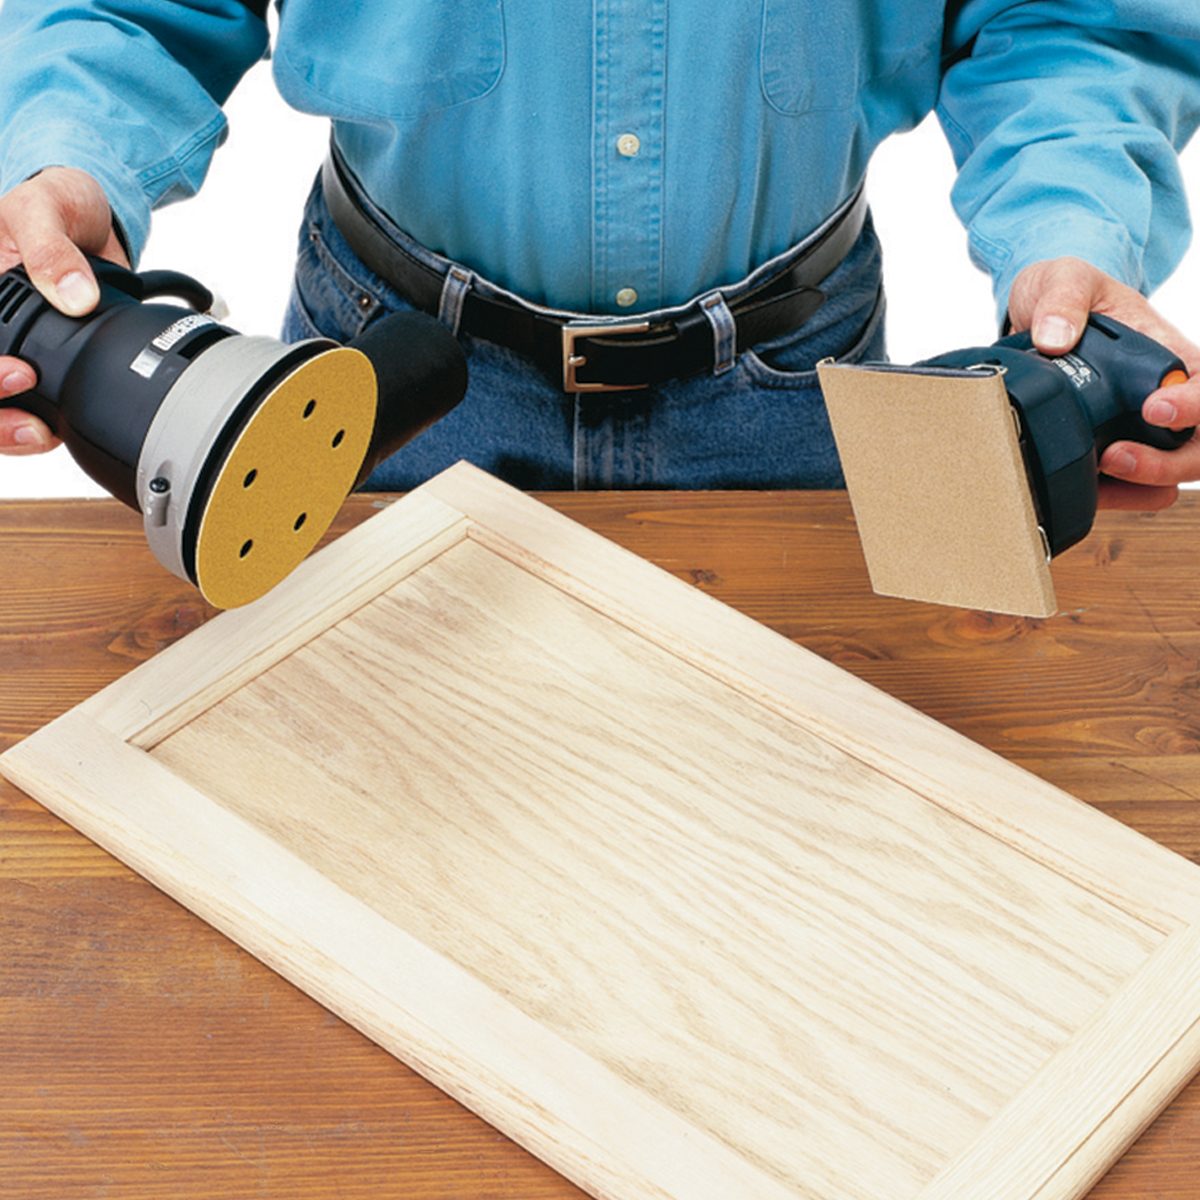
Choosing The Right Orbital Sander
An orbital sander is a useful tool for sanding floors. Picking the right one helps you work faster and safer.
This guide explains how to choose the best orbital sander for your floor sanding project.
Types Of Orbital Sanders
Orbital sanders come in different types. Each type fits a certain task better.
- Random Orbital Sander:Moves in a random orbit to reduce marks on floors.
- Sheet Orbital Sander:Uses square pads and is good for flat surfaces.
- Detail Sander:Has a pointed tip for corners and tight spots.
Selecting The Correct Grit
Choosing the right grit sandpaper is key to smooth floors. Grit refers to the size of the sandpaper particles.
| Grit Number | Use |
| 40-60 | Remove old finish and rough sanding |
| 80-120 | Smooth sanding before finishing |
| 150-220 | Fine sanding between coats of finish |
Safety Gear Essentials
Wear safety gear to protect yourself while sanding floors.
- Dust mask to avoid breathing dust
- Safety glasses to protect eyes
- Ear protection for loud noise
- Gloves to protect hands
- Work boots for foot safety
Credit: www.ecohome.net
Preparing The Floor
Preparing the floor is important before using an orbital sander. It helps you get a smooth and even surface.
Good preparation makes sanding easier and safer. Follow these steps carefully.
Clearing The Area
Remove all furniture and objects from the floor. This gives you space to work freely.
Clear away rugs, cables, and small items. Check corners and edges for hidden things.
Checking For Nails And Imperfections
Look closely for nails or screws sticking out. These can damage the sander or the floor.
Hammer down or remove any nails you find. Fill holes or deep cracks with wood filler.
- Scan the floor carefully
- Fix nails and screws
- Fill holes and cracks
Cleaning The Surface
Sweep or vacuum the floor to remove dust and dirt. Dust can clog the sander.
Wipe the floor with a damp cloth to pick up fine particles. Let it dry before sanding.
Setting Up The Sander
Before sanding your floors, it is important to set up the orbital sander correctly. Proper setup helps you work safely and get good results.
Take your time to prepare the sander. Check each part to avoid problems while sanding.
Attaching Sandpaper Properly
Attach the sandpaper firmly to the sander’s pad. Loose sandpaper can cause uneven sanding and damage the floor.
Make sure the sandpaper fits the pad size and shape exactly. Use the right grit for the job.
- Turn off and unplug the sander before attaching sandpaper.
- Align the sandpaper holes with the sander’s dust ports.
- Press the sandpaper firmly onto the hook-and-loop or clamp system.
- Check that the sandpaper is flat without wrinkles.
Adjusting Speed Settings
Choose a speed setting that suits your floor type and sanding needs. Different speeds work better for rough or smooth surfaces.
Start with a low speed for fine sanding and increase speed for heavy sanding. Avoid very high speeds that can damage wood.
- Check the sander’s speed dial or switch.
- Set to low speed for delicate surfaces.
- Use medium speed for general sanding.
- Pick high speed for removing old finish or rough spots.
Testing The Sander
Before sanding the whole floor, test the sander on a small area. This helps you see how it works and if the settings are right.
Check the sander’s movement and dust collection. Make adjustments if needed to get smooth sanding.
- Plug in and turn on the sander.
- Hold it firmly and move it on a test spot.
- Listen for any unusual sounds.
- Check if sandpaper stays in place during use.
- Make speed or sandpaper changes if needed.
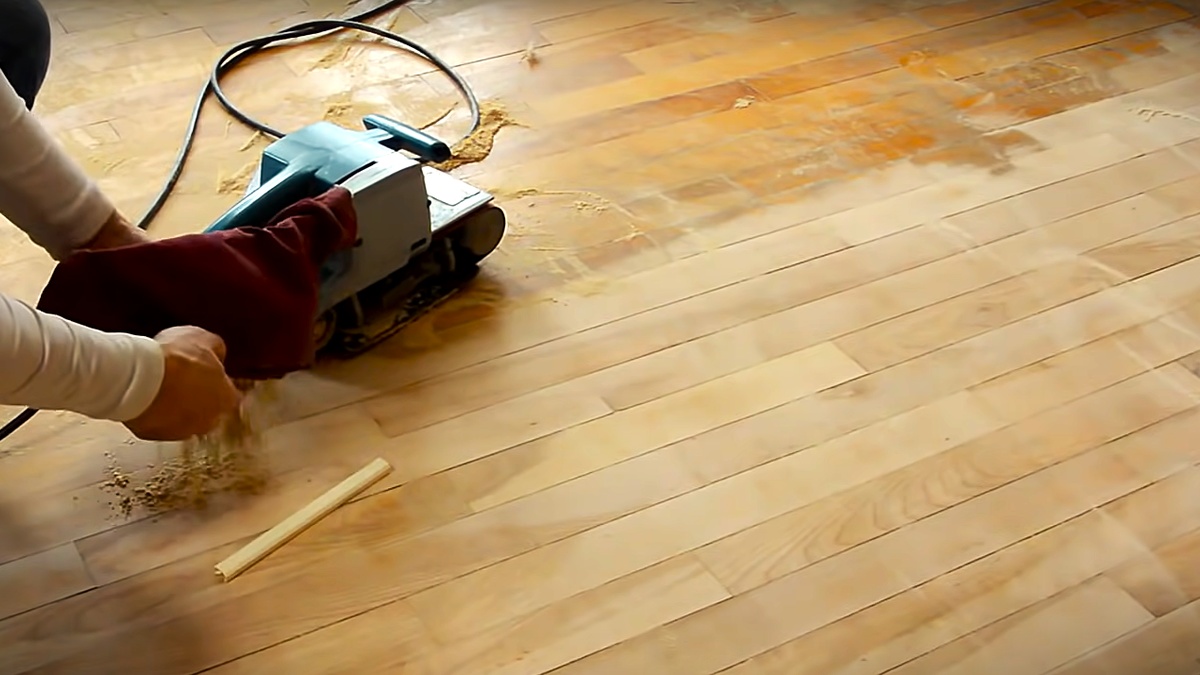
Credit: mrsander.co.uk
Sanding Techniques
Sanding floors with an orbital sander needs care and skill. Good techniques help you get smooth, even surfaces.
Learn how to keep pressure steady, follow sanding patterns, and avoid common mistakes for best results.
Maintaining Consistent Pressure
Apply even pressure across the sander. Too much pressure can damage the floor. Too little pressure slows sanding.
Hold the sander firmly but gently. Let the machine do the work. Keep your arms relaxed to avoid uneven spots.
Sanding Patterns To Follow
Use a clear sanding pattern to cover the floor evenly. This helps avoid missed spots and uneven sanding.
- Start sanding along the grain of the wood.
- Overlap each pass by about 50% to avoid lines.
- Sand edges carefully with smaller movements.
- Change sanding discs as needed to keep the surface smooth.
Avoiding Common Mistakes
| Mistake | Problem | How to Avoid |
|---|---|---|
| Pressing too hard | Creates dips and scratches | Hold sander lightly and evenly |
| Skipping spots | Uneven surface | Use overlapping passes |
| Using dull sandpaper | Slows work and rough finish | Replace sandpaper often |
| Ignoring edges | Rough or unfinished edges | Sand edges carefully and slowly |
Finishing Touches
After sanding floors with an orbital sander, the finishing touches are important. They help prepare your floor for sealing or staining.
These final steps ensure a smooth, clean surface that looks great and lasts longer.
Cleaning Dust And Debris
Dust and debris from sanding can stick to the floor. Cleaning it well improves the finish and prevents problems later.
Use a vacuum with a brush attachment to remove loose dust. Then, wipe the floor with a damp cloth to catch fine particles.
- Vacuum the floor thoroughly
- Wipe with a damp microfiber cloth
- Let the floor dry completely
Inspecting The Floor Surface
Look closely at the floor after cleaning. Check for scratches, dents, or uneven sanding marks.
Use good lighting to see imperfections. Fix any problem areas with light sanding before finishing.
- Check for deep scratches or gouges
- Look for areas that feel rough
- Smooth any uneven spots with fine sandpaper
When To Re-sand
You may need to re-sand if the floor has visible damage or the finish will not stick well. Re-sanding fixes these issues.
Do not over-sand. Light sanding is enough to prepare the floor for a new finish.
- Re-sand if scratches or stains remain
- Sand again if the surface feels rough
- Avoid sanding too much to protect the wood
Maintaining Your Orbital Sander
Keeping your orbital sander in good shape helps it work better and last longer.
Regular maintenance makes sanding floors easier and safer for you.
Cleaning The Tool
Dust and debris can build up on your sander and slow it down. Clean it after each use to keep it working well.
- Unplug the sander before cleaning.
- Use a soft brush to remove dust from vents and moving parts.
- Wipe the exterior with a damp cloth.
- Check the pad for stuck debris and clean it carefully.
Replacing Sandpaper
Worn sandpaper reduces sanding quality. Change the sandpaper often to get smooth floors.
- Turn off and unplug the sander.
- Remove the old sandpaper from the pad.
- Align the new sandpaper with the pad holes for dust collection.
- Press the sandpaper firmly to stick it in place.
- Check that it is secure before turning on the tool.
Storing Safely
Store your sander in a dry, clean place to avoid damage. Proper storage keeps it ready for your next project.
| Storage Tip | Reason |
|---|---|
| Keep in a dry area | Prevents rust and electrical issues |
| Store with sandpaper removed | Avoids pad damage and dust buildup |
| Use a case or cover | Keeps dust and dirt away |
| Keep away from children | Ensures safety |
Frequently Asked Questions
What Is An Orbital Sander Used For?
An orbital sander is ideal for sanding floors. It provides a smooth finish without leaving swirl marks. Its random motion makes it perfect for refinishing hardwood floors. This tool is versatile and user-friendly, ensuring an even surface. It’s a go-to choice for both professionals and DIY enthusiasts.
How Do You Use An Orbital Sander?
Start by attaching the correct sandpaper to the sander. Turn on the tool and guide it gently over the floor. Ensure even pressure is applied to avoid uneven surfaces. Always follow the grain of the wood. Finish by wiping the floor clean to remove dust and debris.
Can Beginners Use An Orbital Sander?
Yes, beginners can use an orbital sander with ease. It’s designed for user-friendliness and efficiency. The tool requires minimal setup and offers consistent results. Always follow safety guidelines and practice on a small area first. With a bit of practice, you’ll achieve a professional finish.
What Safety Precautions Are Necessary?
Wear protective gear, including goggles and a dust mask. Ensure the area is well-ventilated. Keep the power cord away from the sander’s path. Regularly check and maintain the sander for optimal performance. Always follow manufacturer instructions for safe usage. These precautions ensure a safe sanding experience.
Conclusion
Using an orbital sander makes floor sanding easier and faster. Keep the sander moving to avoid uneven spots. Choose the right sandpaper grit for smooth results. Always wear safety gear to protect yourself. Clean the floor well before and after sanding.
Practice on a small area to gain confidence. With care and patience, your floors will look great. Sanding floors can be simple with the right steps. Now, you are ready to give your floors a fresh look.