Are your pliers scattered all over your workbench or stuffed haphazardly in a drawer? It’s frustrating when you need the right tool quickly but can’t find it.
You deserve a simple, effective way to organize your pliers so they’re easy to access and stay in great shape. Imagine opening your drawer and instantly spotting the exact plier you need without any hassle. You’ll discover easy, practical tips to transform your cluttered drawers into a neat, organized space that saves you time and frustration every time you work.
Keep reading, and make your toolbox work for you!

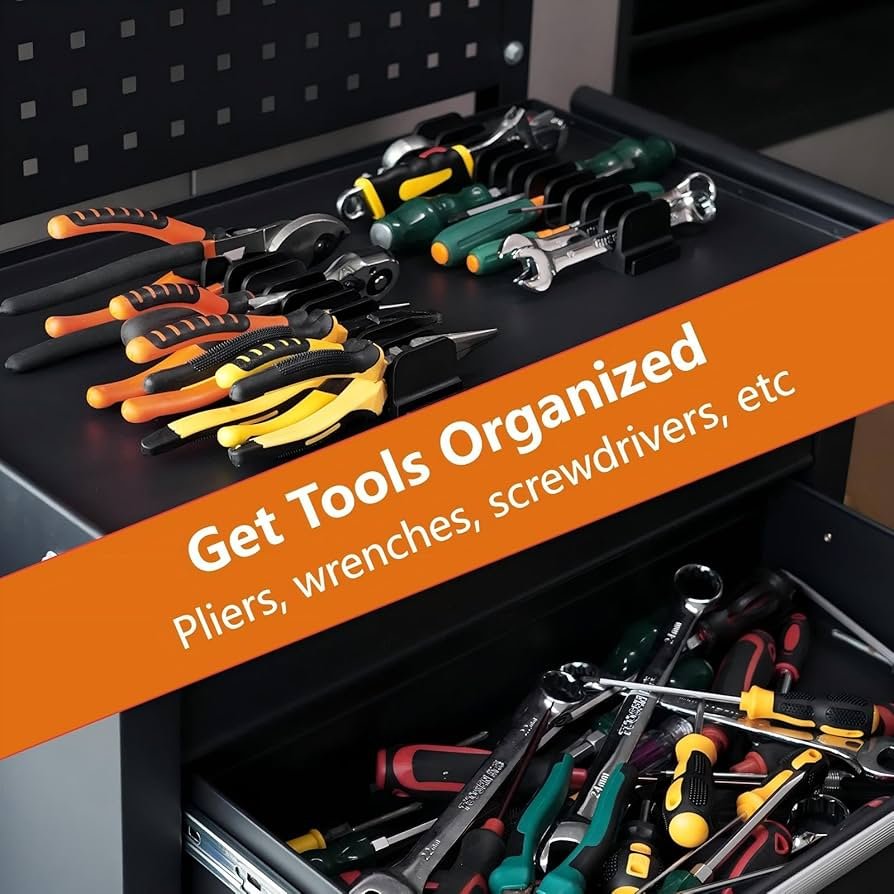
Credit: www.amazon.com
Choose The Right Drawer
Organizing pliers in drawers starts with picking the right drawer. The drawer must fit your pliers and be easy to reach.
Choosing the right drawer helps keep your tools safe and your workspace tidy.
Assess Drawer Size
Check the drawer’s depth, width, and height before storing pliers. The drawer should hold all your pliers without crowding.
- Measure the drawer’s length and width.
- Make sure it is deep enough to hold pliers flat or upright.
- Leave space for handles and tips to avoid damage.
- Consider the size of your largest plier.
- Allow extra room for adding more pliers later.
Select Accessible Location
Place the drawer where you can easily reach your pliers. This saves time and effort when working.
| Location | Benefit |
|---|---|
| Top drawer near your workbench | Quick access during projects |
| Middle drawer in tool cabinet | Good visibility and easy reach |
| Side drawer in mobile tool cart | Portable and convenient |
Sort Pliers By Type
Organizing pliers in drawers saves time and keeps your workspace neat. Sorting them by type makes it easy to find the right tool quickly.
Start by grouping your pliers. This helps you see what you have and decide the best way to store them.
Group By Function
Group pliers based on what they do. This keeps similar tools together and reduces clutter.
- Cutting pliers, like diagonal cutters
- Gripping pliers, such as needle-nose pliers
- Crimping pliers for wires and connectors
- Locking pliers that hold tight on objects
- Specialty pliers for tasks like bending or stripping
Keeping these groups separate helps you grab the right pliers fast. Label drawer sections for each function.
Separate By Size
Within each function group, sort pliers by size. Small, medium, and large pliers have different uses.
| Size | Best Use |
| Small | Delicate tasks and tight spaces |
| Medium | General repairs and everyday work |
| Large | Heavy-duty jobs and strong grip |
Arrange pliers from smallest to largest in each drawer section. This order helps keep your tools neat and easy to access.
Use Drawer Dividers
Keeping your pliers organized makes your workspace neat and tools easy to find. Drawer dividers help separate different types of pliers.
Dividers create individual spaces in drawers, preventing tools from mixing and getting damaged.
Diy Divider Ideas
You can make simple dividers using materials at home. Cardboard, wood scraps, or foam boards work well as drawer dividers.
Measure your drawer and cut the material to fit. Place the dividers so each type of plier has its own section.
- Use cardboard strips taped together for adjustable dividers
- Cut wood pieces to fit drawer width and glue or nail in place
- Foam boards are lightweight and easy to cut for custom sizes
- Add felt or fabric on dividers to protect tool handles
Store-bought Options
Many stores sell ready-made drawer dividers that fit most tool drawers. These dividers come in plastic, wood, or metal.
Store-bought dividers often have adjustable parts. This allows you to change the size of each section as needed.
- Plastic dividers are easy to clean and lightweight
- Wood dividers add a sturdy, classic look
- Metal dividers are durable and strong
- Adjustable dividers fit different drawer sizes

Credit: toolguyd.com
Label Sections Clearly
Organizing pliers in drawers becomes easier with clear labels. Labels help you find tools quickly.
Dividing drawer space with labels keeps your workspace neat and saves time.
Simple Labeling Methods
Use easy labels to mark sections for different pliers. You can write names or use pictures.
Sticky notes, printed labels, or tape work well. Choose what fits your style and tools.
- Use a label maker for clear, uniform text
- Write on masking tape with a marker
- Attach small tags with string or clips
- Use color-coded stickers for quick ID
Benefits Of Labels
Labels save time by letting you find pliers fast. This keeps your work flow smooth.
They also protect your tools by storing them properly. Clear labels reduce clutter in drawers.
- Helps keep tools in the right place
- Reduces searching and frustration
- Makes cleaning and organizing easier
- Helps others find tools without asking
Maintain Cleanliness
Keeping your pliers clean helps them last longer and work better.
Organizing pliers in drawers is easier when the tools stay free of dirt and rust.
Regular Cleaning Tips
Clean your pliers after each use to remove dirt and grease.
- Wipe tools with a dry cloth to remove dust.
- Use a soft brush to clean hard-to-reach areas.
- Apply a small amount of oil to metal parts for smooth movement.
- Store pliers in a dry drawer or container to avoid moisture.
Prevent Rust And Damage
Rust can ruin pliers and make them unsafe to use. Follow these tips to protect your tools.
| Action | Benefit |
|---|---|
| Keep pliers dry after cleaning | Stops rust from forming |
| Store with silica gel packs | Absorbs moisture inside drawers |
| Use rust-preventive spray | Creates a protective layer |
| Check for damage regularly | Fixes small problems early |
Maximize Space Efficiency
Organizing pliers in drawers saves time and keeps your workspace neat. Using smart storage ideas helps you fit more tools in less space.
Maximizing space means using every inch wisely. Good organization stops clutter and makes tools easy to find.
Vertical Storage Tricks
Store pliers vertically to use drawer height better. This method keeps handles visible and easy to grab.
You can use small containers or dividers to hold pliers upright. This stops them from rolling and saves drawer space.
- Use narrow containers or jars inside drawers
- Place pliers handle-up for quick access
- Group pliers by size or type vertically
- Add foam or rubber grips to keep pliers steady
Stacking And Nesting
Stack pliers that fit well together to save space. Nest small pliers inside larger ones if shapes allow.
This method reduces drawer clutter and makes use of unused gaps. Be careful not to damage tool jaws when stacking.
- Place larger pliers flat at the bottom
- Put smaller pliers inside or on top
- Use drawer liners to stop slipping
- Keep similar pliers stacked for easy sorting
Add Protective Liners
Adding protective liners to your drawers helps keep pliers organized and in good condition. Liners prevent scratches and reduce noise when you open and close the drawer.
Choosing the right liner material and installing it properly will make your tool storage more durable and neat.
Choose Liner Materials
There are several materials to choose from for drawer liners. Each offers different benefits depending on your needs.
- Felt:Soft and cushions tools well. Good for delicate pliers.
- Rubber:Non-slip surface keeps pliers from sliding.
- Foam:Thick padding protects against impacts.
- Cork:Natural and eco-friendly, with moderate cushioning.
- Vinyl:Easy to clean and water-resistant.
Liner Installation Tips
Installing liners correctly ensures they stay in place and last longer.
| Tip | Description |
| Measure Drawer | Cut liner to fit exactly inside the drawer. |
| Clean Surface | Remove dust and debris before placing liner. |
| Use Adhesive | Apply double-sided tape or spray adhesive for secure hold. |
| Smooth Out Bubbles | Press liner firmly to avoid wrinkles or air pockets. |
| Replace When Worn | Check liners regularly and replace if damaged. |

Credit: www.etsy.com
Create A Tool Inventory
Organizing pliers in drawers starts with knowing what tools you have. A tool inventory helps you keep track. It makes finding tools faster and saves space.
Write down each type of plier, its condition, and where it is stored. This list will guide you in keeping your drawer neat and complete.
Track Tool Usage
Knowing how often you use each plier can help you organize better. Tools used daily should be easy to reach. Rarely used ones can be stored further back.
- Note which pliers you use the most
- Keep frequently used pliers in front
- Separate pliers by type or size
- Mark tools that need repair or sharpening
Plan For Replacements
Planning for replacements keeps your tools ready for work. Check your inventory to find worn or broken pliers. Set a schedule to buy new ones before you run out.
| Tool | Condition | Replacement Needed | Planned Purchase Date |
|---|---|---|---|
| Needle-nose Pliers | Good | No | N/A |
| Slip-joint Pliers | Worn | Yes | Next Month |
| Diagonal Cutting Pliers | Fair | Maybe | In 3 Months |
Frequently Asked Questions
How Do I Categorize Different Types Of Pliers?
Start by grouping pliers based on their function, such as cutting, gripping, or crimping. Use dividers or small bins to separate them within the drawer. Label each section for easy identification. This makes it simple to find the right tool quickly, enhancing efficiency in your workspace.
What Tools Help In Organizing Pliers?
Drawer organizers, dividers, and pegboards are excellent tools for organizing pliers. Use foam inserts to hold each plier securely in place. Magnetic strips can also keep pliers accessible and visible. These tools prevent clutter and ensure that each plier has a designated spot.
How Can I Maximize Drawer Space For Pliers?
Utilize vertical space by stacking pliers with tiered organizers. Consider drawer inserts with adjustable sections to accommodate various plier sizes. Use slim dividers to create specific compartments. This arrangement maximizes space while keeping pliers easily accessible and neatly stored.
Why Is Organizing Pliers Important?
Organizing pliers enhances productivity and safety by reducing the time spent searching for tools. It prevents damage to pliers by minimizing clutter and contact. An organized drawer also prolongs tool life and ensures a tidy, professional workspace, ultimately increasing work efficiency.
Conclusion
Organizing pliers in drawers saves time and reduces frustration. Use dividers or trays to keep tools separated. Group pliers by size or function for quick access. Labeling sections helps find the right tool fast. Keep your workspace tidy and efficient every day.
A simple system makes tool care easier too. Try different methods to find what works best. Organized drawers protect your pliers and extend their life. Small steps lead to big improvements in tool storage. Start organizing today and enjoy a clutter-free workspace.