Are your chisels always scattered, making it hard to find the right one when you need it? Imagine a workspace where every chisel has its place—easy to spot and quick to grab.
Organizing your chisels on a rack not only saves time but also protects your tools and boosts your efficiency. You’ll discover simple, practical tips to arrange your chisels neatly and keep your workshop clutter-free. Ready to take control of your tools and work smarter?
Let’s dive in!
Choosing The Right Rack
Organizing chisels properly helps keep your workspace safe and efficient. Picking the right rack is key to storing chisels neatly and within reach.
This guide covers different rack types, materials, and sizes to help you find the best fit for your chisels.
Wall-mounted Vs Free-standing
Wall-mounted racks save floor space and keep chisels visible. Free-standing racks offer mobility and often more capacity. Your choice depends on your workspace and how you use chisels.
- Wall-Mounted:Fixes to the wall for easy access.
- Free-Standing:Can be moved around the workshop.
- Space:Wall racks free floor area; free-standing racks may take more room.
- Capacity:Free-standing racks may hold more chisels.
Material Options
Racks come in wood, metal, or plastic. Each material offers different benefits for durability and style.
| Material | Durability | Appearance | Price |
| Wood | Good | Classic and warm | Moderate |
| Metal | Very durable | Industrial look | Moderate to high |
| Plastic | Less durable | Simple and clean | Low |
Size And Capacity
Choose a rack size that fits your chisels and space. Consider how many chisels you own and plan for extra room.
- Measure the longest chisel to find the right height.
- Count your chisels to choose the right slots or holders.
- Think about space for future chisels.
- Check rack width to fit your wall or workbench.

Credit: www.reddit.com
Sorting Chisels By Type And Size
Organizing chisels on a rack helps you find the right tool quickly. Sorting them by type and size keeps your workspace neat.
Different chisels serve different purposes. Grouping them carefully makes your work easier and safer.
Grouping By Blade Width
Sort chisels by their blade width to keep similar tools together. This helps you select the right width for your task faster.
| Blade Width | Suggested Storage Area |
| 6 mm or less | Top row, left side |
| 7 mm to 15 mm | Middle row, center |
| 16 mm or more | Bottom row, right side |
Separating By Handle Style
Handles come in various styles like wooden, plastic, or metal. Keep each style in its own section to avoid confusion.
- Wooden handles last longer with proper care.
- Plastic handles are lightweight and easy to spot.
- Metal handles offer strong grip and durability.
Prioritizing Frequent Use
Place your most-used chisels within easy reach. Less-used tools can go farther back on the rack.
- Identify your daily-use chisels.
- Arrange them at eye level or front of the rack.
- Store specialty chisels in secondary sections.
Maximizing Vertical Space
Organizing chisels on a rack saves space and keeps tools easy to find. Using vertical space helps store more chisels in a small area.
Good vertical organization protects the chisels and makes your workspace neat. Here are some tips to use vertical space well.
Using Multi-tier Racks
Multi-tier racks use height by stacking several shelves. This lets you store more chisels without taking much floor space.
You can place chisels by size or use on each tier. This keeps tools visible and easy to reach.
- Choose racks with enough tiers for your chisel collection
- Label tiers to find chisels quickly
- Keep heavier chisels on lower tiers for safety
Stacking Techniques
Stack chisels carefully to avoid damage and save space. Use racks with slots or dividers to keep chisels upright.
Stacking chisels vertically prevents blades from touching. It also makes each tool easy to grab.
- Place chisels with handles down for balance
- Use foam or soft liners between chisels if stacking close
- Stack chisels by size to prevent tipping
Incorporating Pegboards
Pegboards offer a flexible way to organize chisels vertically. Hooks and holders keep chisels off surfaces and easy to see.
You can adjust peg positions to fit different chisel sizes. Pegboards save space and keep tools ready for use.
- Use peg hooks that fit chisel handles securely
- Arrange chisels by size or type on the board
- Install pegboards near your workbench for convenience

Credit: www.reddit.com
Labeling And Accessibility
Organizing chisels on a rack helps keep your workspace neat and efficient. Clear labels and easy access save time during projects.
Good labeling and placement also protect your tools and ensure safety in your workshop.
Clear Labeling Methods
Label each chisel clearly for quick identification. Use simple, easy-to-read fonts and waterproof labels to avoid wear.
- Write the size or type of chisel on each label
- Use color coding to group similar chisels
- Place labels at eye level for easy reading
- Consider using engraved or printed tags for durability
Easy Reach Placement
Place frequently used chisels within arm’s reach. Less used tools can go on higher or lower rack levels.
| Placement Area | Recommended Tools |
| Eye Level | Most used chisels |
| Upper Shelf | Rarely used chisels |
| Lower Shelf | Heavy or large chisels |
Safety Considerations
Keep chisels secure to prevent accidents. Store blades pointing down or covered to protect fingers.
- Use blade guards or covers
- Keep the rack stable and fixed to the wall
- Do not overcrowd chisels to avoid falls
- Regularly check labels and rack condition
Diy Rack Ideas
Organizing chisels keeps your workspace neat and tools safe. You can build racks with simple materials. This guide shows easy ideas to store chisels on a rack.
Use household items or make custom racks to fit your needs. These ideas help you find the best way to organize your chisels.
Repurposing Household Items
Look around your home for items that can hold chisels. Old jars, spice racks, or shoe organizers work well. These save money and reduce waste.
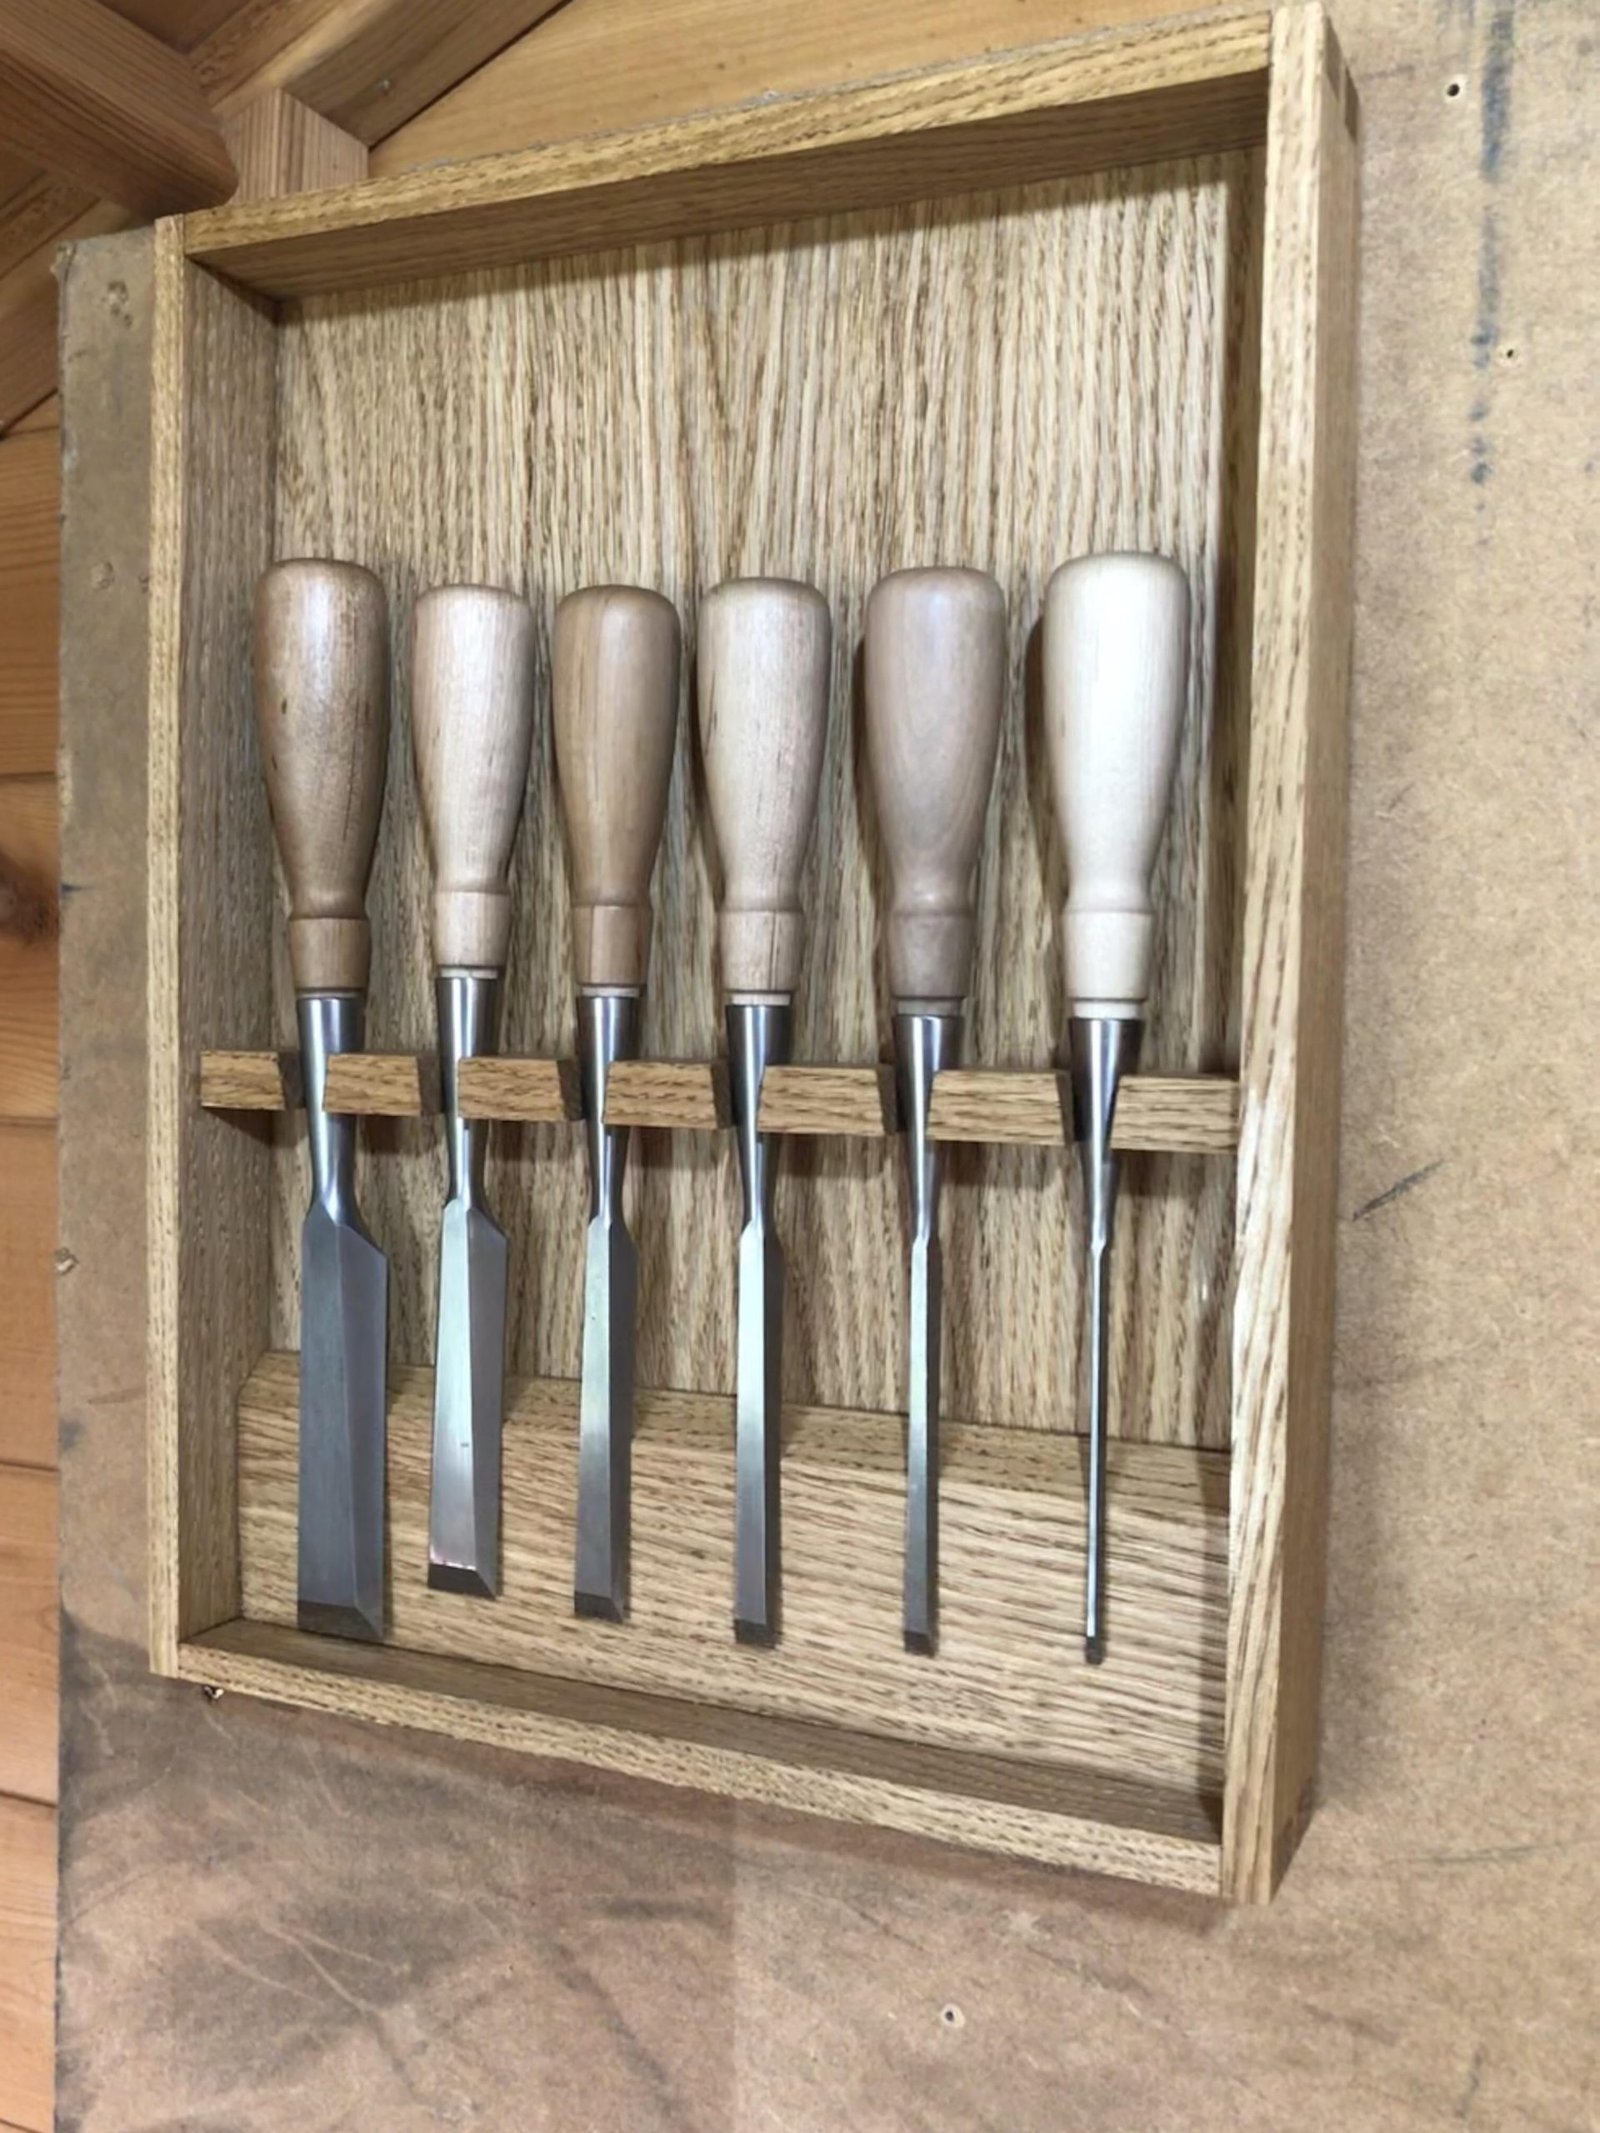
- Use a wooden wine crate to hold chisels upright.
- Hang a pegboard with hooks to clip chisels by handles.
- Attach magnetic strips to a wall to hold metal chisels.
- Repurpose a cutlery tray to separate chisels by size.
Simple Woodworking Projects
Building a wooden chisel rack can be simple and quick. Use scraps of wood and basic tools. This lets you customize size and shape.
| Project Type | Materials Needed | Key Feature |
| Wall-mounted rack | Wood plank, screws, hooks | Saves table space |
| Desktop stand | Wood blocks, glue, nails | Easy to move |
| Slot holder | Wood board, saw, sandpaper | Keeps chisels upright |
Customizable Modular Systems
Modular racks let you add or remove parts as needed. Use small wooden blocks or cubes that fit together. This system grows with your tool collection.
- Create individual slots with adjustable dividers.
- Use magnets on wooden panels for flexible placement.
- Stack small boxes to make a tower-style rack.
- Label each section for easy chisel identification.

Credit: www.reddit.com
Maintaining And Cleaning Chisels On The Rack
Keeping your chisels clean and well-maintained helps them last longer. A neat rack makes it easy to find the right chisel.
Regular care prevents damage and keeps chisels sharp. Use simple steps to maintain them on the rack.
Regular Inspection Tips
Check your chisels often for signs of wear or damage. Look for cracks, chips, or loose handles before use.
Inspect the rack itself. Make sure it holds chisels securely and does not cause scratches or dents.
- Look for blade dullness or rust spots
- Check handle tightness and cracks
- Ensure the rack slots fit chisels well
- Remove any dirt or debris on the rack
Preventing Rust And Damage
Keep chisels dry to stop rust from forming. Store them in a dry place and avoid moisture on the rack.
Use protective covers or oil on the blades to protect metal surfaces. Avoid dropping chisels on hard floors.
- Apply a thin layer of oil to blades
- Use blade guards or sheaths
- Store chisels away from humidity
- Handle chisels carefully to avoid damage
Cleaning Best Practices
Clean chisels after every use to remove dirt and sap. Use a soft cloth or brush to wipe blades gently.
For tougher grime, use mild soap and warm water. Dry chisels completely before returning them to the rack.
- Wipe blades with an oily cloth after cleaning
- Remove rust with fine steel wool or a rust remover
- Clean wooden handles with a damp cloth only
- Check for any residue left before storing
Frequently Asked Questions
How To Choose The Right Chisel Rack?
Selecting the right chisel rack depends on your workshop space and chisel collection size. Consider racks made of durable materials like wood or metal. Ensure the rack has slots or holders that fit your chisel sizes securely. Opt for a design that allows easy access and visibility to keep your tools organized efficiently.
What Materials Are Best For Chisel Racks?
Wood and metal are ideal materials for chisel racks. Wood racks offer a classic look and can be customized easily. Metal racks provide durability and strength, perfect for heavier chisels. Both materials ensure stability and longevity, helping maintain an organized and accessible tool setup.
How To Maintain A Chisel Rack?
Regularly clean your chisel rack to prevent dust and debris build-up. Check for any signs of wear or damage, especially in wooden racks. Tighten any loose screws or fasteners. Occasionally apply a protective finish to wooden racks to maintain their appearance and longevity, ensuring your chisels remain securely organized.
Can I Make A Diy Chisel Rack?
Yes, you can create a DIY chisel rack using basic materials. Start with a sturdy piece of wood or metal. Cut slots or holders to fit your chisel sizes. Use screws or nails for assembly. Customize the design to fit your space and storage needs, ensuring easy access to your chisels.
Conclusion
Organizing chisels on a rack keeps your workspace tidy and safe. It saves time by making tools easy to find. Keeping chisels in order protects their sharp edges. A neat rack helps you work faster and better. Try different racks to see what fits your needs.
Regularly check and clean your chisels for longer use. Small changes make a big difference in your workshop. Start organizing today and enjoy a smoother work process.