Are you tired of your sanding blocks getting damaged or lost in your workspace? How you store your sanding blocks can make a huge difference in keeping them ready for your next project.
If you want to save time, keep your tools in top shape, and avoid frustration, learning the best way to store sanding blocks in boxes is key. You’ll discover simple, effective tips that will help you organize your sanding blocks neatly and protect them from wear and tear.
Keep reading to transform your storage game and make your sanding tasks smoother than ever.
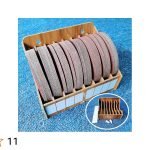
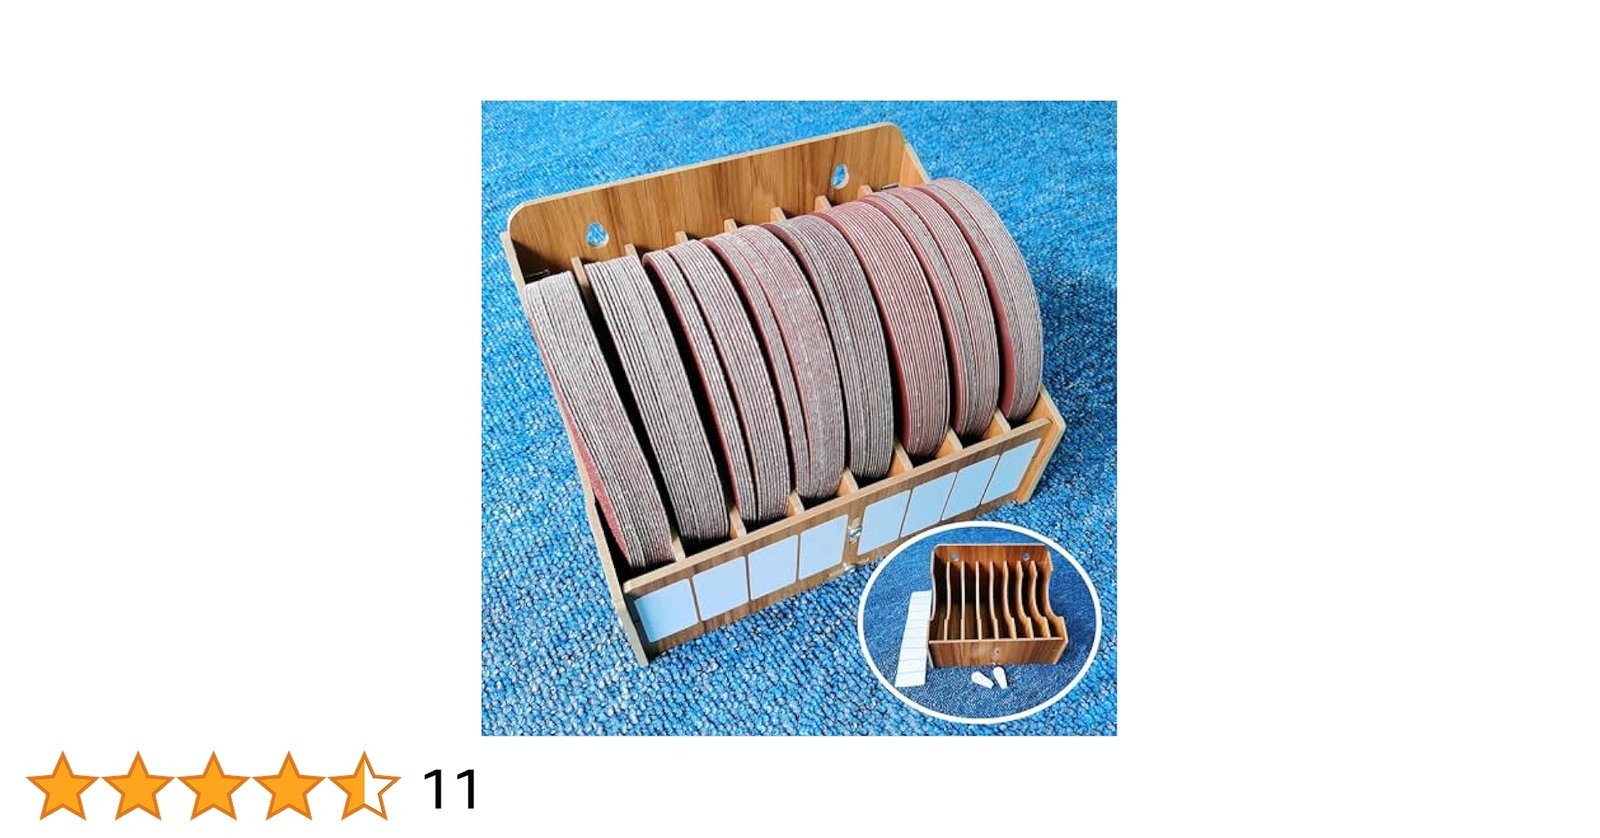
Credit: www.etsy.com
Choosing The Right Box
Storing sanding blocks properly keeps them in good shape. The right box protects them from damage and dirt.
Choosing the right box depends on the material, size, and ventilation. These factors help keep your sanding blocks ready to use.
Material Considerations
Pick a box made from strong materials. Plastic and metal boxes work well for durability and protection.
Plastic boxes resist moisture, which stops sanding blocks from getting soft or damaged.
- Plastic: Lightweight and moisture-resistant
- Metal: Very durable and impact-resistant
- Wood: Natural but can absorb moisture
Size And Compartments
Choose a box size that fits your sanding blocks without crowding them. Blocks need space to avoid damage.
Boxes with compartments help keep blocks organized by grit or type. This makes it easy to find the right block fast.
- Allow space for each sanding block
- Use compartments for different grit sizes
- Consider stackable boxes for saving space
Ventilation Needs
Good airflow in the box stops moisture buildup. Moisture can ruin sanding blocks by making them soft.
Choose boxes with small vents or holes. This allows air to move while keeping dust out.
- Boxes with vent holes improve air circulation
- Avoid completely sealed boxes without airflow
- Store boxes in dry places for best results

Credit: www.reddit.com
Preparing Sanding Blocks For Storage
Storing sanding blocks properly keeps them in good shape. It also helps you find the right block quickly. Proper storage saves time and money.
Before storing sanding blocks, prepare them well. Clean and dry them, group by grit, and label each box clearly.
Cleaning And Drying
Remove dust and debris from sanding blocks after use. Use a soft brush or compressed air to clean each block. Avoid water as it can damage the block.
Let the blocks dry completely if they get damp. Store only dry blocks to prevent mold and damage. Dry blocks last longer and work better.
Grouping By Grit
Sort sanding blocks by their grit size before storing. Keep similar grit blocks together for easy access. This saves time when choosing the right block.
- Coarse grits (40-60) for heavy sanding
- Medium grits (80-120) for smoothing surfaces
- Fine grits (150-220) for finishing touches
Labeling Techniques
Label each storage box with the grit sizes inside. Use clear and simple labels. This helps you find the right sanding block fast.
| Label | Description |
| Coarse | 40 – 60 grit blocks |
| Medium | 80 – 120 grit blocks |
| Fine | 150 – 220 grit blocks |
Organizing Sanding Blocks Inside Boxes
Keeping sanding blocks organized helps you find the right block quickly. It also protects them from damage. Using proper storage methods makes your workspace cleaner.
Boxes are great for storing sanding blocks. You can use different techniques to keep them neat and safe.
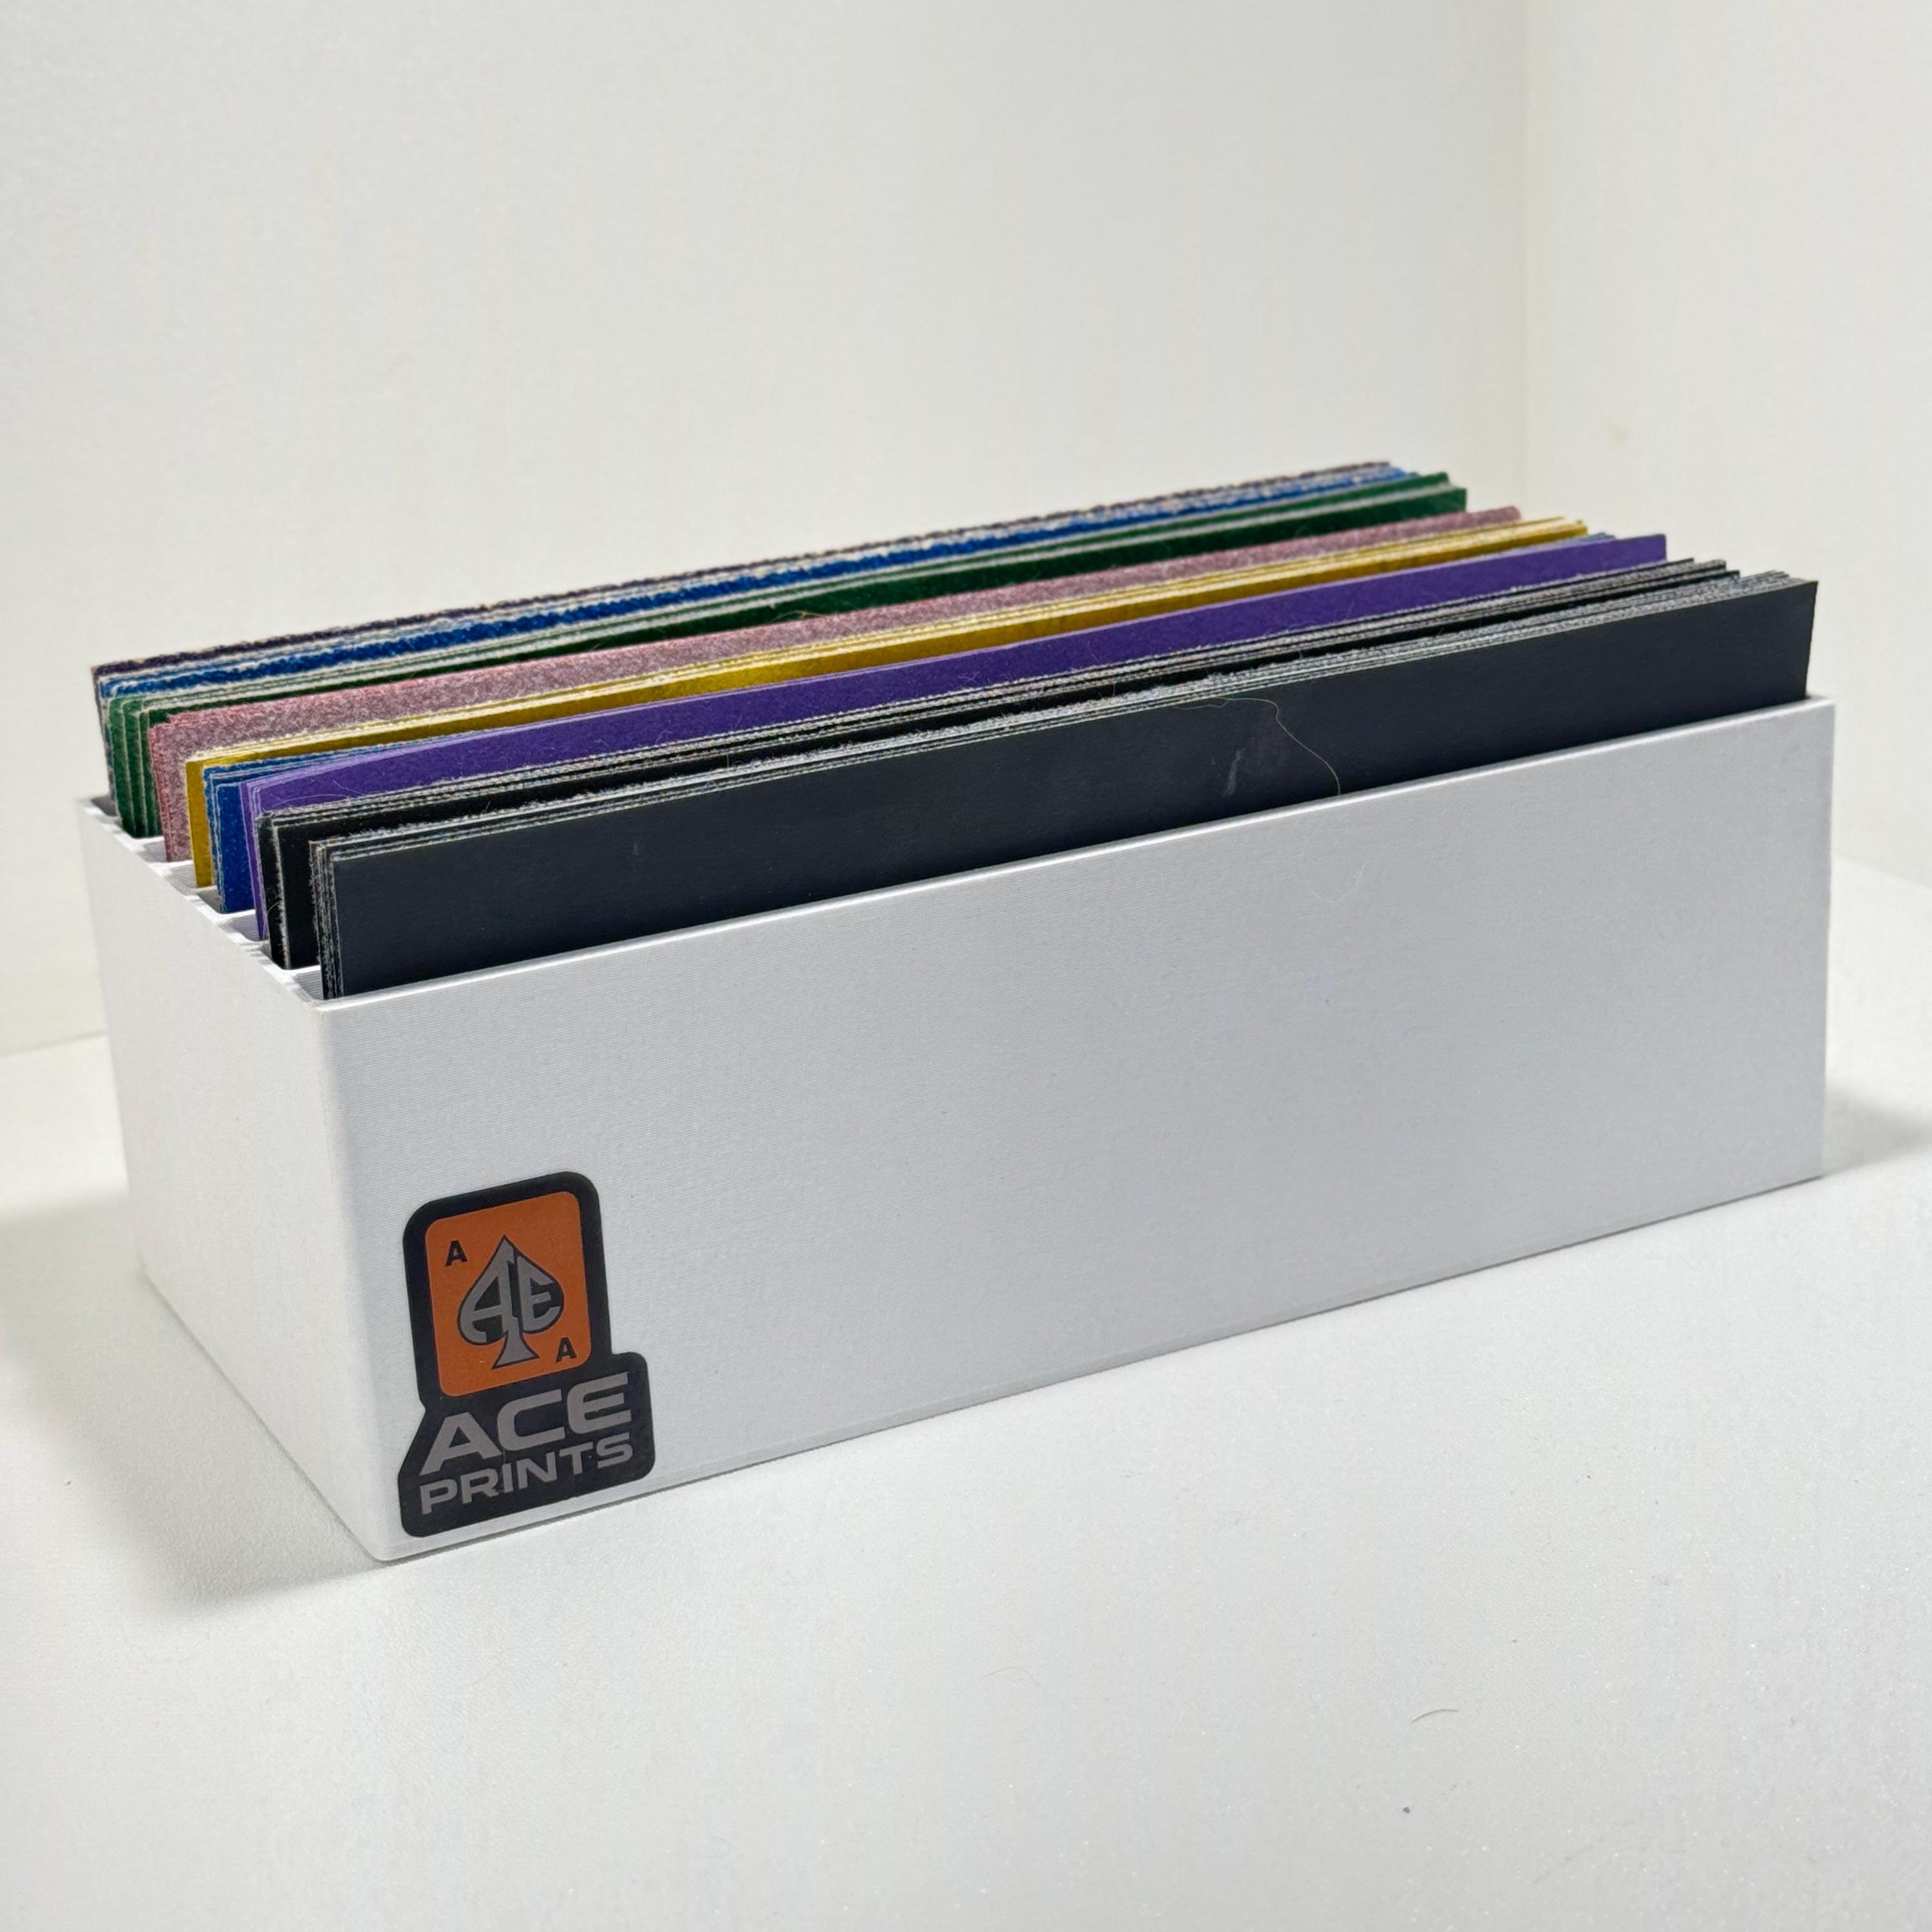
Using Dividers And Inserts
Dividers and inserts separate sanding blocks inside a box. They keep blocks from touching each other. This prevents scratches and wear.
- Use wooden or plastic dividers to create sections.
- Foam inserts hold blocks snugly in place.
- Label each section to identify grit or type quickly.
- Custom inserts can fit unusual block shapes.
Stacking Strategies
Stack sanding blocks carefully to save space and avoid damage. Place heavier blocks at the bottom. Light blocks go on top.
| Stacking Tip | Reason |
|---|---|
| Stack by size | Makes the box stable and easy to open. |
| Keep grit types separate | Prevents mixing and cross-contamination. |
| Use flat surfaces | Avoids bending or warping blocks. |
| Limit stack height | Stops blocks at the bottom from being crushed. |
Avoiding Damage
Protect sanding blocks from moisture and dust. Store boxes in a dry, cool area. Avoid dropping or throwing boxes.
- Use airtight containers if possible.
- Wrap blocks in soft cloth for extra protection.
- Check blocks regularly for signs of wear or damage.
- Keep boxes off the floor to prevent water damage.
Maintaining Durability Over Time
Storing sanding blocks properly helps them last longer. Good storage keeps their shape and grit effective.
Using boxes for storage protects blocks from damage and dirt. This guide explains how to keep them durable.
Regular Inspection
Check sanding blocks often for wear and damage. Look for cracks, tears, or uneven surfaces. Replace blocks that show signs of breakdown to avoid poor sanding results.
- Inspect blocks before and after use
- Discard blocks with deep cuts or worn grit
- Keep track of usage time for each block
Handling Moisture And Dust
Moisture can weaken sanding blocks and cause mold. Dust buildup clogs the grit and reduces effectiveness. Store blocks in dry, clean boxes to avoid these issues.
| Risk | Effect | Prevention |
| Moisture | Weakens block, causes mold | Use airtight boxes, keep dry |
| Dust | Clogs grit, reduces sanding quality | Clean blocks before storage |
Replacing Worn Blocks
Replace sanding blocks once they lose grip or shape. Using worn blocks wastes effort and can damage your work surface. Store new blocks separately to avoid mixing.
- Identify worn blocks by smooth or torn surfaces
- Remove worn blocks from the storage box
- Keep new blocks in a clean, separate box
- Label boxes to avoid confusion
Storage Location Tips
Storing sanding blocks properly helps keep them in good shape. The right storage place makes them last longer.
Choosing a good spot for your sanding blocks keeps them clean and ready to use. Follow these tips to store them well.
Ideal Environmental Conditions
Keep sanding blocks in a dry place. Moisture can damage the blocks and reduce their quality.
The temperature should be stable and not too hot or cold. Extreme heat or cold can cause sanding blocks to wear out faster.
- Store in a dry room
- Avoid places with high humidity
- Keep temperature moderate, around 60-75°F (15-24°C)
Avoiding Direct Sunlight
Do not place sanding blocks where sunlight hits them. Sunlight can make the blocks dry and brittle.
Keep boxes away from windows or glass doors. This protects the sanding blocks from fading or damage.
- Store boxes in shaded areas
- Use opaque containers if near windows
- Check boxes regularly for sun damage
Accessibility And Safety
Place sanding block boxes where you can reach them easily. This saves time and effort while working.
Keep the storage area clean and organized. Store blocks away from sharp tools and heavy objects to avoid accidents.
- Store at waist height for easy reach
- Label boxes for quick identification
- Keep the area free of clutter
- Separate sanding blocks from hazardous tools

Credit: www.thestuffstore131.com
Frequently Asked Questions
How Do I Organize Sanding Blocks In Boxes?
Organize sanding blocks by size and grit in separate compartments. Label each section for easy identification. Use small containers or dividers within the box to keep them in place. This prevents damage and makes it easy to find the right block.
What Type Of Boxes Are Best For Sanding Blocks?
Choose sturdy, moisture-resistant boxes to store sanding blocks. Plastic containers with secure lids are ideal. They protect against moisture and dust. Stackable boxes save space and keep your workspace organized. Ensure the box size accommodates your sanding blocks comfortably.
Should Sanding Blocks Be Stored Vertically Or Horizontally?
Store sanding blocks horizontally to prevent warping. Ensure they lie flat and are not stacked too tightly. This position preserves their shape and effectiveness. Vertical storage can cause pressure and deform the blocks over time, reducing their lifespan.
Can I Store Sanding Blocks With Other Tools?
Yes, but use separate compartments to prevent damage. Store sanding blocks away from sharp tools. This avoids accidental cuts or scratches. Use dividers in the box to keep everything organized and accessible. Proper separation ensures your sanding blocks remain in good condition.
Conclusion
Storing sanding blocks in boxes keeps them clean and easy to find. It saves time during projects and protects the blocks from damage. Choose boxes that fit well and allow air flow to avoid moisture build-up. Label each box clearly for quick access.
Regularly check your blocks and replace worn ones to keep your work smooth. Simple steps like these help keep your tools organized and ready to use. A small effort now prevents hassle later. Keep your sanding blocks neat, and your projects will go much better.