Is your sanding machine acting up right when you need it most? Don’t let a simple problem stop your project or slow down your work.
You might think fixing it is too hard or expensive, but what if you could handle the repairs yourself quickly and confidently? This guide will walk you through easy steps to diagnose and fix common sanding machine issues. By the end, you’ll save time, money, and frustration—and get your machine running like new again.
Ready to take control of your sanding machine repairs? Let’s dive in.

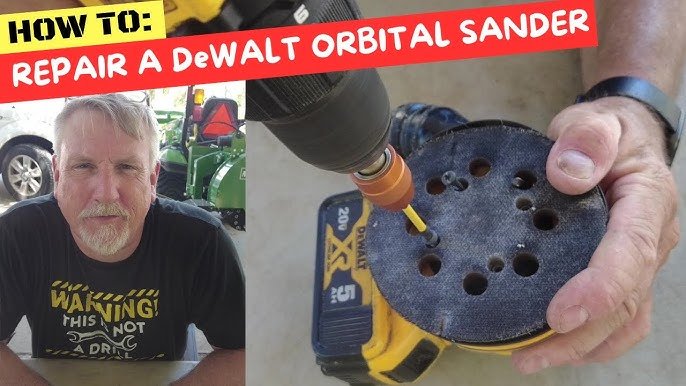
Credit: www.familyhandyman.com
Common Sanding Machine Issues
Sanding machines can break down from regular use. Understanding common problems helps you fix them fast. This guide covers key issues and how to spot them.
Knowing what causes these problems saves time and money. Read on to learn about motor troubles, belt wear, dust collection, and electrical faults.
Motor Problems
The motor is the heart of a sanding machine. If it stops working, the machine will not run. Common motor issues include overheating, strange noises, and failure to start.
Check for clogged vents and worn brushes. Clean the motor regularly and replace brushes if needed. Overheating often means the motor is overloaded or not ventilated well.
Belt And Disc Wear
Belts and discs wear out with use. Worn belts slip and reduce sanding power. Damaged discs cause uneven sanding and can be unsafe.
- Inspect belts for cracks or fraying
- Replace belts that are loose or damaged
- Check discs for cracks or chips
- Replace discs that are worn or warped
- Ensure proper belt tension
Dust Collection Failures
Dust collection keeps the work area clean and safe. If the system fails, dust builds up and clogs the machine. This can cause overheating and poor sanding results.
| Problem | Cause | Solution |
| Low suction | Clogged hose or filter | Clean or replace hose and filter |
| No dust pickup | Fan motor failure | Check and repair fan motor |
| Excess dust | Loose connections | Tighten all dust system connections |
Electrical Malfunctions
Electrical problems stop the machine from working correctly. These include blown fuses, faulty switches, and wiring issues. Regular checks prevent sudden breakdowns.
- Machine does not start
- Sparks or burning smell
- Intermittent power loss
- Switches feel loose or broken
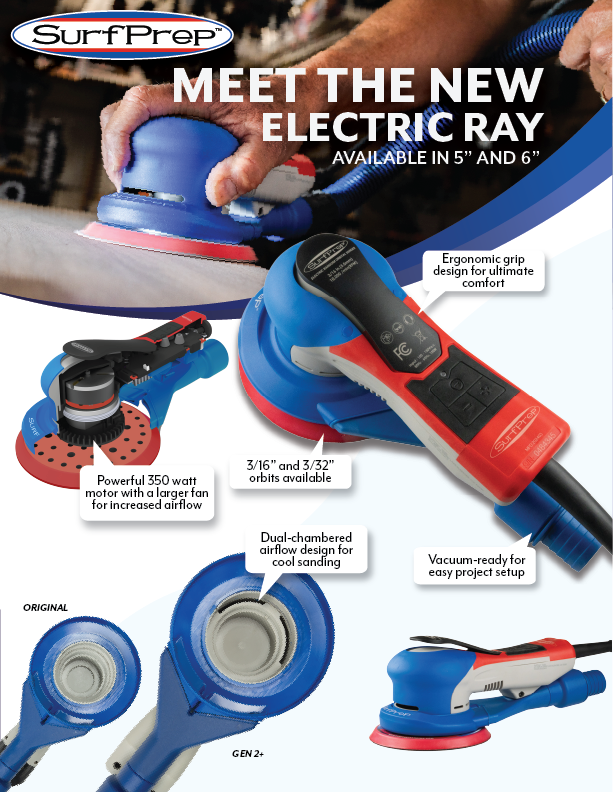
Credit: surfprepsanding.com
Essential Tools For Repairs
Repairing sanding machines needs the right tools. Using proper tools helps fix problems fast.
This guide covers basic hand tools, special sanding machine tools, and safety gear.
Basic Hand Tools
Basic hand tools are needed for most repairs. They help open parts and adjust small components.
Keep these tools ready for everyday use with sanding machines.
- Screwdrivers (flathead and Phillips)
- Pliers (needle-nose and slip-joint)
- Wrenches (adjustable and socket sets)
- Allen keys (hex keys) in various sizes
- Hammer for light tapping
- Utility knife for cutting belts or tape
Specialized Sanding Machine Tools
Special tools help fix sanding machines safely and correctly. They fit the machine parts well.
Use these tools to check and replace sanding belts, belts, and motors.
- Belt tension gauge to measure belt tightness
- Bearing puller for removing bearings
- Dial indicator for checking alignment
- Torque wrench for tightening bolts to exact specs
- Multimeter to test electrical parts
- Cleaning brushes for dust removal
Safety Equipment
Safety equipment protects you during repairs. It helps avoid injuries and accidents.
Always wear safety gear when working on sanding machines.
- Safety goggles to protect eyes from dust and debris
- Work gloves to protect hands from cuts and burns
- Dust mask or respirator to avoid breathing dust
- Ear protection if the machine is loud
- Protective clothing to keep skin safe
Step-by-step Repair Process
Repairing a sanding machine can save time and money. This guide shows the repair steps clearly.
Follow each step carefully to fix your sanding machine properly and safely.
Diagnosing The Problem
First, check what is wrong with the machine. Look for strange sounds or poor sanding.
Test the machine by turning it on and off. Notice any unusual vibrations or smells.
- Listen for grinding or squeaking noises
- Look for worn belts or damaged sanding belts
- Check if the motor runs smoothly
- Watch for loose or broken parts
Disassembling The Machine
Unplug the machine before starting disassembly. Safety is very important.
Remove covers and screws carefully. Keep all parts in order to avoid confusion.
- Use the correct tools to open the casing
- Take pictures to remember part placement
- Store screws and small parts in labeled containers
- Handle belts and rollers gently to avoid damage
Replacing Worn Parts
Identify parts that need replacement. Common parts include belts, rollers, and brushes.
Buy exact match parts to ensure the machine works well after repair.
- Replace sanding belts if torn or worn out
- Change motor brushes if they look damaged
- Swap out rollers that do not spin properly
- Check and replace any broken screws or springs
Reassembling And Testing
Put the machine back together step by step. Use your photos to guide you.
After assembly, test the machine. Make sure it runs smoothly and safely.
- Tighten all screws and bolts securely
- Check belt tension and adjust if needed
- Run the machine without load first
- Listen for any strange sounds during operation
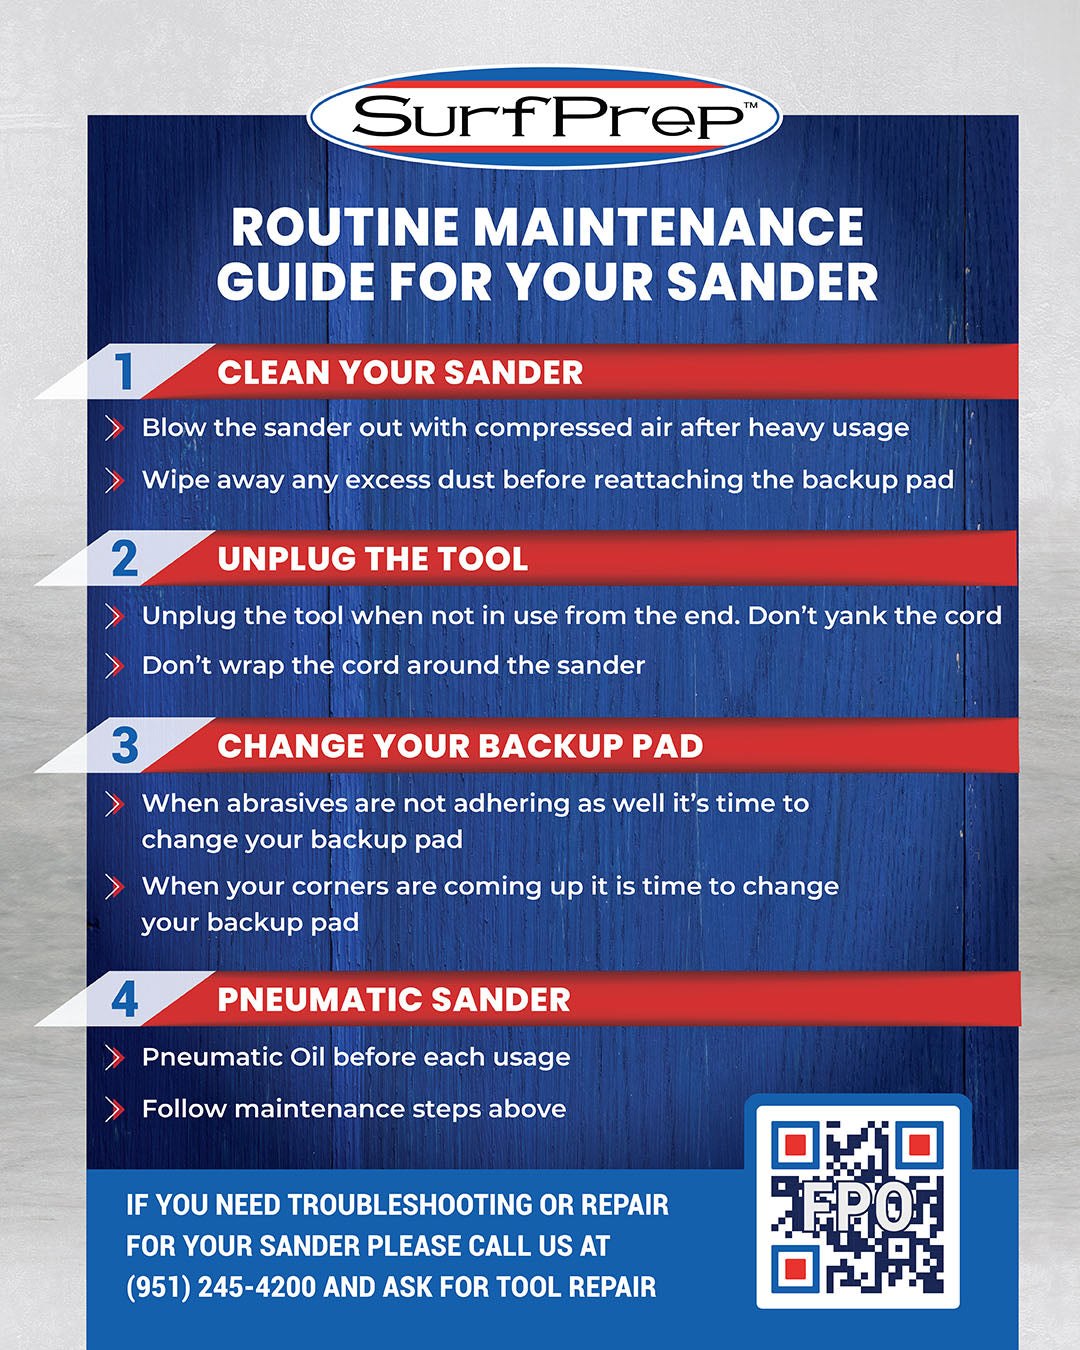
Credit: surfprepsanding.com
Maintenance Tips To Prevent Repairs
Sanding machines need regular care to work well. Good maintenance stops many problems before they start.
Simple daily habits keep your machine safe and save money on repairs. Follow these tips to keep it running smoothly.
Regular Cleaning Routines
Clean your sanding machine after every use. Dust and debris can cause parts to wear out fast.
Use a soft brush or air compressor to remove dust from all surfaces and moving parts.
- Wipe down the machine’s exterior
- Clear sanding dust from belts and discs
- Check vents for blockages
- Remove buildup inside the motor area
Lubrication Practices
Lubricate moving parts often. Proper lubrication reduces friction and prevents parts from breaking.
Use the right oil or grease. Follow your machine’s manual for guidance on where and how to apply it.
- Lubricate bearings and shafts
- Apply grease to gears if needed
- Do not over-lubricate, as it can attract dust
- Check lubrication points weekly
Belt And Disc Care
Inspect belts and discs regularly. Look for cracks, tears, or worn spots.
Replace damaged belts and discs right away to keep the machine working correctly and safely.
- Check belt tension and adjust if loose
- Keep discs clean and free of glue or dust
- Store spare belts and discs for quick replacement
- Use the correct belt size and type for your machine
Electrical System Checks
Test electrical parts often. Look for loose wires or damaged plugs that could cause failures.
Ensure the power cord is not cracked or frayed. Replace it if you see any damage to avoid hazards.
- Check switch function and safety features
- Inspect motor wiring connections
- Keep electrical components dry and clean
- Unplug machine before cleaning or repairs
Safety Precautions During Repairs
Repairing sanding machines can be dangerous if you do not follow safety rules. It is important to protect yourself and others around you.
Always take safety precautions before starting any repair work on sanding machines. This reduces the risk of accidents and injuries.
Power Isolation
Before repairing the sanding machine, make sure to disconnect it from the power source. This prevents the machine from turning on by accident.
Unplug the machine or switch off the circuit breaker. Check that no electricity flows to the machine before you start working.
- Unplug the power cord from the outlet.
- Turn off the main switch or circuit breaker.
- Use a lockout device if available.
- Test the machine to confirm it is off.
Protective Gear
Wear the right protective gear to stay safe during repairs. This gear protects your body from dust, debris, and injuries.
Use safety glasses, gloves, and a dust mask. These items shield your eyes, hands, and lungs from harm.
- Safety glasses to protect your eyes.
- Gloves to avoid cuts and scrapes.
- Dust mask to prevent inhaling dust.
- Wear close-fitting clothes to avoid getting caught.
Handling Sharp Components
Sanding machines have sharp parts that can cause cuts. Handle these parts carefully to avoid injuries.
Use tools to move or hold sharp components. Always keep your hands away from blades and sanding belts.
- Use pliers or wrenches to handle sharp parts.
- Keep blades covered when not in use.
- Work slowly and do not rush the repair.
- Dispose of old blades safely in a container.
When To Seek Professional Help
Repairing sanding machines can be tricky. Some problems need expert care to fix right.
Knowing when to call a professional saves time and avoids more damage.
Complex Electrical Issues
Electrical parts in sanding machines are sensitive. Faulty wiring or motor problems can cause hazards.
Do not try to fix serious electrical faults if you lack experience. Professionals have tools to test and repair safely.
- Power failure or frequent tripping
- Burning smell or sparks
- Motor not running despite power supply
Major Mechanical Failures
Mechanical parts like belts, bearings, and shafts may wear out or break. Big failures need expert repairs.
Ignoring major mechanical issues can damage the machine further and cause accidents.
- Broken or loose belts
- Unusual noises during operation
- Machine parts not moving smoothly
Warranty And Service Agreements
If your sanding machine is under warranty, contact the manufacturer or service center first.
Professional service keeps your warranty valid and ensures genuine parts and proper repairs.
- Check warranty terms before repair
- Use authorized service providers
- Keep repair records for future reference
Frequently Asked Questions
How To Identify Common Sanding Machine Issues?
Identifying issues with sanding machines involves checking for unusual noises, decreased performance, or uneven sanding results. Regular inspection for worn-out belts, clogged dust collection systems, and loose components can help. Observing these signs early can prevent costly repairs and ensure efficient machine operation.
What Tools Are Needed For Sanding Machine Repair?
Essential tools for repairing sanding machines include screwdrivers, wrenches, multimeters, and cleaning brushes. These tools assist in disassembling parts, checking electrical components, and cleaning dust buildup. Having these tools handy ensures efficient and quick repair processes, minimizing machine downtime.
How To Maintain A Sanding Machine Effectively?
Effective maintenance involves regular cleaning, lubrication, and inspection of parts. Dust and debris should be removed after each use. Lubricating moving parts prevents wear and tear. Scheduled inspections help identify potential issues early, ensuring the machine runs smoothly and lasts longer.
Why Is My Sanding Machine Overheating?
Overheating occurs due to clogged dust ports, worn belts, or overloading. Ensure proper airflow by cleaning dust collection systems regularly. Check and replace worn belts to prevent excessive friction. Avoid overloading the machine to ensure it operates within its intended capacity.
Conclusion
Repairing sanding machines keeps them working longer and saves money. Follow simple steps to spot problems early and fix them fast. Regular care helps avoid big breakdowns and costly repairs. Using the right tools makes the job easier and safer.
Keep your sanding machine clean and check parts often. Small fixes today stop bigger issues tomorrow. Stay patient and careful during repairs for the best results. This guide helps you maintain your machine with confidence. Keep sanding smooth and steady every time you work.