Are your rotary tools not performing like they used to? You’re not alone.
Many DIY enthusiasts and professionals face this issue. But don’t worry, we have solutions that can help. Whether it’s a slowing motor or a worn-out bit, understanding how to repair your rotary tools can save you time and money. Imagine the satisfaction of fixing them yourself and getting back to your projects with ease.
By the end of this article, you’ll be equipped with straightforward tips to make your tools as good as new. Ready to unlock the secrets to perfect tool maintenance? Let’s dive in!
Common Rotary Tool Issues
Rotary tools are useful for many projects. They can face problems after regular use. Knowing common issues helps you fix them faster.
This guide covers typical problems with motors, power, attachments, and overheating. Learn simple tips to keep your rotary tool working well.
Motor Problems
Motor issues often cause a rotary tool to stop working. Dirt or worn brushes can damage the motor. Check for loose parts and clean the motor regularly.
- Inspect motor brushes for wear and replace if needed
- Clean dust and debris from motor vents
- Check motor bearings for noise or rough movement
- Tighten any loose screws near the motor
Battery And Power Failures
Battery issues can stop your tool from running. A dead or weak battery lowers performance. Power cords may also wear out or break.
| Problem | Cause | Fix |
| Tool won’t start | Dead battery | Charge or replace battery |
| Tool stops suddenly | Loose power cord | Inspect and repair cord |
| Low speed | Weak battery | Fully charge or replace battery |
| Battery won’t hold charge | Old battery cells | Replace battery pack |
Worn Out Attachments
Attachments wear out with use. Worn bits reduce cutting quality. Replace or sharpen attachments to keep good results.
- Check attachments for cracks or chips
- Replace dull cutting bits
- Use the correct attachment for each task
- Clean attachments after use
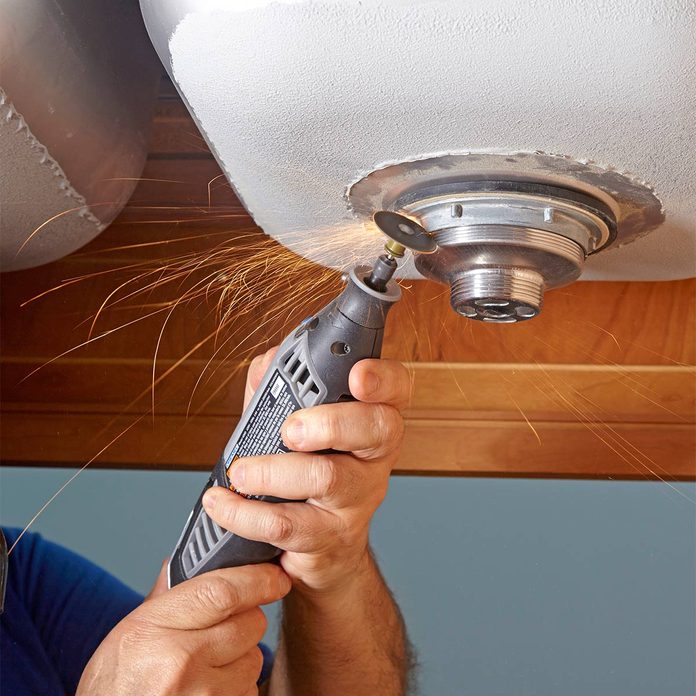
Overheating Concerns
Overheating can damage the tool’s motor and parts. Using the tool too long or blocking vents causes heat build-up.
Tips to avoid overheating:
- Take breaks during long jobs
- Keep air vents clear and clean
- Use the right speed for the job
- Do not force the tool; let it work at its own pace
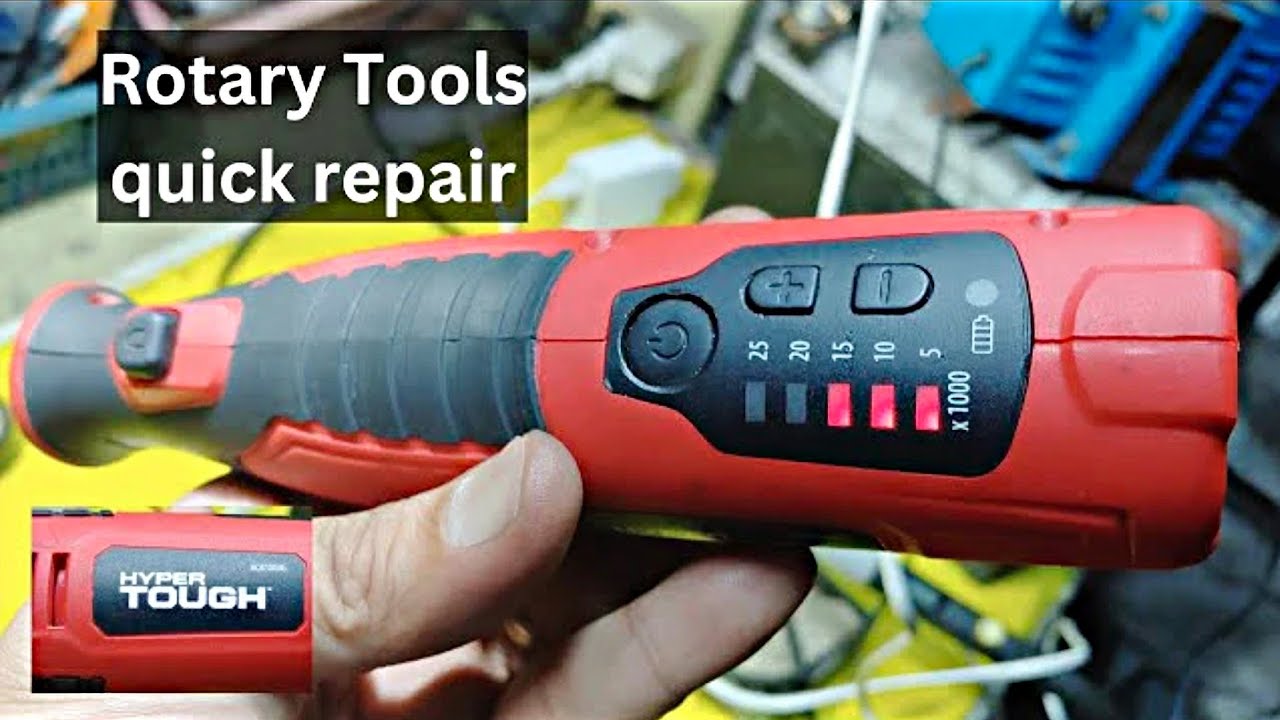
Credit: www.youtube.com
Essential Tools For Repairs
Repairing rotary tools requires the right set of instruments. Using proper tools saves time and improves results.
This guide covers the basic hand tools, specialized components, and safety gear needed for effective repairs.
Basic Hand Tools
Basic hand tools help you open, adjust, and fix parts of your rotary tool. These are common in most toolkits.
- Screwdrivers (flathead and Phillips)
- Pliers (needle nose and regular)
- Wrenches (adjustable and fixed sizes)
- Allen keys (various sizes for hex screws)
- Wire cutters and strippers
Specialized Rotary Tool Components
These parts are specific to rotary tools and help with detailed repairs and replacements.
| Component | Purpose |
| Collet | Holds drill bits or attachments firmly |
| Carbon Brushes | Conduct electricity to the motor |
| Bearings | Allow smooth rotation of the tool shaft |
| Switches | Control power and speed settings |
| Armature | Main rotating part inside the motor |
Safety Gear
Safety gear protects you from dust, sparks, and sharp parts during repairs. Always wear protective items.
- Safety goggles to shield your eyes
- Work gloves for hand protection
- Dust mask to avoid inhaling particles
- Ear plugs if noise levels are high
- Long sleeves to protect your arms
Step-by-step Quick Fixes
Rotary tools often need small repairs to keep working well. Fixing them yourself saves time and money.
This guide shows easy steps to repair common rotary tool problems fast and safely.
Replacing Brushes
Worn brushes cause your rotary tool to stop working. Replacing them is simple and quick.
Unplug the tool and open the brush caps. Remove old brushes and insert new ones. Close the caps tightly.
- Unplug the tool before starting
- Locate and remove brush caps
- Take out worn brushes carefully
- Insert new brushes matching size
- Securely close brush caps
- Test the tool after replacement
Fixing Power Cord Issues
Damaged power cords can stop your rotary tool from working. Check for cuts or frayed wires.
Unplug the tool and examine the cord fully. Replace or repair damaged sections using electrical tape or a new cord.
- Always unplug before inspecting
- Look for cuts, splits, or frays
- Use electrical tape for small fixes
- Replace the cord if damage is large
- Test the tool after repair
Cleaning And Lubricating
Dirt and dust can block your rotary tool parts. Cleaning keeps it running smoothly.
Use a soft brush to remove dust. Apply a few drops of light oil to moving parts to reduce friction.
- Unplug the tool before cleaning
- Use a small brush or cloth
- Remove dirt from vents and joints
- Apply light oil to bearings and shafts
- Wipe excess oil off
- Run the tool to spread lubricant
Tightening Loose Parts
Loose parts cause noise and poor tool performance. Tighten screws and nuts regularly.
Check all visible screws and nuts. Use the right screwdriver or wrench to tighten them firmly but not too much.
- Unplug the rotary tool
- Inspect all screws and nuts
- Use correct tools for tightening
- Tighten parts without overdoing it
- Test the tool for stability

Credit: eternaltools.com
Preventive Maintenance Tips
Rotary tools are handy for many tasks. Keeping them in good shape helps them last longer.
Preventive maintenance stops small problems from becoming big ones. It saves time and money.
Regular Cleaning Routines
Cleaning your rotary tool often keeps dust and dirt away. This prevents damage to the motor and parts.
Use a soft brush or compressed air to remove debris from vents and moving parts. Wipe the tool with a dry cloth.
- Unplug the tool before cleaning
- Clean air vents to prevent overheating
- Remove dust from attachments and bits
- Wipe down the body to keep it dry
Proper Storage Practices
Store your rotary tool in a clean, dry place. Avoid areas with high humidity or extreme temperatures.
Keep the tool in its case or a toolbox to protect it from dust and damage. Organize attachments separately.
- Use the original case if available
- Keep away from moisture and direct sunlight
- Store bits and accessories in small containers
- Place the tool where it won’t fall or get crushed
Routine Inspection Checks
Check your rotary tool before each use. Look for loose parts, worn brushes, or damaged cords.
Fix small problems right away. Replace worn parts to keep the tool working safely and well.
- Inspect power cords for cuts or frays
- Check brushes for wear and replace if needed
- Tighten any loose screws or attachments
- Test the tool to ensure smooth operation
When To Seek Professional Help
Rotary tools can break or stop working for many reasons. Some problems are easy to fix. Others need a skilled technician.
Knowing when to get professional help saves time and keeps you safe. It also protects your tool from more damage.
Complex Electrical Problems
Electrical issues inside rotary tools can be tricky. If the tool does not turn on or sparks appear, do not try to fix it yourself.
Professionals have the right tools and knowledge to handle wiring and motor problems safely. Attempting repairs can cause shocks or fire.
- Power failures
- Burnt smells from the motor
- Intermittent or no power
- Visible wire damage inside the tool
Severe Mechanical Damage
Rotary tools with broken gears or cracked housings need expert attention. Severe damage can stop the tool from working properly.
Fixing mechanical parts requires special skills and parts. Professionals can restore the tool’s function and safety.
- Broken or worn gears
- Cracked or damaged casing
- Unusual noises during use
- Loose or missing parts inside the tool
Warranty And Service Options
Check if your rotary tool is still under warranty before fixing it. Repairing it yourself may void the warranty.
Using authorized service centers ensures that repairs meet manufacturer standards. They can also provide replacement parts.
- Review warranty terms
- Contact the manufacturer for service info
- Use authorized repair centers
- Keep proof of purchase and warranty documents
Credit: www.familyhandyman.com
Frequently Asked Questions
How Do I Fix A Rotary Tool That Won’t Start?
Check the power source and switch first. Inspect the cord for damage. Replace worn brushes if needed. Clean the tool’s motor and vents to remove dust buildup.
What Causes A Rotary Tool To Overheat Quickly?
Overheating can result from prolonged use without breaks. Blocked vents or dirty brushes reduce airflow. Using the wrong speed or bit can also cause excess heat.
How To Replace Rotary Tool Brushes Properly?
Unplug the tool before starting. Remove the housing to access brushes. Gently pull out old brushes and insert new ones. Reassemble and test the tool for proper operation.
Why Is My Rotary Tool Vibrating Excessively?
Excessive vibration often comes from unbalanced or worn bits. Check if the collet is tight. Replace damaged accessories and ensure proper tool maintenance.
Conclusion
Repairing rotary tools can save time and money. Follow simple steps to fix common issues. Always check the power source and clean parts regularly. Use the right tools to avoid damage. Take safety seriously during repairs. Small fixes keep your tool working longer.
Practice patience and work carefully for best results. Keep your rotary tool ready for any project. Regular care means fewer problems in the future. Stay confident and enjoy your repaired tool’s performance.