
Are you tired of struggling to hold your wood pieces steady while working on your projects? You know that having the right clamp can make all the difference between a sloppy job and a perfect finish.
But with so many types of clamps out there, which one should you choose? This guide to clamps for woodworking projects will help you find exactly what you need to keep your work secure and your hands free. By the time you finish reading, you’ll feel confident picking the right clamp for any task, making your woodworking smoother and more enjoyable.
Let’s dive in and unlock the secret to better, cleaner, and faster woodworking!
Credit: www.familyhandyman.com
Types Of Woodworking Clamps
Woodworking clamps hold pieces of wood tightly together. They keep wood stable while you work on it.
Different clamps fit different jobs. Choosing the right clamp makes your project easier and safer.
Bar Clamps
Bar clamps have a long metal bar with adjustable arms. One arm is fixed, and the other slides to fit the wood.
They hold large pieces of wood tightly. Bar clamps are strong and easy to use for gluing or assembly.
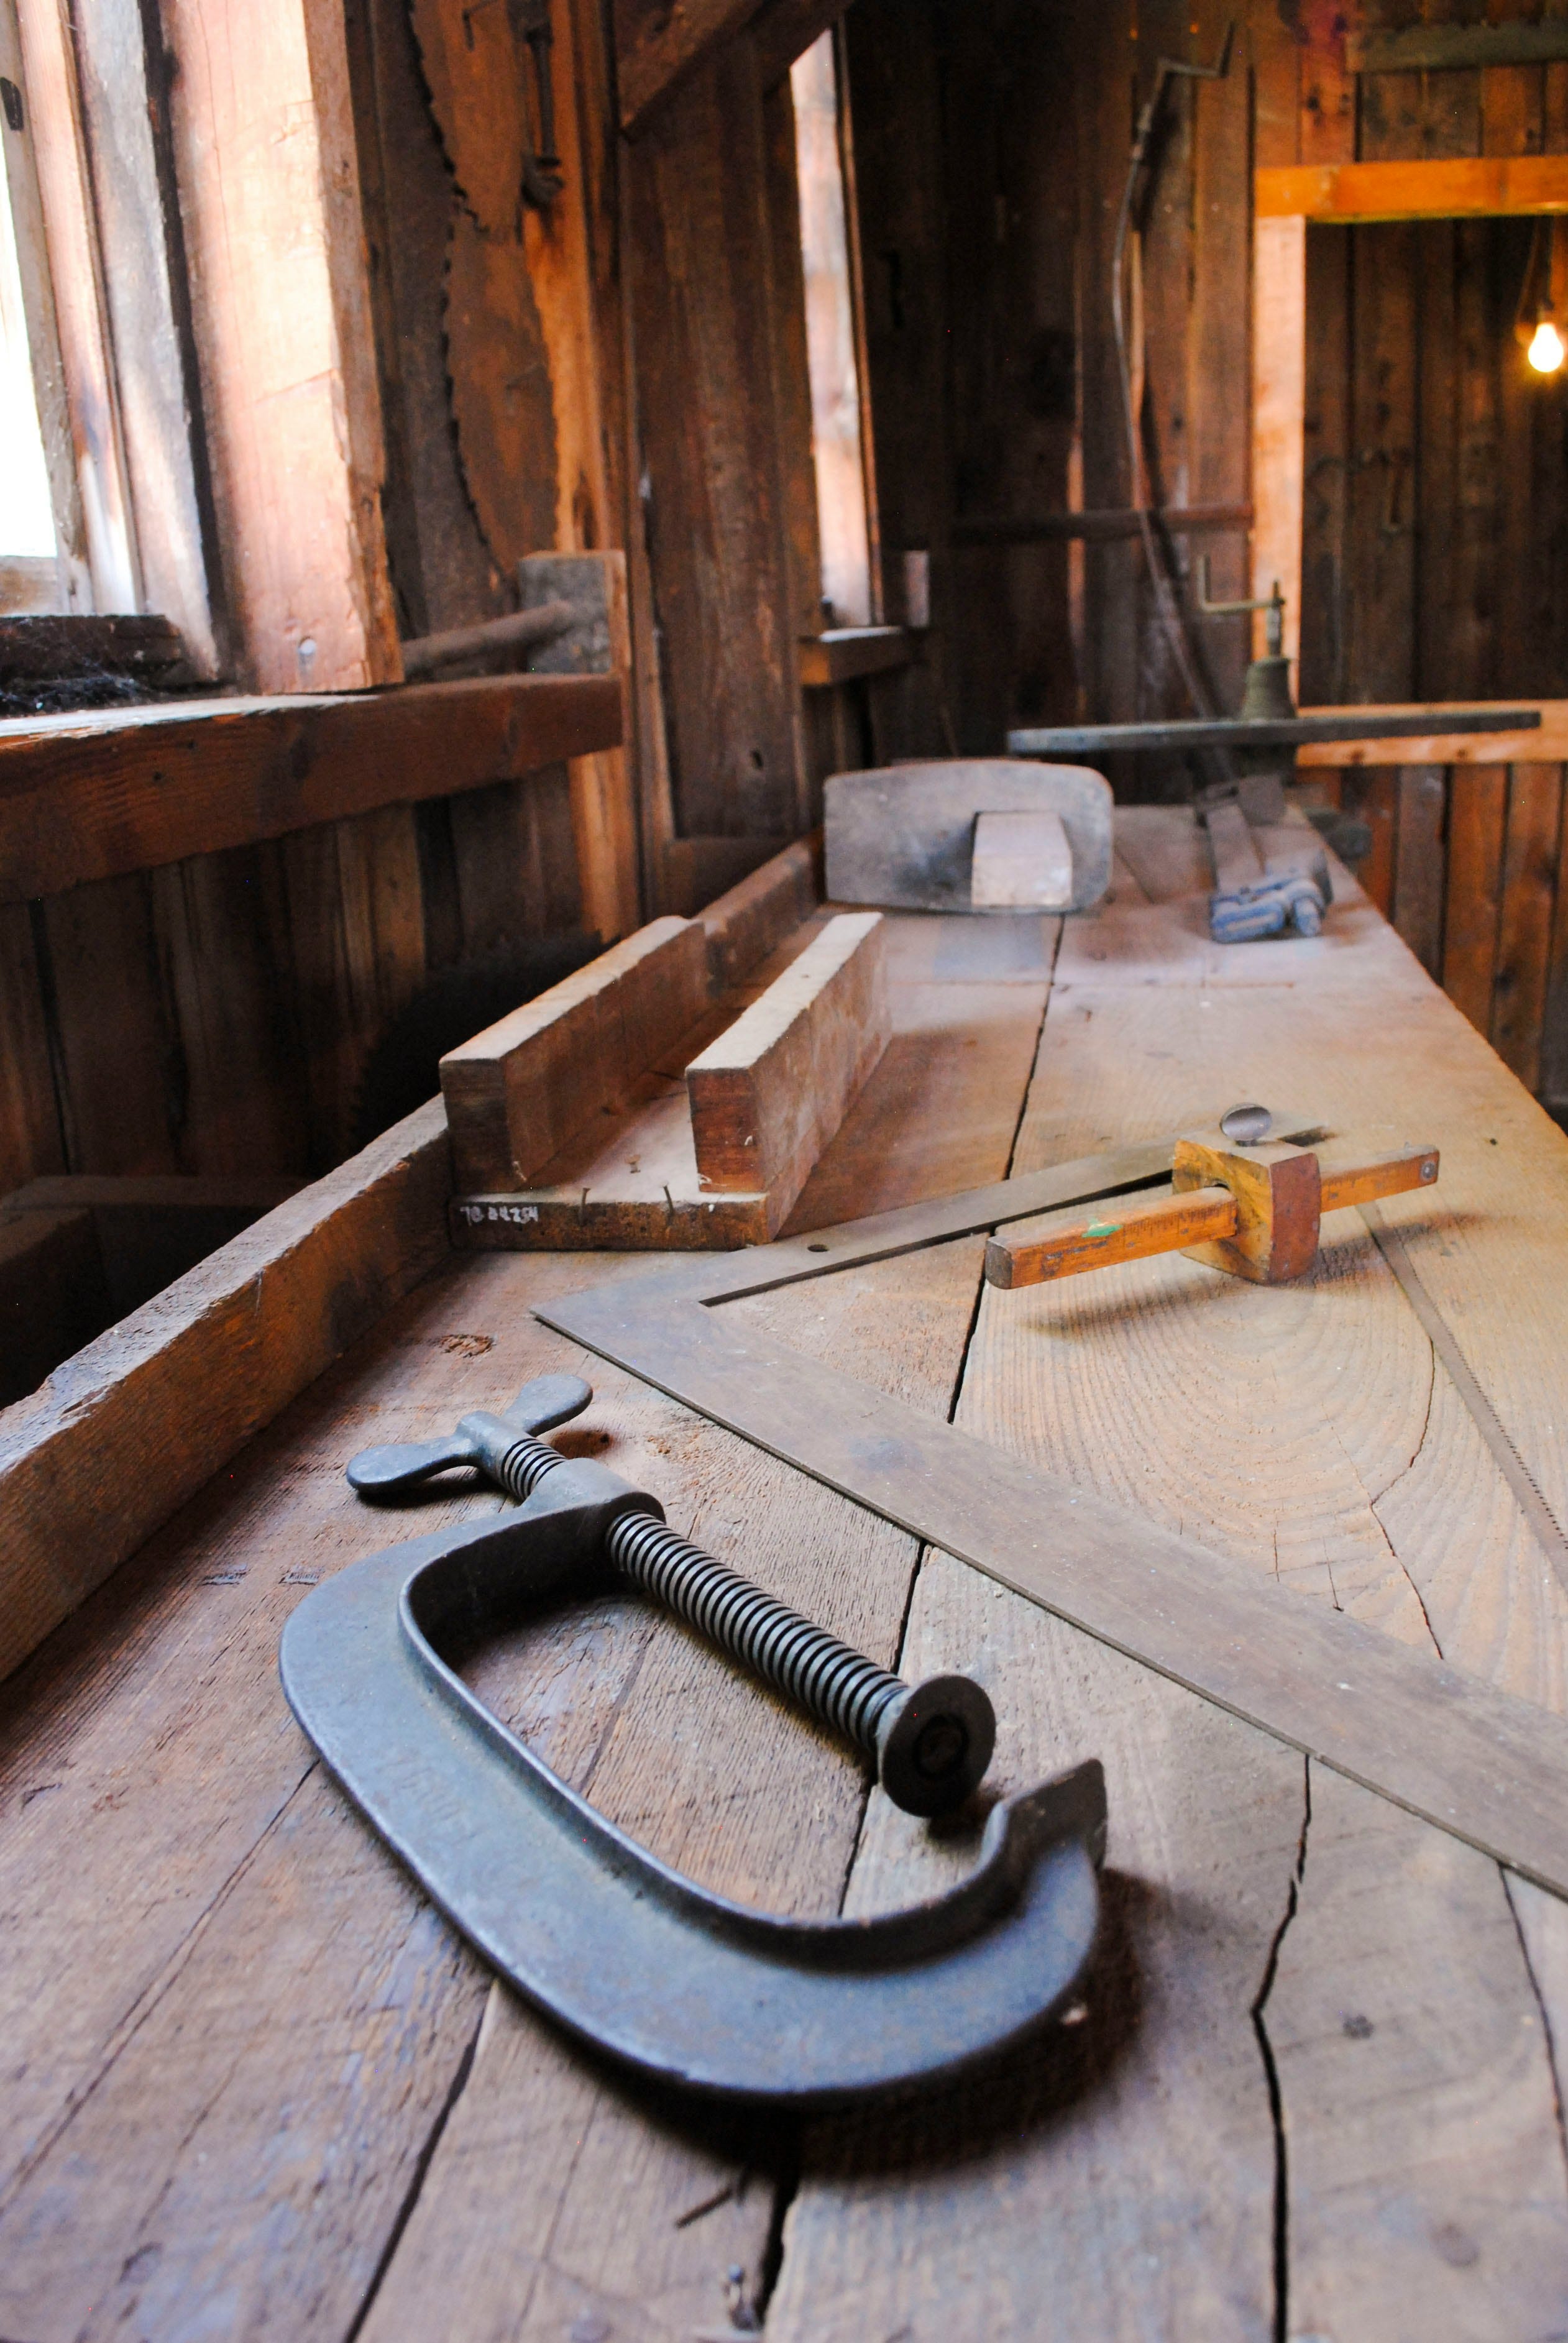
C-clamps
C-clamps look like the letter “C.” They have a screw that tightens the clamp.
They are good for small projects and tight spaces. C-clamps provide strong pressure but can leave marks.
Spring Clamps
Spring clamps use a spring to hold the jaws closed. They open by squeezing the handles.
These clamps are light and quick to use. They work well for holding small parts or temporary jobs.
Pipe Clamps
Pipe clamps use a pipe as the bar. The clamp parts slide along the pipe to adjust size.
They are strong and can hold very large pieces. You can change the pipe length for different projects.
F-clamps
F-clamps look like the letter “F.” They have a fixed arm and a sliding arm with a screw handle.
F-clamps are versatile and hold wood firmly. They work well for medium to large woodworking tasks.
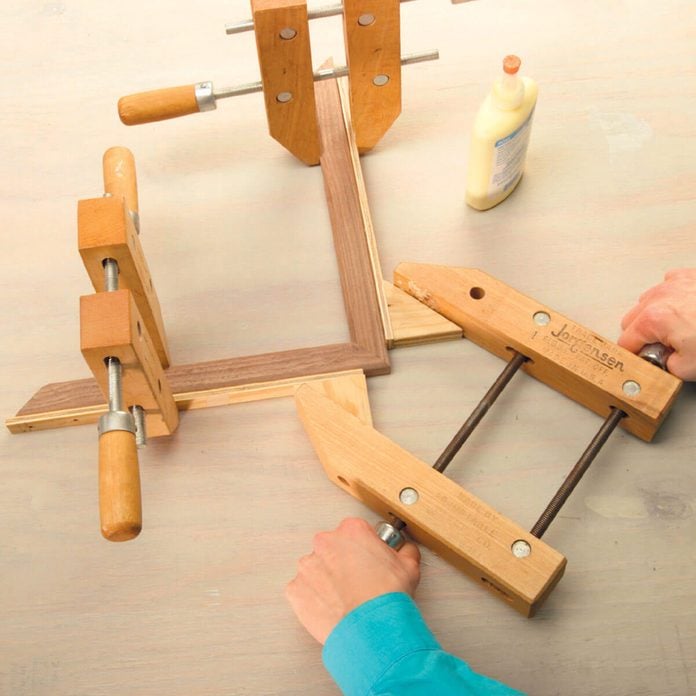
Corner Clamps
Corner clamps hold two pieces of wood at a right angle. They keep corners square during assembly.
These clamps are perfect for making frames or boxes. They make joining corners easier and more accurate.
Credit: www.axminstertools.com
Choosing The Right Clamp
Clamps hold your wood pieces tightly while you work. Picking the right clamp makes your project easier and safer.
There are many types of clamps. You should know what to look for before buying one.
Size And Capacity
Clamps come in different sizes. The size you need depends on your project’s size. Capacity means how wide the clamp can open.
- Small clamps fit small pieces.
- Large clamps hold big boards.
- Choose a clamp that opens wide enough for your work.
Material And Build Quality
Good clamps last long and do not break easily. Steel and cast iron are strong materials. Plastic clamps are lighter but less strong.
| Material | Strength | Weight |
| Steel | High | Heavy |
| Cast Iron | High | Heavy |
| Plastic | Low | Light |
Grip Strength
Grip strength shows how tightly a clamp holds your wood. Strong grip stops slipping. Look for clamps with good pressure ratings.
Adjustability Features
Adjustable clamps fit many sizes and shapes. Look for quick-release levers and easy-turn handles.
Common adjustability features:
- Quick-release for fast opening and closing
- Swivel pads to protect wood surfaces
- Sliding bars for wider reach
Clamping Techniques
Clamps hold wood pieces firmly during woodworking projects. Using the right clamping techniques ensures strong joints and clean results.
Good clamping prevents slipping and damage. Learning how to place and use clamps helps you work safely and efficiently.
Proper Placement
Place clamps near the joint or the area you want to secure. This keeps the wood steady and reduces movement during glue drying or cutting.
- Put clamps evenly spaced along the wood piece.
- Use enough clamps to avoid gaps or weak spots.
- Check that clamps do not block your work area.
Avoiding Wood Damage
Clamps can leave marks or dents on wood. Protect the surface by using pads or scrap wood between the clamp and the project.
| Clamp Type | Protection Needed |
| Bar Clamp | Soft pads or scrap wood |
| C-Clamp | Thick wooden blocks |
| Spring Clamp | Rubber covers or tape |
Even Pressure Distribution
Apply pressure evenly to avoid warping or splitting the wood. Tighten clamps gradually and check the alignment as you go.
- Tighten clamps in small steps, alternating sides.
- Use multiple clamps for large surfaces.
- Check that the wood stays flat and aligned.
Using Cauls For Protection
Cauls are blocks of wood placed across the project to spread clamp pressure. They keep the wood safe and help clamp evenly.
Caul Benefits:
- Protects delicate surfaces from clamp marks
- Distributes pressure over a wider area
- Keeps wood pieces aligned during gluing
Maintenance And Care
Keeping clamps in good shape helps them last longer. Regular care avoids rust and damage. This guide covers cleaning, lubrication, and storage tips.
Proper maintenance keeps clamps working smoothly and safely. Follow these simple steps to protect your tools.
Cleaning Tips
Clean clamps after each use to remove dust, glue, and dirt. Use a soft brush or cloth for best results.
- Wipe metal parts with a dry cloth to prevent rust.
- Use mild soap and water for sticky residue.
- Dry clamps completely before storing.
- Avoid harsh chemicals that can damage the finish.
Lubrication
Lubricate moving parts to keep clamps working smoothly. Use the right oil or grease to avoid damage.
| Lubricant Type | Use For | Frequency |
| Light machine oil | Screws and threads | Monthly |
| Silicone spray | Sliding surfaces | Every 3 months |
| Grease | Heavy-duty clamps | Twice a year |
Storage Solutions
Store clamps in a dry, clean place to prevent rust and damage. Organize them for easy access.
- Hang clamps on wall-mounted racks or pegboards.
- Use padded shelves to avoid scratches.
- Keep clamps away from moisture and extreme temperatures.
- Group clamps by size and type for faster selection.
Common Clamping Mistakes
Clamps are essential tools in woodworking. Using them wrong can harm your project.
Knowing common clamping mistakes helps you avoid damage and get better results.
Overtightening Issues
Applying too much pressure with clamps can damage the wood. It can leave dents or marks.
Overtightening can also squeeze glue out, weakening the joint instead of strengthening it.
- Use just enough pressure to hold pieces firmly.
- Check clamp tension often during drying time.
- Protect wood surfaces with scrap pieces or pads under clamps.
Incorrect Clamp Selection
Picking the wrong clamp type can make your project harder or cause damage. Not all clamps fit every job.
Some clamps are good for small parts, others for large panels or irregular shapes.
- Use bar clamps for wide boards or panels.
- Spring clamps work well on small or quick tasks.
- C-clamps are good for strong, tight holds but watch for surface marks.
Ignoring Wood Movement
Wood expands and shrinks with changes in humidity. Clamping without this in mind can cause cracks.
Failing to allow wood movement may ruin joints or cause warping over time.
- Leave small gaps for wood to expand if needed.
- Use flexible glue joints for parts that move.
- Clamp with care to avoid stress on the wood grain.
Credit: medium.com
Advanced Tips And Tricks
Clamps are essential tools for woodworking projects. Using them well saves time and improves results.
This guide shares advanced tips to help you get more from your clamps. Learn new ways to enhance your work.
Diy Clamp Enhancements
Simple changes can make clamps easier and safer to use. Adding padding prevents marks on wood surfaces.
- Use felt or cork pads on clamp jaws to protect wood.
- Add rubber grips to handles for better control.
- Attach magnets to clamp bodies to hold small metal parts.
- Make wooden blocks to spread pressure evenly.
Using Clamps For Complex Joints
Complex joints need careful clamping to hold pieces in place firmly and squarely.
| Joint Type | Clamp Type | Tip |
| Dovetail | F-Clamp | Clamp from both sides evenly. |
| Mortise and Tenon | Bar Clamp | Use cauls to avoid crushing edges. |
| Box Joint | Corner Clamp | Align corners with a right-angle clamp. |
| Mitre | Band Clamp | Wrap around for even pressure. |
Combining Clamps For Better Results
Using more than one clamp type can improve hold and accuracy on tricky projects.
- Use a bar clamp to hold pieces tight while a spring clamp aligns edges.
- Pair a corner clamp with a strap clamp for irregular shapes.
- Stack parallel clamps for long boards to keep them flat.
- Apply quick-grip clamps to hold small parts before tightening larger clamps.
Frequently Asked Questions
What Types Of Clamps Are Best For Woodworking?
Bar clamps, C-clamps, and pipe clamps are ideal for woodworking. They provide strong, even pressure, essential for gluing and holding pieces together securely.
How Do I Choose The Right Clamp Size?
Select a clamp slightly longer than your project width. This ensures a tight grip without overextending, protecting your wood from damage.
Can Clamps Damage Wood Surfaces?
Yes, clamps can dent or mark wood. Use protective pads or scrap wood between the clamp and project to avoid surface damage.
How Much Clamping Pressure Is Needed For Glue-ups?
Apply firm, even pressure—enough to close joints without squeezing out all glue. Over-tightening can weaken joints or damage wood.
Conclusion
Clamps make woodworking projects easier and more precise. They hold pieces steady, ensuring clean cuts and strong bonds. Choosing the right clamp is vital for success. Understand your project’s needs, then select the type that fits best. Consider size, material, and adjustability.
Proper clamp use can enhance your craftsmanship. Practice using different clamps to gain confidence. Experience will guide you in selecting the right tools. Remember, patience and the right clamp lead to perfect results. Enjoy your woodworking journey and create projects that last.
Happy crafting!
