Are you ready to take control of your kitchen plumbing and save money on costly repairs? Installing kitchen plumbing might sound tricky, but with the right guidance, you can do it yourself with confidence.
Imagine having a perfectly working sink, dishwasher, and water filter all connected just the way you want. This guide will walk you through each step, breaking down the process into simple actions anyone can follow. Stick with me, and you’ll soon have the skills to transform your kitchen plumbing without stress or confusion.
Let’s get started!

Credit: kaff.in
Planning Your Kitchen Plumbing
Planning kitchen plumbing is key to a smooth installation. It helps avoid problems later.
Good planning saves time and money. It ensures water flows well and pipes fit correctly.
Assessing Water Supply Needs
Know how much water your kitchen needs. Count sinks, dishwashers, and other appliances.
Check local water pressure. It affects pipe size and fixture performance.
- Count all water outlets
- Estimate peak water use
- Measure water pressure
- Plan for hot and cold water
Choosing The Right Materials
Pick pipes that resist corrosion and last long. Common types are copper, PEX, and PVC.
Choose fittings that match pipe materials. Use quality valves for easy control.
- Copper: durable, good for hot water
- PEX: flexible, easy to install
- PVC: affordable, for drain pipes
- Use brass or stainless steel valves
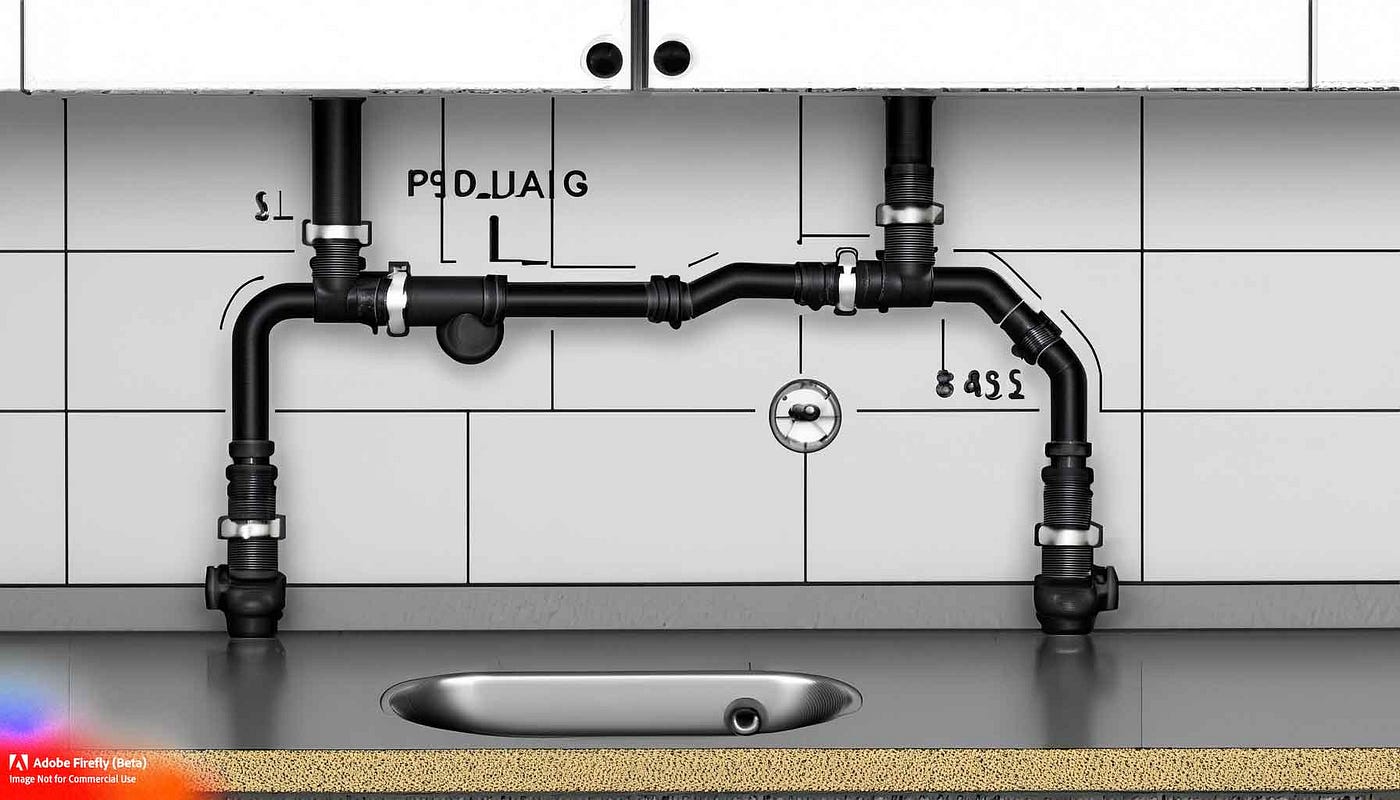
Mapping Pipe Layout
Draw a clear plan showing where pipes run. Mark water supply and drain lines.
Keep pipes short to reduce costs and leaks. Avoid crossing electrical wires.
| Pipe Section | Purpose | Notes |
|---|---|---|
| Supply Lines | Carry cold and hot water | Use insulated pipes for hot water |
| Drain Pipes | Remove wastewater | Use proper slope for drainage |
| Vent Pipes | Allow air flow in drainage | Prevent traps from siphoning |
Gathering Tools And Materials
Before starting kitchen plumbing, collect all needed tools and materials. This saves time and avoids delays during work.
Knowing what to prepare helps you work safely and efficiently. Follow this guide to gather essential items.
Essential Plumbing Tools
Plumbing needs special tools to cut, join, and fix pipes. Having these tools ready makes the job easier.
- Pipe wrench for gripping and turning pipes
- Adjustable wrench for nuts and fittings
- Pipe cutter for clean pipe cuts
- Plumber’s tape to seal pipe threads
- Hacksaw for cutting metal pipes
- Plunger for clearing clogs
- Channel lock pliers for gripping various shapes
Selecting Pipes And Fittings
Choose pipes and fittings that fit your kitchen layout and water needs. Common materials include copper, PVC, and PEX.
| Material | Use | Advantages |
|---|---|---|
| Copper | Water supply lines | Durable and heat resistant |
| PVC | Drain and vent pipes | Lightweight and easy to cut |
| PEX | Water supply | Flexible and resistant to freezing |
Safety Gear Checklist
Wear safety gear to protect yourself from injury and harmful materials during plumbing work.
- Safety glasses to protect eyes
- Work gloves to avoid cuts and burns
- Mask to prevent inhaling dust or fumes
- Knee pads for comfort when working low
- Closed-toe shoes for foot protection
Shutting Off Water Supply
Before starting any kitchen plumbing work, you must shut off the water supply. This stops water from flowing while you work. It helps avoid leaks and water damage.
Shutting off the water supply is a simple but important task. It keeps your work area dry and safe.
Locating Main Water Valve
Find the main water valve to stop water to your home. This valve controls all water entering the house. It is often near the water meter or where the main pipe enters.
Look in places like the basement, garage, or outside near the foundation. Turn the valve clockwise to close it and stop the water flow.
- Check near the water meter outside
- Look in the basement or utility room
- Find the valve where the main pipe enters
- Turn valve clockwise to close
Draining Existing Pipes
After shutting off the main valve, drain water from pipes. Open faucets at sinks and tubs to let water flow out. This reduces pressure and empties pipes.
Draining pipes prevents water spills during plumbing work. It also helps avoid damage to fittings and tools.
- Open all faucets in the kitchen
- Open faucets in bathrooms if needed
- Flush toilets to empty tanks
- Wait until water stops flowing
Installing Supply Lines
Installing supply lines is a key part of kitchen plumbing. These lines deliver water to your sink and appliances. Proper installation helps prevent leaks and water damage.
You need the right tools and materials before starting. This guide covers cutting and fitting pipes, connecting to fixtures, and testing for leaks.
Cutting And Fitting Pipes
Cut pipes to the correct length using a pipe cutter or hacksaw. Make sure cuts are straight and clean. Remove any burrs or rough edges for a smooth fit.
- Measure the length needed carefully
- Use a pipe cutter for clean cuts
- Deburr the edges to avoid leaks
- Dry fit pipes before gluing or tightening
Connecting To Fixtures
Attach supply lines to faucets and valves using proper connectors. Use plumber’s tape on threaded fittings to ensure a tight seal. Hand tighten, then use a wrench to secure connections.
| Connector Type | Use For | Notes |
| Compression Fittings | Copper or PEX pipes | Hand tighten, then wrench |
| Push-to-Connect | Quick installations | No tools needed |
| Threaded Fittings | Metal pipes | Apply plumber’s tape first |
Testing For Leaks
After all connections are tight, turn on the water supply. Check each joint and fitting for drips or moisture. Catch leaks early to avoid damage.
- Turn on the main water valve slowly
- Inspect all connections carefully
- Use a dry cloth to detect moisture
- Tighten or replace faulty fittings if needed
Setting Up Drainage System
Setting up a kitchen drainage system is important for removing wastewater. It helps keep your kitchen clean and safe.
This guide explains how to install drain pipes, add vent pipes, and seal connections properly.
Installing Drain Pipes
Drain pipes carry water from your sink to the sewer or septic system. Use durable pipes like PVC or ABS for this task.
Make sure pipes slope downwards to allow water to flow smoothly without blocking.
- Cut pipes to the correct length
- Connect pipes using appropriate fittings
- Ensure a downward slope of 1/4 inch per foot
- Check for any leaks after assembly
Adding Vent Pipes
Vent pipes let air enter the drainage system. This prevents pressure buildup and allows water to flow freely.
Install vent pipes that reach above the roof or connect to the main vent stack.
- Locate the vent pipe near the drain trap
- Use the right fittings to connect vent pipes
- Make sure vents are open and not blocked
- Follow local codes for vent pipe height
Sealing And Securing Connections
Sealing connections prevents leaks and water damage. Use plumber’s putty or silicone sealant on joints.
Secure pipes with clamps or brackets to stop movement and reduce stress on joints.
- Apply sealant around pipe joints
- Tighten fittings without overdoing it
- Use pipe clamps every 3 feet for support
- Check all connections for leaks after installation
Connecting Appliances
Connecting kitchen appliances to plumbing is a key part of installation. It ensures they work properly and avoid leaks.
Focus on correct fittings and secure connections. This keeps your kitchen safe and functional.
Hooking Up Dishwasher
Connect the dishwasher drain hose to the sink drain or garbage disposal. This allows wastewater to flow out safely.
Attach the water supply line to the dishwasher inlet valve. Use Teflon tape to prevent leaks at threaded connections.
- Connect drain hose to drain or disposal
- Attach water supply line securely
- Use clamps to hold hoses in place
- Check for leaks after connection
Installing Garbage Disposal
Mount the garbage disposal under the sink using the mounting ring. Tighten it firmly to avoid movement.
Connect the disposal’s drain outlet to the sink drain pipe. Attach the dishwasher drain hose if needed.
- Secure mounting assembly tightly
- Connect disposal outlet to drain pipe
- Attach dishwasher drain hose if used
- Test disposal operation and check leaks
Ensuring Proper Seals
Use plumber’s putty or silicone to seal sink drain openings. This prevents water from leaking under the sink.
Check all hose clamps and connections. Tighten them so water stays inside the pipes.
- Apply putty under sink flange
- Tighten hose clamps firmly
- Use Teflon tape on threaded parts
- Inspect for water leaks after installation
Final Checks And Maintenance Tips
Installing kitchen plumbing requires careful final checks to ensure everything works well. Regular maintenance helps avoid leaks and costly repairs.
This guide covers pressure testing, common troubleshooting, and routine maintenance tips for your kitchen plumbing.
Pressure Testing
Pressure testing checks if your pipes and fittings are sealed tight. It helps find leaks before using the plumbing fully.
Use a pressure gauge to apply water pressure to the system. Watch for drops in pressure that show leaks.
- Close all faucets and valves
- Connect a pressure gauge to the main line
- Increase pressure slowly to recommended levels
- Watch pressure reading for at least 15 minutes
- Check all joints and fittings for moisture or drips
Common Troubleshooting
If water flow is low, check for clogs or closed valves. Leaks may happen at pipe joints or under the sink.
No hot water could mean a problem with your water heater or its connection. Strange noises may signal air in pipes.
- Look for wet spots or puddles under the sink
- Make sure all valves are fully open
- Clear clogged aerators on faucets
- Bleed air from pipes by opening all taps
- Inspect water heater settings and connections
Routine Maintenance Advice
Regular care extends the life of your kitchen plumbing. Keep pipes clean and check for damage often.
Replace old washers and seals to stop leaks. Avoid pouring grease or food scraps down the drain to prevent clogs.
- Test water pressure every few months
- Clean faucet aerators and drains regularly
- Check under-sink pipes for leaks
- Use strainers to catch food waste
- Schedule professional inspections yearly
Credit: medium.com

Credit: manuals.plus
Frequently Asked Questions
What Tools Do I Need For Kitchen Plumbing Installation?
You need a pipe wrench, pliers, adjustable wrench, pipe cutter, plumber’s tape, and a basin wrench. These tools help with fitting, tightening, and sealing pipes effectively.
How Do I Connect Kitchen Sink Plumbing Properly?
Start by installing the faucet, then connect supply lines to shutoff valves. Attach the drain pipe, ensuring all joints are tight and sealed to prevent leaks.
What Materials Are Best For Kitchen Plumbing Pipes?
Copper and PEX pipes are popular for kitchen plumbing due to durability and flexibility. PVC is used for drain lines because it resists corrosion and is easy to install.
How Can I Prevent Leaks In Kitchen Plumbing?
Use plumber’s tape on threaded connections and tighten fittings securely. Regularly check for drips and replace worn washers or seals promptly to avoid water damage.
Conclusion
Installing kitchen plumbing can be simple with the right steps. Start with a clear plan. Gather all necessary tools and materials. Follow instructions carefully for each task. Check for leaks after installation. Tighten any loose connections. Turn on water slowly to test flow.
Fix any issues you find immediately. A well-installed kitchen plumbing system ensures smooth daily use. Enjoy your kitchen’s new functionality and reliability. Always keep a professional’s contact handy for unexpected problems. Happy plumbing!