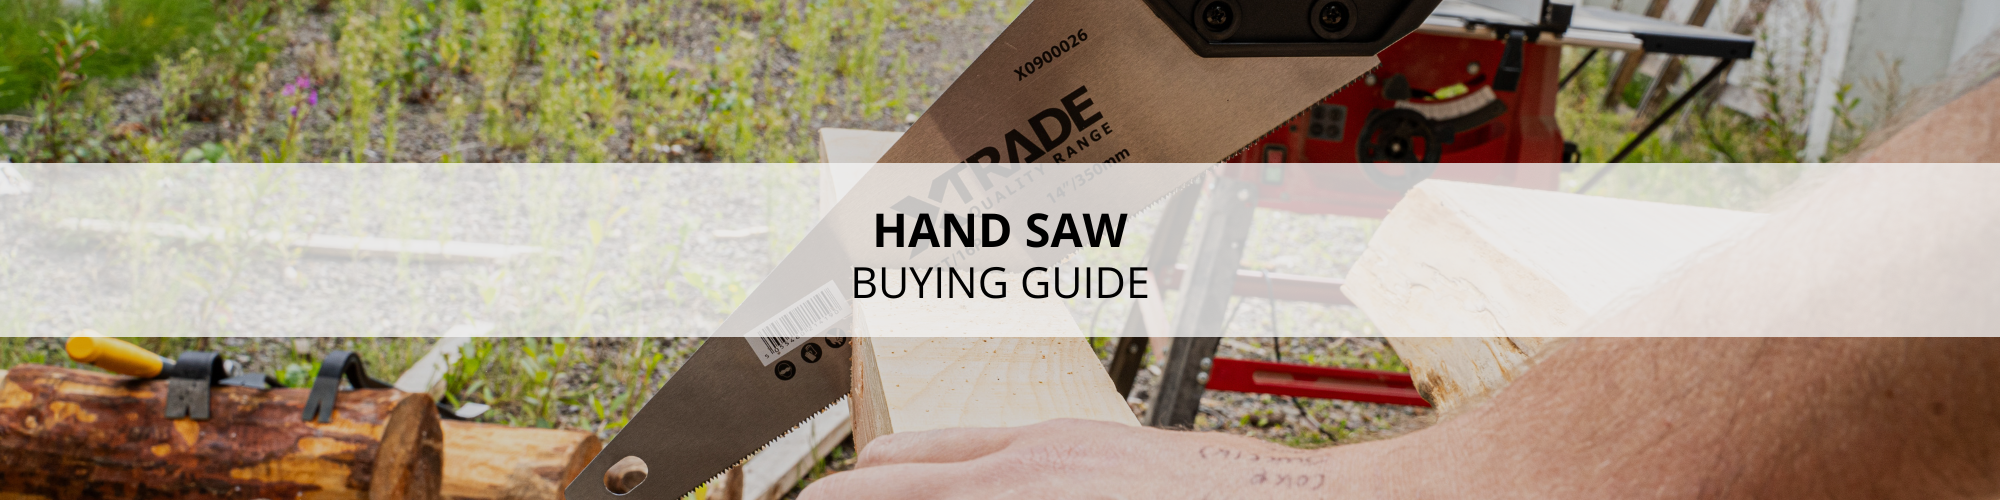
Is your hand saw not cutting as smoothly as it used to? You don’t have to toss it out or rush to buy a new one.
With a few simple tips and tricks, you can bring your hand saw back to life and save both time and money. In this guide, you’ll discover easy ways to fix common problems, sharpen the blade, and keep your saw working like new.
Whether you’re a beginner or have some experience, this guide is made just for you. Ready to make your hand saw sharp and reliable again? Keep reading—you’ll be surprised how simple it can be!
Common Hand Saw Issues
Hand saws are useful tools but they can have problems after use. Fixing these problems keeps the saw working well and safe.
Knowing the common issues helps you repair your saw faster. This guide explains usual problems and how to spot them.
Blade Rust And Corrosion
Rust and corrosion happen when moisture touches the saw blade. This can make the blade weak and hard to use.
Rust can cause rough cuts and damage the metal. Cleaning and protecting the blade stops rust from spreading.
Loose Or Damaged Handles
Handles can loosen or crack after heavy use. A loose handle makes the saw hard to control and unsafe.
Check the screws and wood for damage. Tighten screws or replace the handle if needed to keep a good grip.
Dull Or Missing Teeth
Teeth on the saw blade wear down or break over time. Dull teeth make cutting slow and tough.
Sharpening teeth or replacing missing ones improves cutting speed and accuracy. Use a file made for saw teeth.
Bent Or Warped Blades
A bent or warped blade does not cut straight. It can cause the saw to bind or jump while cutting.
Carefully straighten small bends using a hammer and anvil. Replace the blade if the damage is severe for safety.
Credit: www.familyhandyman.com
Tools And Materials Needed
Repairing a hand saw requires the right tools and materials to work safely and effectively. Having these ready helps you fix your saw quickly and correctly.
This guide covers essential tools, replacement parts, and safety gear you need for hand saw repair.
Essential Repair Tools
You need some basic tools to repair your hand saw. These tools help you clean, sharpen, and adjust the saw blade.
- Flat file for sharpening teeth
- Triangular file for shaping
- Whetstone for fine sharpening
- Adjustable wrench for handle screws
- Wire brush to remove rust
- Clamps to hold the saw steady
- Hammer for minor adjustments
Replacement Parts
Some parts may need replacement to restore your saw’s performance. It is good to have spare parts on hand.
| Part | Description | When to Replace |
| Saw Blade | Main cutting part | When cracked or badly rusted |
| Handle | Wood or plastic grip | When loose or broken |
| Fastening Screws | Hold blade to handle | If missing or stripped |
| Back Brace | Supports blade tension | If bent or broken |
Safety Gear
Safety gear protects you during repairs. Always wear proper equipment to avoid injuries.
- Safety glasses to protect eyes
- Work gloves to protect hands
- Dust mask if filing creates dust
- Apron to protect clothing
Cleaning And Preparing The Saw
Cleaning and preparing a hand saw is important for good performance. A well-maintained saw cuts smoothly and lasts longer.
This guide covers removing rust, cleaning the blade, and inspecting the saw for damage before use.
Removing Rust
Rust weakens the saw blade and makes cutting hard. Remove rust carefully to keep the blade sharp.
- Use fine steel wool or a wire brush to scrub off rust.
- Apply a rust remover if rust is heavy, following product instructions.
- Wipe the blade clean with a dry cloth after rust removal.
- Apply a light coat of oil to prevent new rust from forming.
Cleaning The Blade
A clean blade cuts better. Dirt and sap can clog the teeth and slow your work.
| Cleaning Method | Description | Materials Needed |
|---|---|---|
| Soap and Water | Remove dirt and sap gently | Warm water, mild soap, cloth |
| Mineral Spirits | Remove sticky sap or grease | Mineral spirits, rag |
| Cloth Wipe | Dry and polish blade | Clean dry cloth |
Inspecting For Damage
Check the saw for cracks, bent teeth, or loose handles. Damaged parts reduce safety and cutting quality.
- Look closely at the blade edges for cracks or chips.
- Check if any teeth are bent or missing.
- Test the handle for tightness and cracks.
- Replace or repair damaged parts before use.
Credit: www.familyhandyman.com
Fixing The Handle
The handle of a hand saw is important for control and safety. Fixing it can make your saw work like new. This guide shows easy ways to repair the handle.
Whether the handle is loose, broken, or worn, you can fix it with simple tools and steps. Follow these tips to keep your hand saw strong and safe.
Tightening Loose Handles
A loose handle makes cutting hard and unsafe. Tightening it improves grip and control. Check the screws or bolts first.
Use a screwdriver or wrench to tighten the fasteners. If they spin without tightening, try adding wood glue or small wooden shims inside the handle.
- Find the screws or bolts holding the handle
- Tighten them firmly with the right tool
- Insert small wooden pieces if the handle still feels loose
- Let glue dry completely if used
Replacing Broken Handles
If the handle is cracked or broken, replace it to avoid injury. Remove the old handle carefully before fitting the new one.
Buy a new handle that fits your saw blade. Attach it using screws, bolts, or rivets. Make sure it is tight and comfortable to hold.
- Remove old handle by unscrewing or drilling out rivets
- Clean the area where the handle attaches
- Fit the new handle on the saw blade
- Secure with screws, bolts, or new rivets
- Check for a snug fit and comfort
Sanding And Finishing
Sanding the handle makes it smooth and safe to hold. It also removes dirt and old finish. Use fine sandpaper for best results.
After sanding, apply a finish like linseed oil or varnish. This protects the wood and improves grip. Let it dry before using the saw.
- Use 120-220 grit sandpaper to smooth the handle
- Sand along the grain to avoid scratches
- Wipe off dust with a dry cloth
- Apply a wood finish or oil evenly
- Let the handle dry fully before use
Sharpening The Teeth
Sharpening hand saw teeth keeps the tool working well. It makes cutting easier and safer. Proper sharpening takes care and the right tools.
This guide covers how to pick files, filing methods, and setting the teeth. Follow these tips to keep your saw sharp and ready.
Choosing The Right File
Choose a file that fits your saw teeth size. Use a triangular file for crosscut saws. For rip saws, use a flat file. The file size should match the tooth size.
- Use a 4mm file for small teeth
- Use a 5mm file for medium teeth
- Use a 6mm file for large teeth
- Pick a smooth file to avoid damaging teeth
Filing Techniques
Hold the file at the correct angle to sharpen each tooth. File only on the cutting edge. Use smooth, even strokes. Count strokes to keep teeth even.
| Technique | Description |
| Angle | Match the original tooth angle |
| Stroke | Push forward, lift back |
| Pressure | Light to medium pressure |
| Teeth per Stroke | One tooth per stroke |
Setting The Teeth
Setting the teeth means bending them slightly. This creates a wider cut path. Use a special tool called a saw set. Set teeth alternately left and right.
- Bend each tooth gently
- Keep the bends even
- Check the width with a gauge
- Do not over-bend teeth
Credit: www.toolstop.co.uk
Straightening And Aligning
Hand saws can bend or warp with use and storage. Straightening and aligning helps them cut better and last longer.
This guide covers how to detect warps and bends, use clamps and vices, and apply hammering techniques to repair your hand saw.
Detecting Warps And Bends
Check the saw blade by laying it flat on a table. Look for any gaps between the blade and the surface.
Hold the saw up to light. Warps often show as uneven reflections or bends in the blade.
- Place the saw on a flat surface
- Look for light passing through gaps
- Check the blade edges for bends
Using Clamps And Vices
Secure the saw blade in a vice to keep it steady. Use soft jaws to avoid damaging the blade.
Use clamps to hold the saw straight while you work. This keeps the blade from moving during repairs.
- Use a wood or leather pad in the vice jaws
- Tighten the vice just enough to hold the blade firm
- Use clamps to apply pressure where needed
Hammering Techniques
Use a small hammer to gently tap the bent areas back into shape. Tap lightly to avoid cracking the blade.
Work slowly and check the blade often. Hammering in small steps helps keep the saw straight.
- Use a ball-peen or soft-faced hammer
- Tap bends gently and evenly
- Check alignment after every few taps
Preventive Maintenance Tips
Keeping your hand saw in good shape saves time and money. Regular care prevents damage and ensures smooth cutting.
These tips focus on proper storage, cleaning, and sharpening. Follow them to extend your saw’s life and performance.
Proper Storage
Store your hand saw in a dry place to stop rust. Avoid leaving it on damp surfaces or outdoors. Use a saw cover or case for extra protection.
- Keep saws away from moisture and humidity
- Hang saws on a pegboard or wall rack
- Use blade guards or sheaths to cover teeth
- Store saws separately to avoid blade damage
Regular Cleaning
Clean your saw after every use. Dirt and sap build-up dull the blade and make cutting hard. Wipe the blade with a cloth and mild cleaner.
| Cleaning Task | Tools Needed | Frequency |
|---|---|---|
| Remove sawdust | Soft brush or cloth | After each use |
| Clean sap and resin | Mineral spirits or soapy water | Weekly or as needed |
| Dry blade | Dry cloth | After cleaning |
| Apply light oil | Machine oil or WD-40 | Monthly or before storage |
Routine Sharpening
Sharp teeth cut better and safer. Check the blade for dull or damaged teeth. Use a file or sharpening tool to keep teeth pointed and even.
- Secure the saw in a vise or clamp.
- File each tooth carefully in one direction.
- Keep the same angle as the original teeth.
- Check for evenness after sharpening.
- Remove any metal burrs with a fine stone.
Frequently Asked Questions
How Do I Sharpen A Hand Saw Blade?
Sharpening a hand saw involves using a triangular file. Secure the saw in a vise for stability. File each tooth with even strokes, maintaining the original angle. Regular sharpening ensures smooth and efficient cuts, prolonging the saw’s lifespan. Always wear protective gear during the process for safety.
What Tools Are Needed For Hand Saw Repair?
Essential tools for hand saw repair include a file, saw set, and vise. A file sharpens the teeth, while a saw set adjusts them. The vise holds the saw securely for precise work. Having these tools ensures effective and safe repair of your hand saw.
How Often Should I Maintain My Hand Saw?
Regular maintenance extends a hand saw’s life. Check and clean it after each use. Sharpen the teeth and check alignment monthly, or when cutting performance decreases. Proper storage and regular inspection ensure your hand saw remains in optimal working condition, delivering efficient results.
Can A Rusty Hand Saw Be Repaired?
Yes, a rusty hand saw can be restored. Use sandpaper or a wire brush to remove rust. Apply a rust remover or vinegar for stubborn spots. After cleaning, coat with a protective oil. Regular maintenance prevents rust, ensuring your hand saw remains in top working condition.
Conclusion
Repairing hand saws keeps your tools sharp and ready. Small fixes save money and extend saw life. Regular care helps you cut wood more easily. You can fix dull blades and loose handles yourself. This guide gives simple steps anyone can follow.
Practice these tips to keep your saws working well. A well-maintained saw makes every project smoother. Start today and enjoy better results with your hand saw.