Are you tired of getting inaccurate measurements? Frustrated with tools that just don’t seem to deliver precision?
If you’re someone who values exactness in your work, then mastering the use of a digital caliper is a must. Imagine being able to measure with confidence, knowing that each reading is spot-on. Whether you’re a seasoned professional or a curious DIY enthusiast, understanding how to wield this tool can transform your projects.
In this guide, you’ll uncover the secrets to using a digital caliper with ease and precision. Ready to elevate your measuring game? Let’s dive in and see how this essential tool can revolutionize the way you work.
Credit: hkcalibrations.com.au
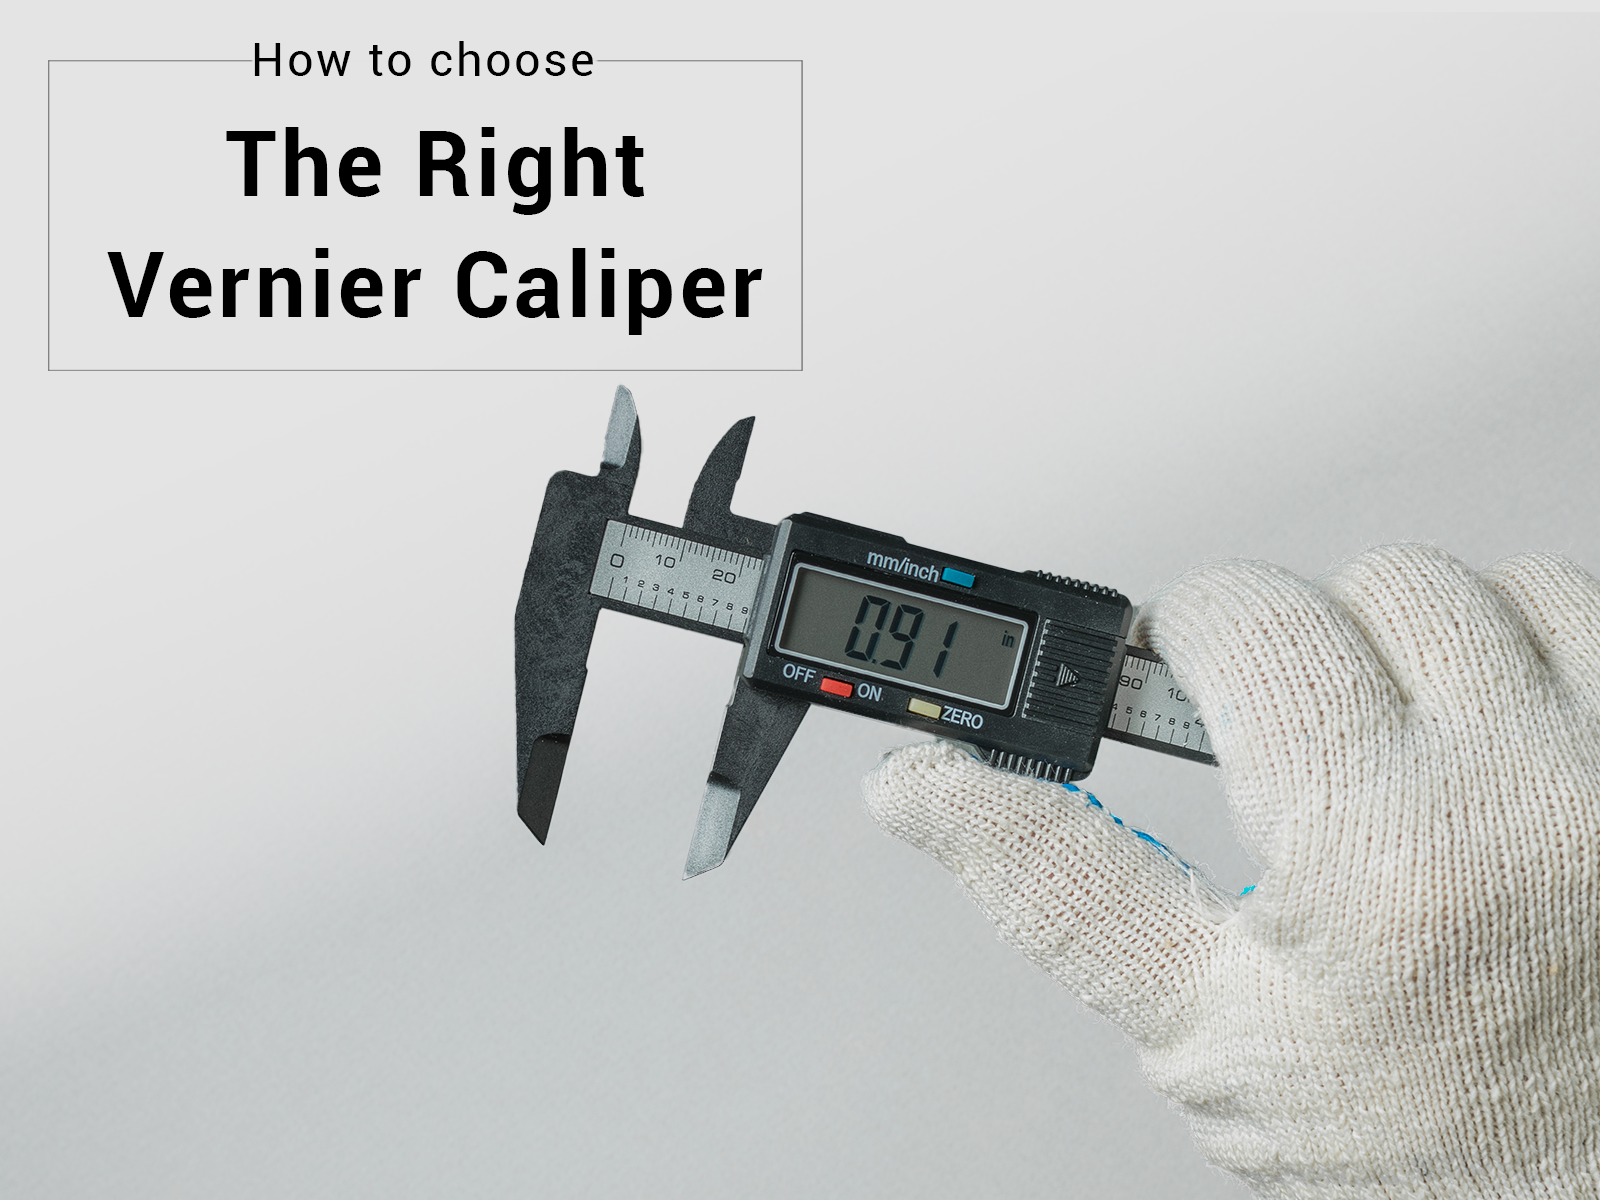
Choosing The Right Digital Caliper
Digital calipers help measure small objects with high accuracy. Picking the right one makes your work easier and more precise.
There are different types of digital calipers. You also need to check features and balance cost with quality before buying.
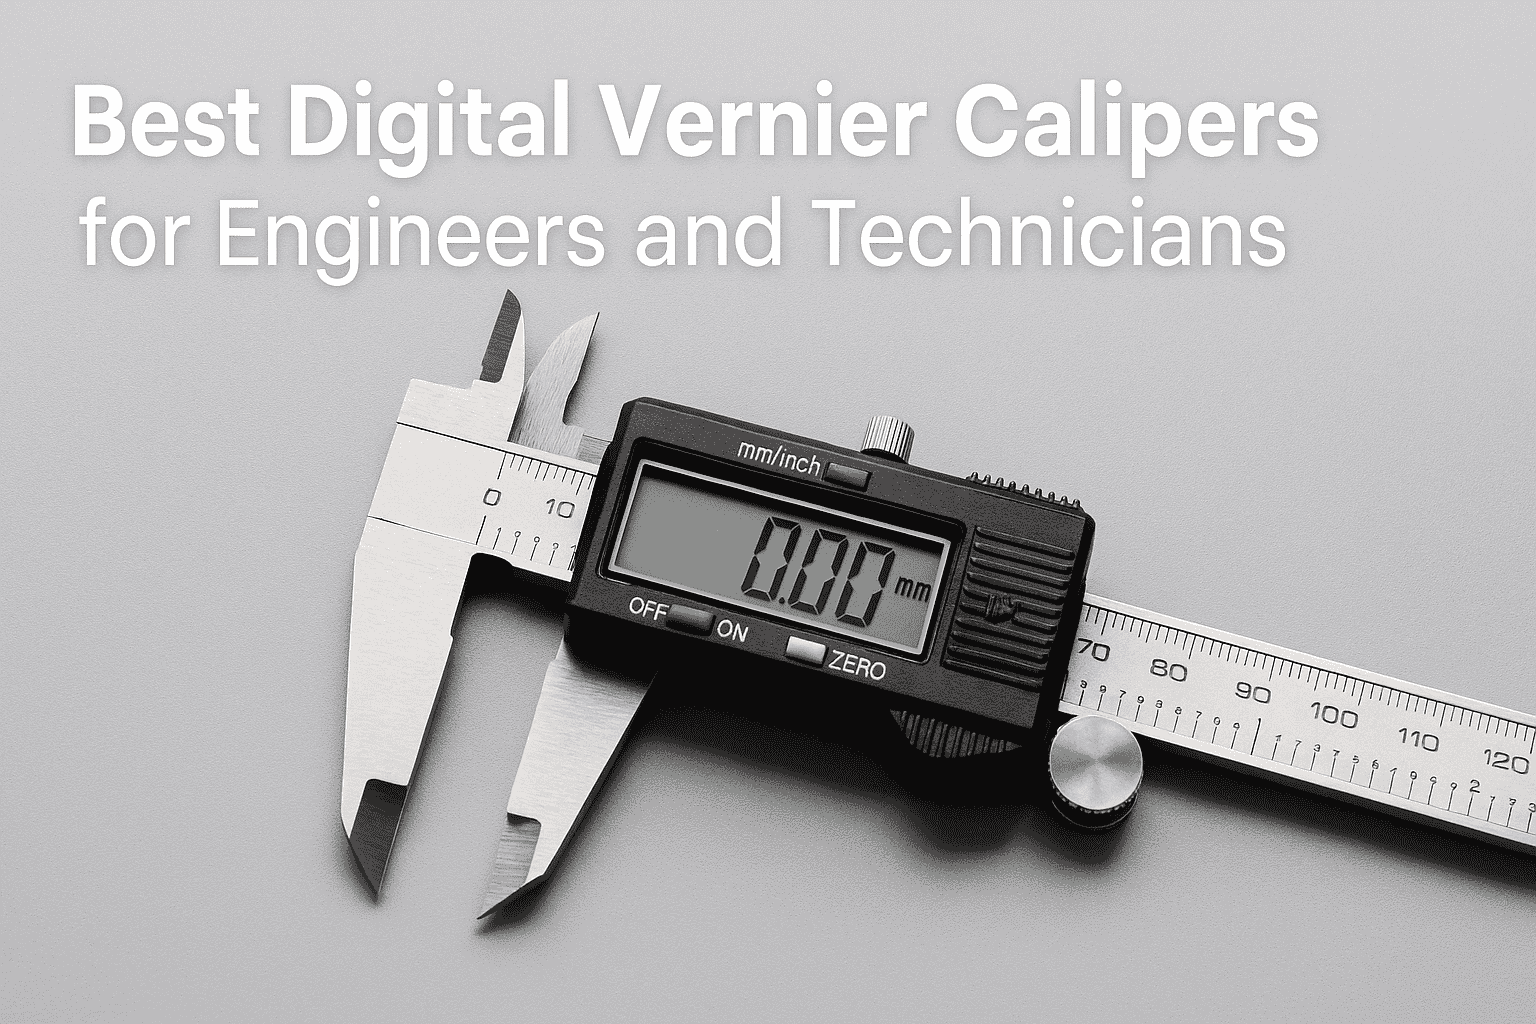
Types Of Digital Calipers
Digital calipers come in many forms. Here are the common types:
- Standard Calipers: Measure inside, outside, and depth dimensions.
- Vernier Calipers: Have a digital display with easy reading.
- Dial Calipers: Use a dial gauge but show digital readout.
- Specialty Calipers: Made for specific tasks like pipe or groove measuring.
Key Features To Look For
| Feature | Why It Matters |
| Measurement Range | Ensures caliper fits your measuring needs |
| Accuracy | Higher accuracy means better precision |
| Display Type | Clear digital display eases reading |
| Material | Stainless steel lasts longer and resists rust |
| Zero Setting | Allows easy resetting for relative measurements |
| Battery Life | Long battery life reduces interruptions |
Budget Vs. Quality
Cheaper calipers may save money but can lack accuracy or durability. High-quality models last longer and offer better precision.
- Low-cost: Good for simple tasks with less frequent use.
- Mid-range: Balance between price and features for hobbyists.
- High-end: Best for professional use with top accuracy and build.
Setting Up Your Caliper
Using a digital caliper correctly ensures precise measurements. Setting it up right is the first step.
This guide covers how to calibrate, install batteries, and zero your device for accuracy.
Calibrating For Accuracy
Calibration keeps your caliper measurements reliable. Check calibration often, especially after heavy use.
- Clean the caliper jaws before calibration.
- Close the jaws gently until they touch.
- Press the calibration button or follow device instructions.
- Confirm the display reads zero or the standard reference.
- Repeat calibration if readings seem off.
Battery Installation And Care
Proper battery care extends the life of your caliper. Use the correct battery type and handle it safely.
| Battery Type | Installation Tips | Care Instructions |
|---|---|---|
| CR2032 | Insert with positive side up | Remove battery if not used for long periods |
| LR44 | Check polarity before installing | Store spare batteries in a cool, dry place |
| Rechargeable | Use specified charger only | Avoid overcharging to prolong life |
Zeroing The Device
Zeroing sets your caliper to a baseline. This step is key before each measurement.
Follow these tips to zero your caliper correctly:
- Close the jaws completely without force.
- Press the zero or origin button.
- Check that the display shows 0.00 mm or inches.
- If needed, reopen and close the jaws again and reset zero.
- Zero the device after battery replacement or calibration.
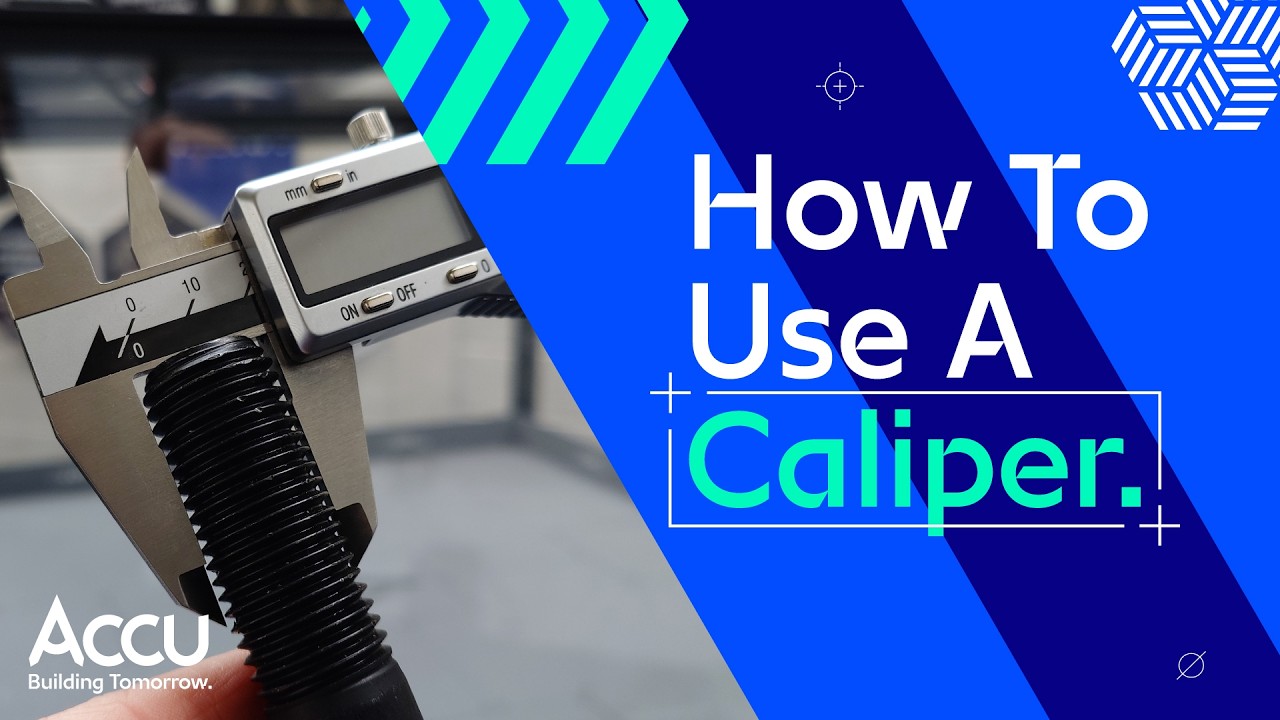
Measuring Techniques
Using a digital caliper correctly helps you get exact measurements. It is a handy tool for many projects.
Learn how to measure outside, inside, depth, and steps with a digital caliper. Each method has simple steps.
Measuring Outside Dimensions
Outside dimensions are the length, width, or diameter of an object. Use the caliper jaws for this.
- Open the caliper jaws wide enough to fit around the object.
- Place the object between the jaws carefully.
- Close the jaws until they touch the object gently.
- Read the measurement on the digital display.
Inside Measurements
Inside measurements are for holes or spaces inside objects. Use the small jaws at the top.
Insert the small jaws into the space. Open them until they touch the inside walls. Check the reading on the display.
Depth Measurements
Depth is the distance from the surface to the bottom of a hole or slot. Use the depth rod on the caliper.
Place the end of the caliper on the surface. Extend the depth rod down into the hole. Read the measurement on the screen.
Step Measurements
Step measurement finds the height difference between two surfaces. Use the caliper’s stepped jaws.
| Action | How to Do It |
|---|---|
| Place lower jaw | Rest it on the lower surface |
| Extend upper jaw | Touch the higher surface with the upper jaw |
| Read measurement | Look at the digital display for the step height |
Common Errors To Avoid
Using a digital caliper seems easy but small mistakes cause wrong results. Avoiding common errors helps get precise measurements.
This guide covers handling mistakes, reading errors, and environmental factors to watch out for.
Handling And Positioning Mistakes
Incorrect handling or poor positioning of the caliper leads to inaccurate readings. Avoid these common mistakes:
- Do not apply too much force when closing the jaws.
- Keep the caliper perpendicular to the object for correct contact.
- Do not measure on dirty or oily surfaces.
- Avoid sliding the caliper while measuring.
- Ensure the object is stable and not moving during measurement.
Reading Errors
Misreading the digital display or ignoring zero errors can cause wrong results. Watch for these common reading problems.
| Error Type | Description | How to Avoid |
|---|---|---|
| Zero Error | The caliper does not read zero when fully closed. | Always reset the zero before measuring. |
| Parallax Error | Reading the display from an angle causes mistakes. | Look directly at the screen straight on. |
| Battery Low | Weak battery causes flickering or wrong numbers. | Replace batteries regularly to keep display clear. |
Environmental Factors
External conditions affect caliper accuracy. Temperature and dust often cause errors.
Key environmental tips:
- Measure in a stable temperature environment.
- Keep the caliper clean and free of dust.
- Avoid measuring objects just taken from cold or hot places.
- Store calipers in protective cases when not in use.
Maintenance And Care Tips
Keeping your digital caliper in good shape helps it stay accurate and last longer. Regular care prevents damage and ensures smooth use.
This guide covers simple steps to clean, store, and replace the battery of your digital caliper.
Cleaning Your Caliper
Remove dirt and dust from your caliper carefully. Use a soft cloth to wipe the surfaces. Avoid water or harsh chemicals that can damage the electronics.
- Use a dry, soft cloth for cleaning
- Gently remove debris from measuring jaws
- Do not spray liquids directly on the device
- Clean the display screen with a microfiber cloth
- Keep the caliper dry after cleaning
Storage Recommendations
Store your caliper in a safe place to prevent damage. Avoid extreme temperatures and humidity that can affect its parts.
| Storage Tip | Reason |
| Keep in a protective case | Protects against dust and shocks |
| Store in a dry area | Prevents rust and corrosion |
| Avoid high heat or cold | Maintains battery and parts function |
| Keep away from magnets | Prevents electronic interference |
Battery Replacement
Change the battery when the display dims or stops working. Use the correct battery type to avoid damage.
- Open the battery cover carefully
- Remove the old battery with care
- Insert a new battery matching the model
- Close the cover securely
- Test the caliper to ensure it works
Credit: www.youtube.com
Advanced Tips For Ultimate Precision
Using a digital caliper correctly can improve your measurement accuracy. Small details make a big difference in precision.
This guide covers important tips to get the most accurate readings from your caliper.
Using Calibration Blocks
Calibration blocks help verify your caliper’s accuracy. Always use certified blocks with known measurements.
- Clean both the caliper jaws and the calibration block before measuring.
- Place the block between the jaws without applying extra force.
- Take multiple readings to ensure consistency.
- Adjust your caliper settings if measurements differ from the block size.
Temperature Considerations
Temperature changes can affect your caliper and the object measured. Metal expands or contracts with heat.
| Temperature (°C) | Effect on Measurement |
| Below 10 | Caliper may shrink, causing smaller readings |
| 20 to 25 (Room Temp) | Ideal for accurate measurements |
| Above 30 | Caliper expands, leading to larger readings |
Regular Accuracy Checks
Check your caliper’s accuracy regularly to avoid errors. Use standard objects or calibration blocks.
Follow these tips for regular checks:
- Test your caliper at the start of each day.
- Store the caliper in its case when not in use.
- Clean the measuring surfaces after every use.
- Replace batteries to maintain display accuracy.
Credit: www.spcanywhere.com
Frequently Asked Questions
How Do I Calibrate A Digital Caliper Correctly?
To calibrate, close the jaws and press the zero button. Check measurements against a standard gauge block. Repeat calibration regularly for accuracy.
What Materials Can A Digital Caliper Measure Precisely?
Digital calipers measure metals, plastics, wood, and ceramics. They work well for small parts needing precise dimensional checks.
How Do I Read Measurements On A Digital Caliper?
Turn on the caliper, close it on the object, and read the digital display. Switch units between mm and inches if needed.
Why Is Zeroing A Digital Caliper Important?
Zeroing ensures the caliper starts measuring from a true zero point. It prevents errors and improves measurement precision.
Conclusion
Using a digital caliper brings accuracy to your measurements. It helps you check sizes quickly and easily. Practice makes perfect. Try measuring different objects to get comfortable. Always clean the caliper before and after use. Store it safely to keep it working well.
With care and use, your caliper will last long. Precise measurements matter in many tasks. This tool can make your work better. Keep learning and improving your skills every day.
