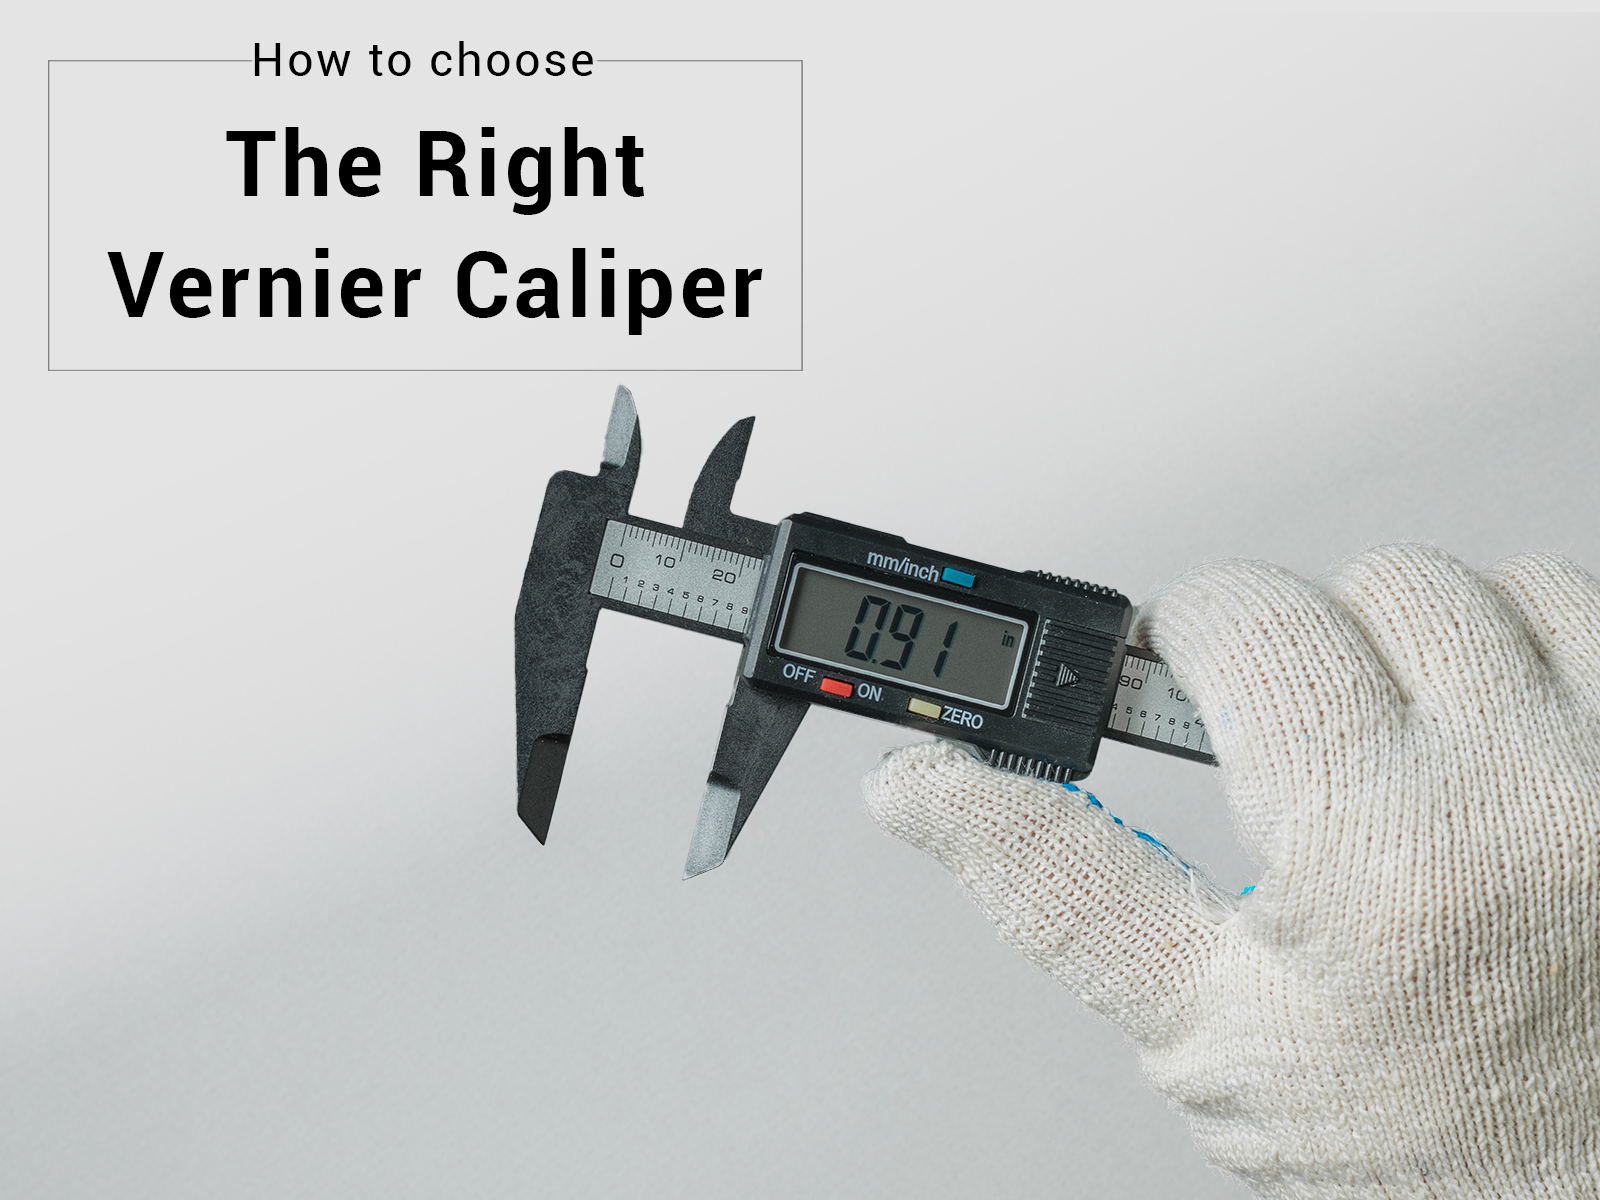
Unlock the secrets of precision with a tool that’s essential for anyone who values accuracy—whether you’re a seasoned engineer, a dedicated DIY enthusiast, or just someone who loves tinkering around. Welcome to your ultimate guide on using a digital caliper.
Imagine having the power to measure with pinpoint accuracy right at your fingertips. This guide is designed to demystify the digital caliper, showing you not just how to use it, but how to master it. You’ll discover tips and tricks that even the pros use, ensuring you get the most out of every measurement.
Ready to elevate your skills and see results that truly measure up? Let’s dive in and transform how you approach every project.
Credit: www.youtube.com
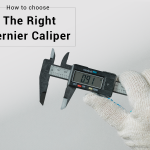
Choosing The Right Digital Caliper
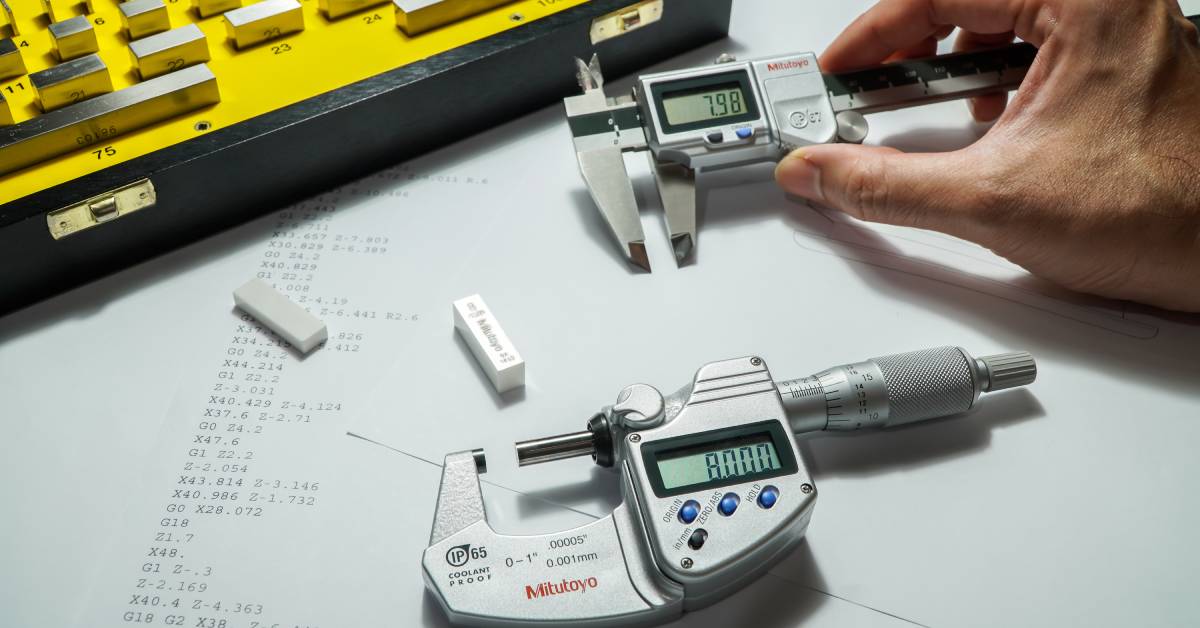
A digital caliper is a tool used to measure objects with high accuracy. Picking the right one helps you get precise results every time.
Many types of digital calipers exist. Knowing their features and costs will help you choose the best one for your needs.
Types Of Digital Calipers
Digital calipers come in different styles. Each type suits certain tasks better than others.
- Standard Digital Calipers:Most common type, good for general measurements.
- Dial Digital Calipers:Have a dial display along with digital readings for easy viewing.
- Vernier Digital Calipers:Combine traditional vernier scale with digital readout for accuracy.
- Depth Gauge Digital Calipers:Designed to measure depths inside holes or slots.
Key Features To Look For
Look for features that make measuring easier and more accurate. Not all digital calipers have the same options.
- Measurement Range:Check the maximum size it can measure, usually 6 inches or 150 mm.
- Resolution and Accuracy:The smaller the reading unit, the better the precision.
- Display Type:Clear LCD screens are easier to read in different lighting.
- Material:Stainless steel is durable and resists wear.
- Zero Setting:Allows you to reset the display at any point for relative measurements.
- Auto Off Feature:Saves battery life by turning off after inactivity.
Budget Considerations
Digital calipers vary in price. Your budget will affect the quality and features you can get.
Cheaper models may lack durability or precision. Higher-priced calipers offer better build and accuracy.
- Basic models cost less but suit light tasks only.
- Mid-range calipers balance price and quality for hobbyists.
- Professional-grade tools are more expensive but best for exact work.
- Consider replacement batteries and warranty when buying.
Credit: www.penntoolco.com
Caliper Components And Functions
A digital caliper is a tool for taking exact measurements. It has parts that work together to give precise results.
Understanding each part helps you use the caliper correctly. This guide explains the main parts and their jobs.
Main Scale And Sliding Jaw
The main scale is the fixed ruler on the caliper. It shows the measurement units in millimeters or inches.
The sliding jaw moves along the main scale. It adjusts to the size of the object you measure.
- The main scale holds the measurement markings.
- The sliding jaw slides smoothly for accurate reading.
- Both work together to measure length or depth.
Display And Controls
The display shows the measurement in digital numbers. It makes reading easier than using a manual scale.
Controls include buttons to turn the caliper on or off and to zero the reading. Some calipers let you change units with a button.
- Power button turns the caliper on or off.
- Zero button resets the display to zero for new measurements.
- Unit button switches between millimeters and inches.
Measuring Surfaces
Measuring surfaces are the parts that touch the object. They must be clean and flat for correct readings.
There are different surfaces for inside, outside, and depth measurements. Each surface fits a specific type of measurement.
- Outside jaws measure external size like width or length.
- Inside jaws measure internal size like hole diameter.
- Depth rod measures the depth of holes or slots.
Preparing For Accurate Measurements
Using a digital caliper correctly ensures precise measurements. Preparing the tool before measuring is key.
Small errors can cause big problems. Follow steps to get reliable results every time.
Caliper Calibration Techniques
Calibration makes sure your caliper shows the right numbers. It checks the tool against a known standard.
Use calibration blocks or gauge blocks to test your caliper’s accuracy. Adjust if needed to match the standard.
- Use certified gauge blocks for comparison
- Close jaws gently on the block
- Check reading matches the block size
- Adjust caliper settings if readings differ
Cleaning And Maintenance Tips
Keep your digital caliper clean for smooth operation. Dirt or debris can cause wrong readings.
Wipe the jaws and scale with a soft cloth. Avoid water or harsh chemicals that can damage the tool.
- Clean after each use with a dry cloth
- Use compressed air to remove dust
- Store in a protective case
- Replace batteries regularly for stable power
Zeroing The Caliper
Zero the caliper before taking any measurement. This resets the tool to a baseline value.
Close the jaws fully and press the zero button. Check that the display shows 0.00 before measuring.
- Close jaws gently to avoid damage
- Press zero button once jaws are closed
- Verify the display reads zero
- Repeat zeroing if readings seem off
Credit: www.spcanywhere.com
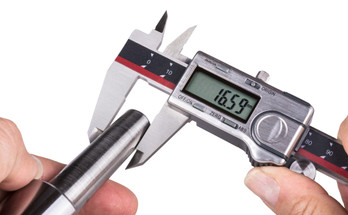
Measuring External Dimensions
Using a digital caliper to measure external dimensions is easy. This tool gives precise readings of an object’s size.
It helps check parts for accuracy in projects and repairs. Learning the right way to measure ensures good results.
Proper Jaw Placement
Place the caliper jaws gently around the object. Make sure both jaws touch the surface evenly.
Avoid tilting the jaws to keep the measurement accurate. The object should fit snugly between the jaws.
- Open jaws wider than the object
- Close jaws slowly until they contact the object
- Check that jaws are square to the object
- Do not press jaws too hard
Avoiding Common Mistakes
Do not rush while measuring external dimensions. Quick moves can cause wrong readings.
Keep the caliper clean and free of dust. Dirt on the jaws can add extra space and distort results.
- Do not measure if jaws are dirty
- Avoid measuring on rough or uneven surfaces
- Do not force the jaws onto the object
- Zero the caliper before each use
Best Practices For Consistency
Take multiple measurements and check for similar results. This helps confirm the size is correct.
Hold the caliper steady and use light pressure. Use the same technique every time for best consistency.
- Measure at the same spot on the object
- Keep the caliper perpendicular to the surface
- Record measurements immediately
- Calibrate your caliper regularly
Measuring Internal Dimensions
Digital calipers are useful tools for measuring inside spaces. They help get exact sizes of holes or gaps.
Knowing how to measure internal dimensions correctly ensures your parts fit well and work properly.
Using The Inside Jaws
The inside jaws of a digital caliper are designed to measure openings and holes. They fit inside the space you want to measure.
To use the inside jaws, gently open them and place them inside the object. Close them until they touch the sides. Read the measurement on the digital display.
Handling Small Or Delicate Objects
Be careful when measuring small or fragile items. Too much pressure can damage these objects or cause wrong readings.
Use light pressure and steady hands. Take your time to avoid slipping or breaking the object.
- Hold caliper firmly but gently
- Open inside jaws slowly
- Avoid force when closing jaws
- Support delicate items properly
Ensuring Accurate Readings
Clean the inside jaws before measuring. Dirt or dust can affect accuracy. Make sure the jaws close completely with no gap.
Take multiple measurements to confirm the size. Keep the caliper perpendicular to the surface for best results.
- Clean jaws before use
- Check zero reading on caliper
- Measure more than once
- Hold caliper steady and straight
Depth And Step Measurements
Digital calipers help measure depth and steps with great precision. These measurements are essential in many tasks like woodworking and metalworking.
Understanding how to use the depth rod and measure steps can improve your accuracy and efficiency.
Using The Depth Rod
The depth rod extends from the end of the caliper jaws. It slides smoothly to measure the depth of holes or slots. Place the base of the caliper on the surface and push the rod down into the space.
- Zero the caliper before measuring
- Hold the caliper steady to avoid errors
- Push the rod gently until it touches the bottom
- Read the measurement on the digital display
Measuring Steps And Grooves
Steps and grooves are measured by placing the caliper jaws on different levels. The difference in height shows the step size. This is useful for checking grooves or ledges.
| Measurement Type | How to Measure | Tip |
| Step Height | Place lower jaw on bottom surface, upper jaw on step | Keep caliper perpendicular to surface |
| Groove Width | Use inside jaws inside the groove | Ensure jaws touch both sides firmly |
| Groove Depth | Use depth rod to measure groove depth | Zero caliper before measuring |
Tips For Stability
Holding the caliper steady is key to accurate measurements. Movement can cause false readings. Use both hands and rest your elbows if possible.
- Hold caliper firmly but gently
- Keep the tool perpendicular to the surface
- Use a flat, stable surface when possible
- Take multiple measurements to confirm accuracy
Reading And Recording Measurements
Using a digital caliper helps you get precise measurements quickly. It shows the size clearly on a screen.
Knowing how to read and save the measurements correctly is important. It reduces mistakes and saves time.
Unit Conversion Options
Digital calipers often let you switch between units. You can change from millimeters to inches easily.
This helps if you need to use different unit systems for your work or reports. Look for a button labeled “mm/inch.”
- Millimeters (mm) for metric measurements
- Inches (in) for imperial measurements
- Quick toggle button on the display
Data Recording Methods
Recording measurements well is key for accuracy. You can write them down by hand or use digital tools.
Some digital calipers connect to computers or smartphones. This helps store data without errors from manual writing.
- Manual note-taking on paper
- Using spreadsheets for organized data
- Bluetooth or USB connection to digital devices
Avoiding Parallax Errors
Parallax error happens if you do not look at the screen straight on. This can cause wrong readings.
To avoid this, always face the digital display directly. Keep your eye level with the screen for the best view.
- Look straight at the digital screen
- Keep the caliper steady during reading
- Use good lighting to see the display clearly
Troubleshooting Common Issues
Digital calipers provide precise measurements but can face issues over time. Troubleshooting helps keep your tool accurate and reliable.
This guide covers common problems and how to fix them quickly. Follow these tips to maintain your digital caliper’s performance.
Inconsistent Readings
Inconsistent measurements can result from dirt, misalignment, or zero errors. Clean the jaws and reset the zero before measuring.
- Wipe the measuring surfaces with a soft cloth.
- Check that the caliper is fully closed before zeroing.
- Make sure the object is properly positioned between the jaws.
- Avoid measuring with too much pressure.
Battery And Display Problems
Dim or flickering displays usually mean low battery power. Replace the battery with the correct type to restore clear readings.
| Issue | Possible Cause | Fix |
| Display dim or flickers | Low battery | Replace battery |
| Screen blank | Dead battery or loose connection | Check battery and contacts |
| Numbers jump or freeze | Electronic fault | Restart caliper or service |
Handling Wear And Damage
Physical damage or wear can cause errors. Handle your caliper carefully and inspect it often for any signs of damage.
- Do not drop or hit the caliper.
- Store in a protective case when not in use.
- Check for scratches or dents on the jaws.
- Have worn parts repaired or replaced promptly.
Advanced Techniques For Precision
Digital calipers provide accurate measurements for many tasks. Using advanced methods improves precision further. These techniques help in complex measurement situations.
This guide covers using digital calipers with coordinate measuring machines, software integration, and custom setups. Each method boosts your measurement accuracy and efficiency.
Using Digital Calipers With Cmms
Coordinate Measuring Machines (CMMs) can work with digital calipers for better precision. The calipers add manual measurements to the automated data. This helps check complex parts and tight spaces.
- Attach the digital caliper to the CMM probe carefully.
- Use the CMM software to record caliper readings.
- Calibrate the caliper with the CMM before starting measurements.
- Take multiple readings for consistent data.
- Compare manual and CMM data to find errors.
Integrating With Software Tools
Software tools can collect and analyze digital caliper data. Integration speeds up workflows and reduces mistakes. Many calipers support USB or Bluetooth connections for data transfer.
| Software | Connection Type | Key Feature |
| Measurement Manager | USB | Real-time data logging |
| Caliper Sync | Bluetooth | Wireless transfer |
| Precision Tracker | USB/Bluetooth | Data export to spreadsheets |
Custom Measurement Setups
Custom setups use digital calipers in unique ways for special tasks. These setups may include jigs, fixtures, or digital displays. They help measure parts that standard calipers cannot reach easily.
Common custom setups include:
- Fixed mounts to hold the caliper steady during measurement
- Adapters for measuring unusual shapes or angles
- Integration with digital readouts for clear values
- Use of extension rods for deep measurements
- Combining calipers with microscopes for small objects
Frequently Asked Questions
How Do I Zero A Digital Caliper Correctly?
To zero a digital caliper, close the jaws completely. Press the zero button to reset the display to 0. 000. This ensures accurate measurements from the starting point every time you use the caliper.
What Materials Can A Digital Caliper Measure?
A digital caliper can measure metal, plastic, wood, and other solid materials. It is ideal for precise internal, external, and depth measurements in various applications, including manufacturing, woodworking, and engineering.
How Do I Maintain And Clean A Digital Caliper?
Clean a digital caliper with a soft, dry cloth after use. Avoid water or solvents that can damage electronics. Store it in a protective case to prevent dust and impact damage, ensuring longevity and accuracy.
Can I Use A Digital Caliper For Inside Measurements?
Yes, digital calipers are designed for inside measurements using the smaller jaws. They measure internal diameters accurately, such as holes or slots, providing precise readings for detailed work.
Conclusion
Using a digital caliper helps you measure with great accuracy. Practice often to feel comfortable and confident. Always keep the tool clean and store it safely. Double-check your readings to avoid mistakes. This guide gives you the basics to start measuring right.
Precision matters in every project you do. Take your time and measure carefully every step. With patience, your skills will grow steadily. Keep this guide handy as you use your caliper. Enjoy the process of learning and improving your work.