Are you ready to upgrade your kitchen but worried about the plumbing work? Installing a kitchen faucet line might seem tricky, but with the right steps, you can do it yourself and save money.
Imagine turning on your faucet and enjoying a smooth, leak-free water flow—all set up by your own hands. In this guide, you’ll discover simple, clear instructions to help you install your kitchen faucet line quickly and confidently. Keep reading, and you’ll soon have the skills to tackle this project like a pro.

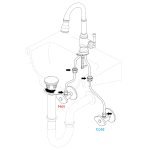
Credit: www.kingstonbrass.com
Tools And Materials Needed
Installing a kitchen faucet line needs the right tools and materials. This guide helps you prepare before you start.
Having everything ready saves time and makes the job easier. Let’s look at the essential tools and how to choose the right faucet line.
Essential Tools
You need specific tools to install a kitchen faucet line safely and correctly. Using the right tools helps avoid damage.
- Adjustable wrench for tightening and loosening fittings
- Basin wrench to reach tight spots under the sink
- Pipe cutter for cutting supply lines to size
- Plumber’s tape to seal threaded connections
- Bucket to catch water drips during installation
- Rags or towels to clean spills
Choosing The Right Faucet Line
Select faucet lines that fit your kitchen sink and water supply. The wrong type can cause leaks or low water flow.
| Type | Material | Best Use | Price Range |
| Braided Stainless Steel | Stainless steel | Most durable and flexible | Moderate |
| Plastic (PVC or PEX) | Plastic | Affordable and easy to install | Low |
| Copper | Copper | Good for hot water lines | High |
| Rubber | Rubber | Basic use, less flexible | Low |
Preparing The Work Area
Before installing a kitchen faucet line, you must prepare the work area properly. This helps avoid accidents and makes the job easier.
Two important steps are turning off the water supply and clearing the sink area. Follow these steps carefully for safe installation.
Turning Off Water Supply
Shut off the water supply to prevent leaks or flooding during installation. Usually, the shut-off valves are under the sink.
- Locate the shut-off valves under the kitchen sink.
- Turn the valves clockwise to close them.
- Open the faucet to drain any remaining water.
- Check that water flow has stopped completely.
Clearing The Sink Area
Clear the sink and surrounding area to have space for tools and parts. This also protects your belongings from water damage.
- Remove dishes, sponges, and cleaning supplies from the sink.
- Clear the countertop around the sink.
- Place a bucket or towel under the sink to catch drips.
- Gather all tools needed for faucet installation.
Removing The Old Faucet Line
Removing the old faucet line is an important step before installing a new one. It helps prevent leaks and ensures a proper fit for your new faucet.
Careful removal of the faucet line can save time and avoid damage to your sink and plumbing.
Disconnecting Water Lines
Turn off the water supply to the faucet before disconnecting the lines. Use a wrench to loosen the nuts connecting the water lines to the faucet.
- Locate the shut-off valves under the sink and turn them clockwise to close.
- Place a bucket or towel under the pipes to catch any dripping water.
- Use an adjustable wrench to loosen the compression nuts on the water supply lines.
- Carefully pull the water lines away from the faucet connections.
Removing Mounting Hardware
After disconnecting the water lines, remove the mounting hardware that holds the faucet in place. This hardware is usually located under the sink.
| Tool | Purpose |
| Adjustable wrench | Loosens mounting nuts |
| Basin wrench | Reaches tight spaces under the sink |
| Screwdriver | Removes screws if present |
Once the hardware is removed, lift the old faucet line out from the sink hole carefully. Clean the area before installing the new faucet line.

Credit: manuals.plus
Installing The New Faucet Line
Installing a new kitchen faucet line improves water flow and reliability. This guide explains how to set up the faucet line safely and correctly.
Follow these steps to position the faucet, connect the water lines, and secure the fixture in place.
Positioning The Faucet
Place the faucet carefully over the sink holes. Make sure it fits well and the spray hose or handle moves freely.
Check for any gaps or misalignments. Adjust the faucet until it sits straight and stable.
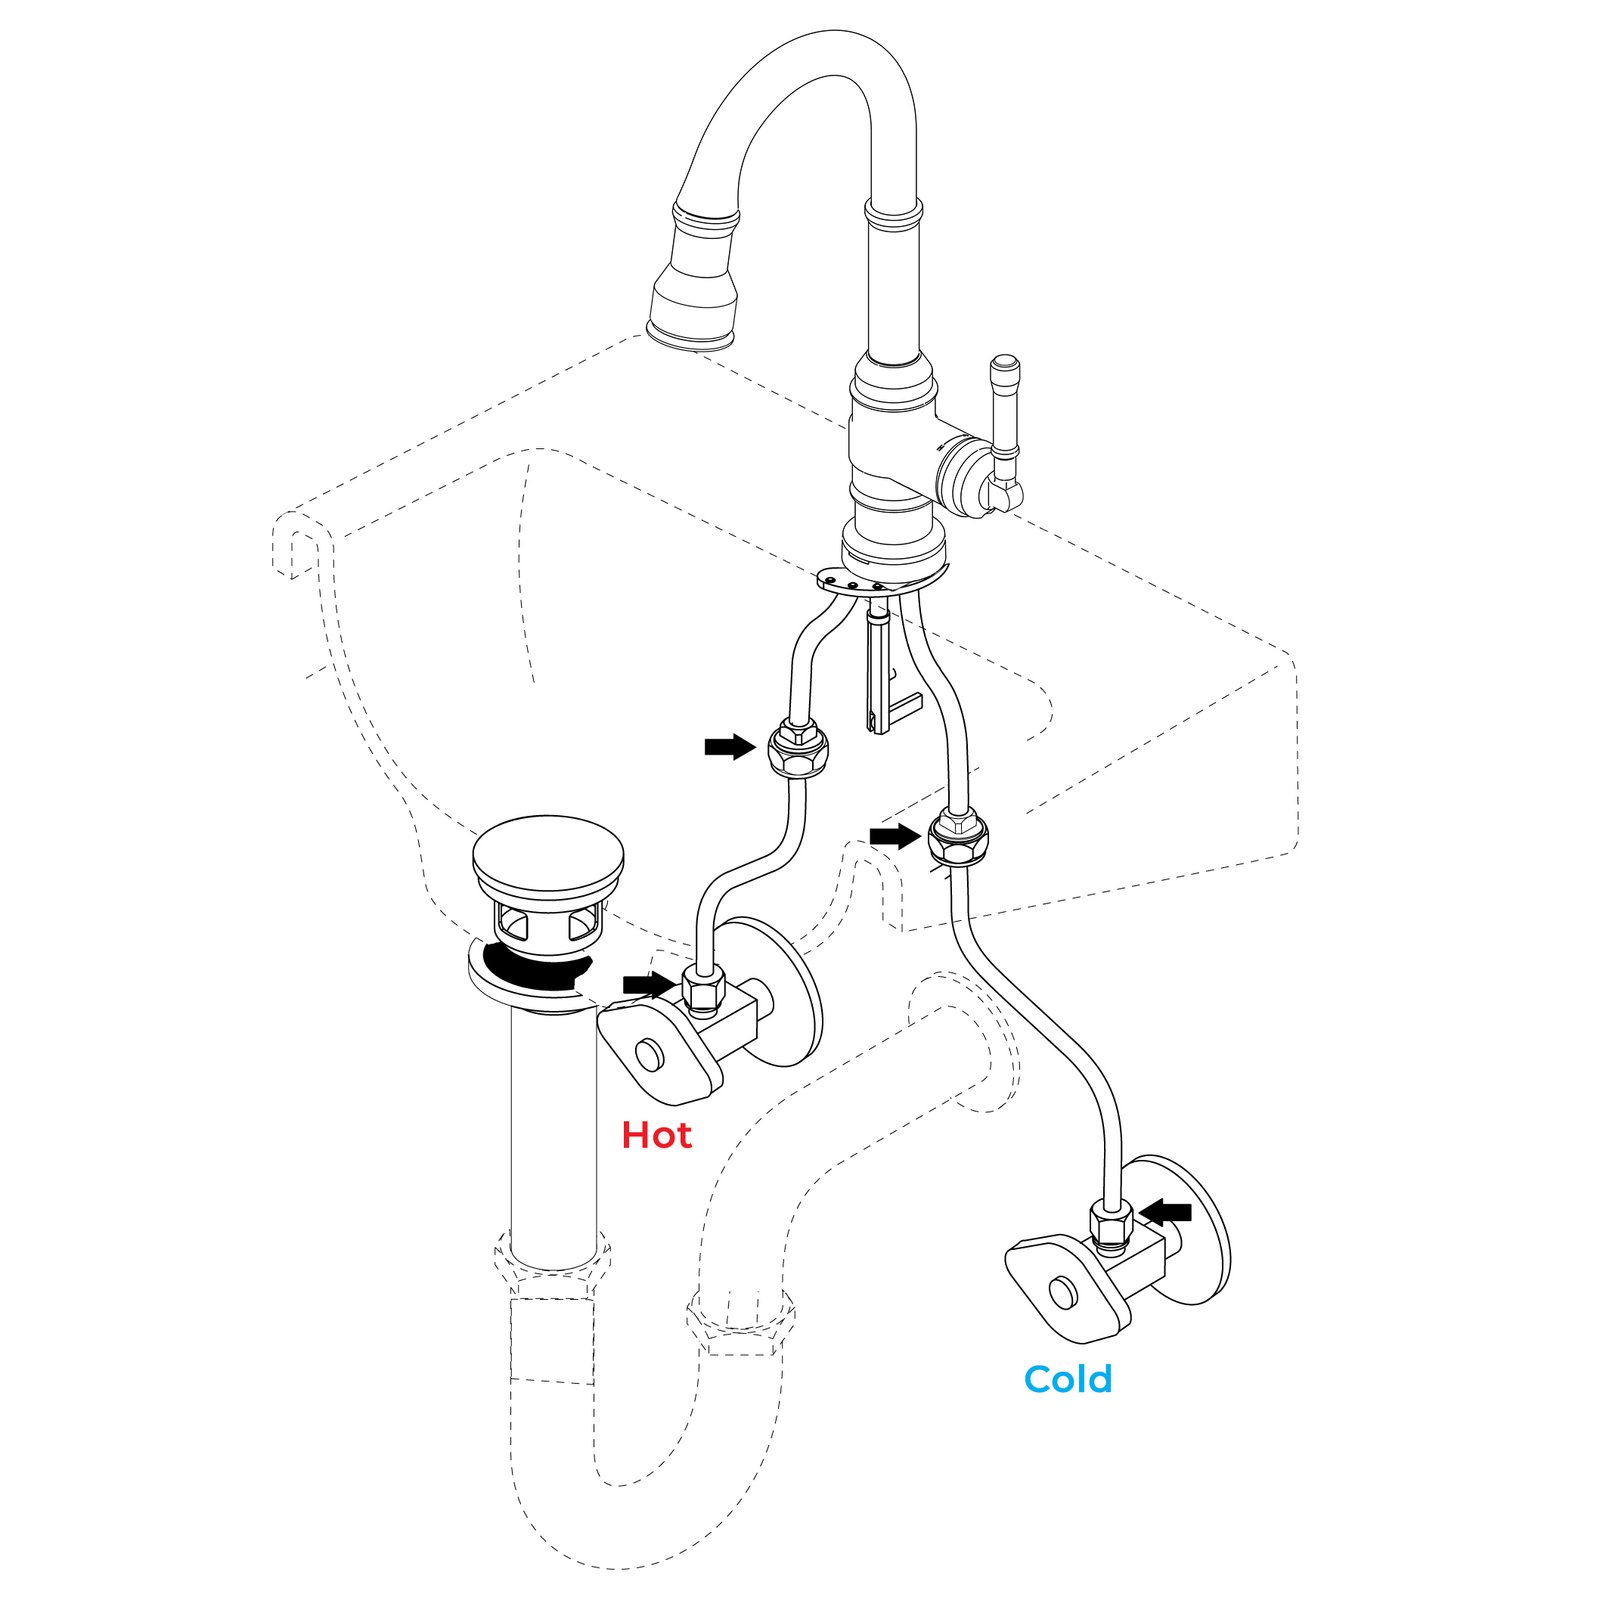
Connecting Water Supply Lines
Attach the hot and cold water supply lines to the faucet connectors. Use the right connectors to avoid leaks.
- Turn off the main water supply.
- Connect the hot water line to the faucet’s hot inlet.
- Connect the cold water line to the faucet’s cold inlet.
- Hand-tighten the fittings, then use a wrench for a snug fit.
- Do not overtighten to avoid damaging the threads.
Securing The Faucet In Place
Secure the faucet from underneath the sink. Use the mounting hardware that comes with the faucet.
| Tool | Purpose |
| Adjustable wrench | Tighten nuts and connectors |
| Screwdriver | Fasten mounting screws |
| Plumber’s putty | Seal base to sink |
| Teflon tape | Seal threaded connections |
Testing For Leaks
Testing for leaks is an important step after installing a kitchen faucet line. It helps ensure water flows correctly without causing damage.
Careful checking prevents water waste and avoids costly repairs later. Follow simple steps to find any leaks early.
Turning On Water Supply
Slowly open the water supply valves under the sink. This allows water to flow into the faucet line carefully.
Check for any sudden water sprays or drips while turning the valves. If you see water escaping, close the valves and fix the issue.
- Turn the cold water valve first
- Next, open the hot water valve
- Watch the faucet and pipes for water flow
- Close valves if leaks appear
Checking Connections
Look closely at all faucet connections and fittings. These include the supply lines and the faucet base.
Use a dry cloth or paper towel to wipe around the joints. Wet spots show where leaks may be present.
- Inspect connection points at the faucet
- Check supply line fittings under the sink
- Look for water drops or moisture
- Tighten any loose nuts with a wrench
Troubleshooting Common Issues
Installing a kitchen faucet line can sometimes cause problems. Many issues are easy to fix with a few tools and tips.
This guide will help you solve leaks and water pressure problems. These are the most common issues when installing a faucet line.
Fixing Leaks
Leaks can appear around connections or the faucet base. Check each part carefully to find where water escapes.
- Tighten loose nuts under the sink with a wrench.
- Replace worn-out washers or O-rings inside the faucet.
- Use plumber’s tape on threaded connections to stop drips.
- Inspect supply lines for cracks or damage and replace if needed.
- Make sure the faucet is mounted tightly to the sink surface.
Adjusting Water Pressure
Low or high water pressure affects how your faucet works. You can adjust it to get the right flow.
| Issue | Cause | Solution |
| Low water pressure | Clogged aerator or valves | Clean or replace the aerator and check valves |
| High water pressure | Water supply pressure too strong | Install a pressure regulator or adjust existing one |
| Uneven pressure | Partial blockage in supply lines | Flush the lines and remove debris |

Credit: www.gerber-us.com
Frequently Asked Questions
What Tools Are Needed To Install A Kitchen Faucet Line?
You need an adjustable wrench, plumber’s tape, a basin wrench, and a bucket. These tools help tighten connections and prevent leaks. Having them ready simplifies installation and ensures a secure faucet line setup.
How Do I Shut Off Water Before Installing A Faucet Line?
Locate the main water shut-off valve under the sink or in your home. Turn it clockwise to stop water flow. This step prevents flooding and makes installation safe and clean.
How Long Does It Take To Install A Kitchen Faucet Line?
Installation usually takes 30 to 60 minutes. Time varies by faucet type and your plumbing skills. Proper preparation and following instructions speed up the process.
Can I Install A Kitchen Faucet Line Without Professional Help?
Yes, many homeowners install faucet lines themselves. Basic plumbing knowledge and the right tools are essential. Follow step-by-step guides to avoid mistakes and ensure a leak-free faucet.
Conclusion
Installing a kitchen faucet line is simpler than it seems. Start by gathering all necessary tools and materials. Follow each step carefully and double-check your work. This ensures a secure and leak-free installation. Always remember to turn off the water supply before beginning.
Tighten connections firmly but avoid over-tightening. Test your faucet after installation. Make sure water flows smoothly. A well-installed faucet adds convenience to your daily tasks. Plus, it enhances your kitchen’s functionality. With patience and attention, you can complete this task successfully.
Enjoy your newly improved kitchen space!