Imagine standing in your garage, ready to tackle a big project with your trusty power tools. The noise is deafening, but you’ve got your trusty ear muffs to protect your hearing.
But wait—have you ever stopped to think about how well your ear muffs are holding up? Are they still providing the best protection possible? Maintaining your ear muffs is crucial for your safety and comfort. By investing just a little time in their upkeep, you can ensure they work effectively every time you need them.
You’ll discover simple yet powerful tips to keep your ear muffs in top condition, making sure your hearing is safeguarded, and your projects go smoothly. Keep reading to learn how you can extend the life of your ear muffs and keep your ears safe from the roar of your loud tools.
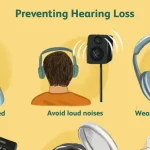
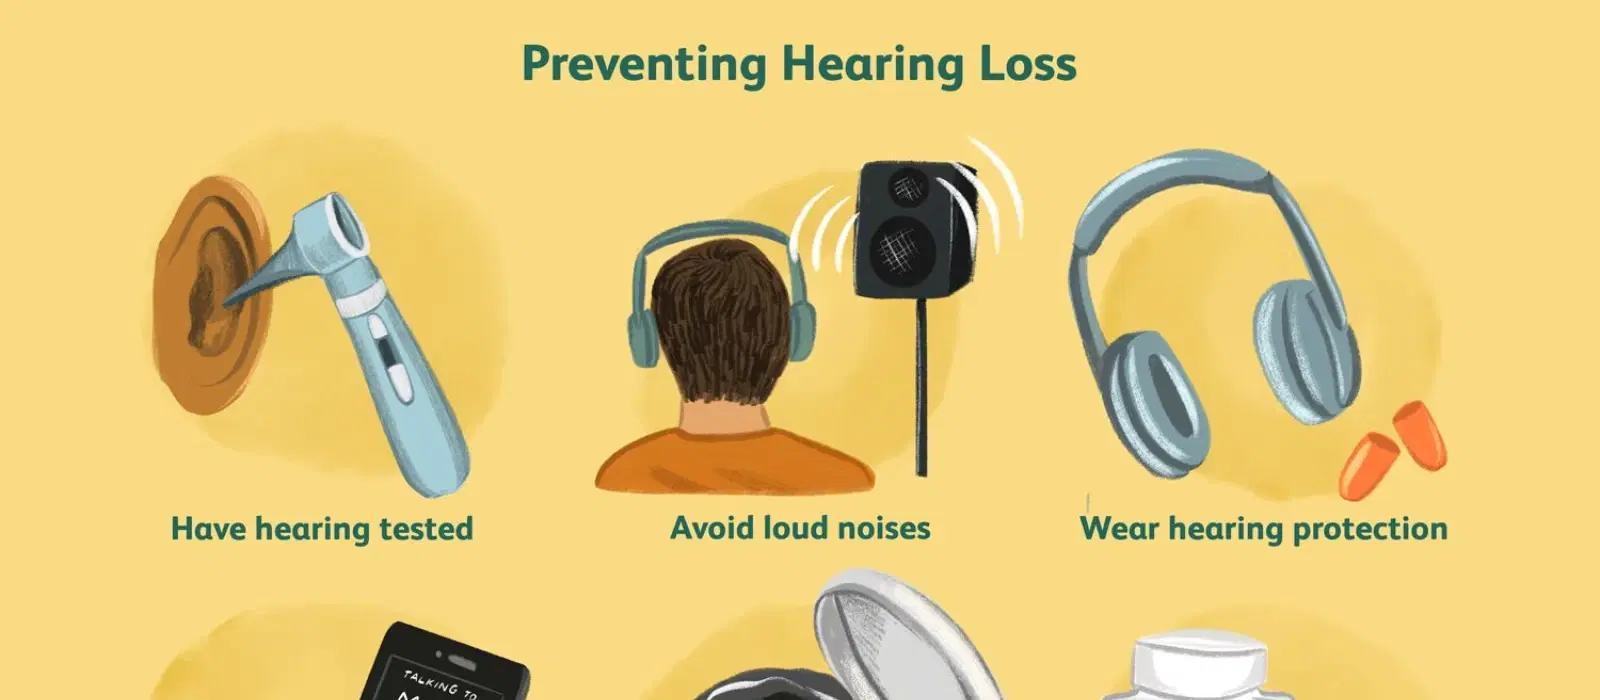
Choosing The Right Ear Muffs
Using ear muffs protects your ears from loud noises. This is important when working with loud tools. Choosing the right ear muffs keeps you safe and comfortable.
Not all ear muffs are the same. You must know the types, materials, and noise ratings to pick the best ones for you.
Types Of Ear Muffs
There are different types of ear muffs. Some block noise fully, and others let some sound in. Pick the type that fits your work needs.
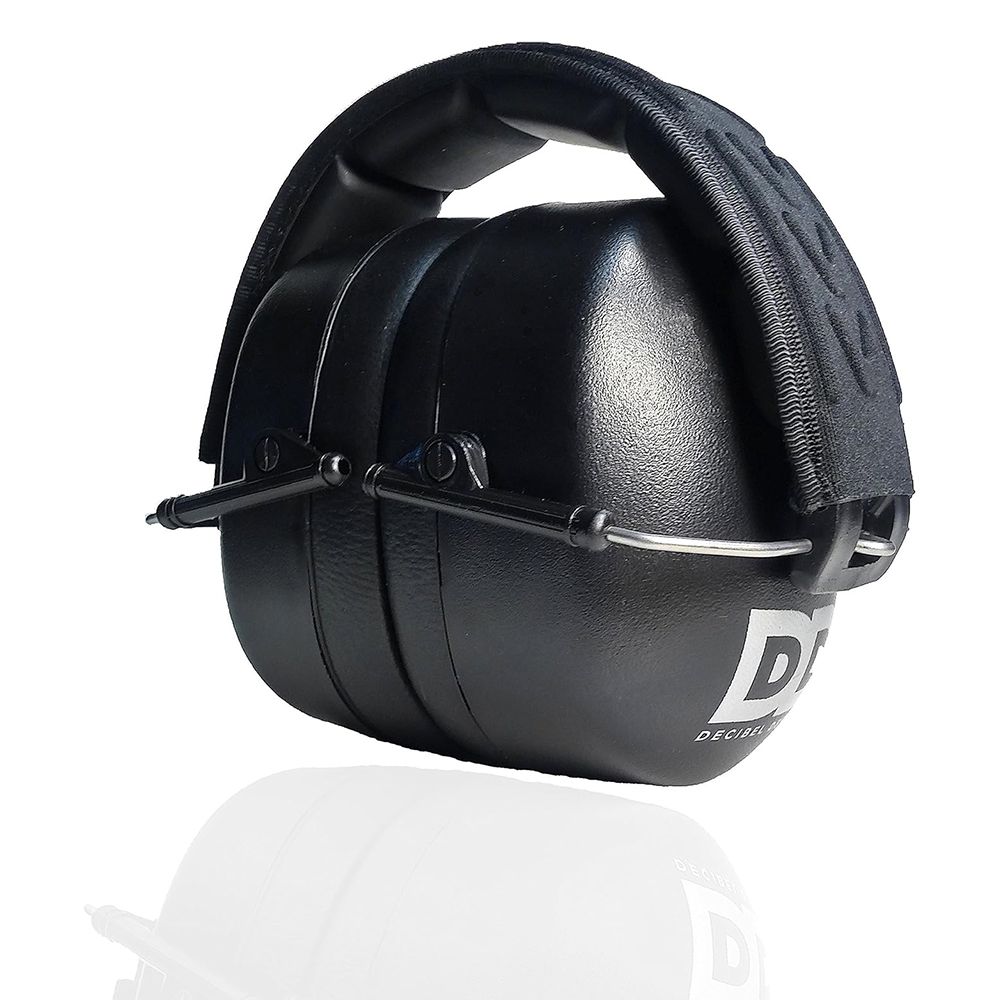
- Passive ear muffs block noise using thick padding
- Active ear muffs reduce noise and allow safe sounds
- Electronic ear muffs amplify quiet sounds but block loud ones
Materials And Comfort
Materials affect comfort and how well ear muffs fit. Soft padding feels better for long use. The headband should not press too hard.
- Memory foam ear cushions fit well and are soft
- Leather or synthetic covers are easy to clean
- Adjustable headbands help get a good fit
- Lightweight materials reduce ear and head fatigue
Noise Reduction Ratings
Noise Reduction Rating (NRR) shows how much noise ear muffs block. Higher NRR means better protection. Pick ear muffs with an NRR that suits your noise levels.
| NRR Value | Noise Reduction Level |
|---|---|
| 20-25 dB | Low to moderate noise |
| 26-30 dB | High noise, common for loud tools |
| 31+ dB | Very loud environments |
Credit: www.popularmechanics.com
Cleaning Ear Muffs
Keeping your ear muffs clean helps them last longer. It also keeps them comfortable and safe to use.
Regular cleaning removes dirt, sweat, and germs. This guide shows how to clean ear muffs properly.
Removing Ear Pads
Take off the ear pads carefully before cleaning. Removing them makes it easier to clean all parts.
Check the user manual if you are not sure how to remove the pads. Avoid using force to prevent damage.
Wiping Down Surfaces
Use a soft cloth to wipe the ear muff surfaces. This removes dust and sweat without scratching the material.
Clean both the headband and the outer parts of the ear cups. Pay attention to areas that touch your skin.
- Use gentle pressure to avoid breaking parts
- Wipe after each use for best hygiene
- Allow surfaces to dry before use
Using Safe Cleaning Products
Choose cleaning products that are safe for ear muffs. Harsh chemicals can damage materials and reduce protection.
Mild soap and water work well for most ear muffs. Avoid bleach, alcohol, or strong solvents.
- Mix a small amount of mild soap with water
- Dampen a cloth, do not soak it
- Gently clean surfaces and ear pads
- Rinse cloth and wipe away soap residue
- Dry completely before reassembling
Inspecting For Damage
Ear muffs protect your ears from loud noises. You must check them often for damage. This keeps them safe and working well.
Regular inspection helps you find problems early. Fix or replace parts before they stop working.
Checking Ear Pads And Cushions
Ear pads and cushions sit around your ears. They block noise and add comfort. Look for cracks, tears, or hard spots.
If the cushions feel stiff or misshaped, they need replacing. Soft, smooth pads work best for noise protection.
- Look for holes or cracks
- Check if cushions are flat or hard
- Feel for missing foam inside
- Make sure pads fit snugly on ears
Examining Headbands And Seals
Headbands hold the ear muffs on your head. Seals keep sound from leaking in. Check both for cracks or damage.
Make sure the headband is tight but not too stiff. Seals should be soft and not cracked. Replace any broken parts.
- Check headband for breaks or cracks
- Test if headband springs work well
- Look for worn or dry seals
- Ensure seals fit tightly around ear pads
Replacing Worn Parts
Worn parts reduce ear muffs’ protection. Replace ear pads, cushions, headbands, or seals if damaged or old.
Use parts made for your ear muffs model. Replace parts carefully to keep the fit and noise blocking strong.
- Buy replacement pads and cushions
- Get the right headband or seal parts
- Follow instructions to fit new parts
- Check ear muffs fit well after replacing
Proper Storage Practices
Proper storage keeps ear muffs safe and extends their lifespan. Storing them correctly prevents damage and wear.
Focus on avoiding harsh conditions, keeping them dry, and using protective cases for best care.
Avoiding Extreme Temperatures
Keep ear muffs away from very hot or cold places. Heat can melt or warp parts. Cold can make materials stiff and brittle.
- Do not leave ear muffs in a car under the sun.
- Store them in a room with a normal temperature.
- Avoid freezing environments during winter.
Keeping Ear Muffs Dry
Moisture can ruin the padding and reduce noise protection. Dry ear muffs last longer and stay comfortable.
| Storage Tip | Reason |
| Store in a dry place | Prevents mold and bad smells |
| Use moisture-absorbing packets | Reduces humidity inside storage |
| Wipe off sweat after use | Keeps padding clean and dry |
Using Protective Cases
Protective cases shield ear muffs from dust and damage. Cases make transport safer and keep parts intact.
- Prevents scratches and dents
- Keeps ear muffs clean
- Organizes storage space
- Makes carrying easier
Regular Maintenance Schedule
Using ear muffs for loud tools protects your hearing. Keeping them clean and in good shape is important. A regular maintenance schedule helps your ear muffs last longer.
This guide covers daily care, monthly cleaning, and when to replace your ear muffs. Follow these tips to ensure safety and comfort.
Daily Care Tips
After each use, wipe your ear muffs with a dry cloth. This removes dust and sweat. Store them in a clean, dry place away from sunlight.
Check the ear cushions for cracks or damage daily. Keep the headband adjusted for a snug fit. Avoid dropping or bending the ear muffs.
- Wipe ear cushions with a dry cloth
- Store in a dry, cool place
- Inspect for cracks or tears
- Keep the headband properly adjusted
- Handle with care to avoid damage
Monthly Deep Cleaning
Remove the ear cushions and clean them with mild soap and warm water. Use a soft cloth to clean the headband and outer parts. Dry all parts completely before reassembling.
Do not soak the ear muffs or use harsh chemicals. Deep cleaning keeps the ear muffs free from dirt and bacteria. It also helps maintain their noise-blocking ability.
- Remove ear cushions carefully
- Wash cushions with mild soap and water
- Wipe headband and outer shell with a damp cloth
- Dry all parts fully before use
- Avoid harsh cleaners and soaking
When To Replace Ear Muffs
Replace your ear muffs if the cushions crack or become hard. If the headband loses its tension, the fit may not be tight enough. Damage to the outer shell can reduce protection.
Also, replace ear muffs after two years of regular use. Worn parts reduce noise reduction. Always check the user manual for specific replacement guidelines.
- Replace cushions if cracked or hard
- Replace headband if loose or weak
- Replace if outer shell is damaged
- Consider replacement after two years
- Follow manufacturer’s replacement advice

Credit: www.popularmechanics.com

Credit: www.hippocketworkwear.com.au
Frequently Asked Questions
How Often Should I Clean Ear Muffs For Loud Tools?
Clean your ear muffs weekly or after heavy use. Use a damp cloth with mild soap to wipe ear cushions and headbands. Avoid soaking or harsh chemicals to maintain material integrity and hygiene.
Can I Replace Ear Cushions On My Ear Muffs?
Yes, most ear muffs allow cushion replacements. Replace cushions when worn out or damaged. Proper cushions ensure effective noise reduction and comfort during use.
How Do I Store Ear Muffs To Keep Them Safe?
Store ear muffs in a dry, cool place away from direct sunlight. Use a protective case or pouch to prevent dust and damage. Proper storage extends ear muffs’ lifespan and effectiveness.
What Signs Indicate Ear Muffs Need Maintenance?
Look for cracked cushions, loose headbands, or reduced noise protection. Unpleasant odors or dirt buildup also signal maintenance need. Regular checks ensure optimal performance and safety.
Conclusion
Maintaining ear muffs keeps them safe and working well. Clean them often to remove dirt and sweat. Check the cushions for cracks or damage. Replace worn parts to keep good noise protection. Store ear muffs in a dry, cool place.
Taking care of your ear muffs helps protect your hearing. Simple steps make a big difference in their life. Stay safe and enjoy using your tools without noise harm.