
Are you struggling to make clear, precise marks on metal for your projects? Knowing how to mark metal with a scribe can save you time and improve your accuracy like nothing else.
Whether you’re a beginner or have some experience, mastering this simple tool will help you create cleaner cuts and better fits every time. You’ll discover easy steps and insider tips that make marking metal straightforward and stress-free. Ready to take your metalwork to the next level?
Let’s dive in.
Choosing The Right Scribe
Marking metal accurately requires the right scribe. Picking a good scribe makes your work easier and more precise.
Consider the types, materials, and how comfortable the scribe feels in your hand. These factors affect your marking quality.
Types Of Scribes
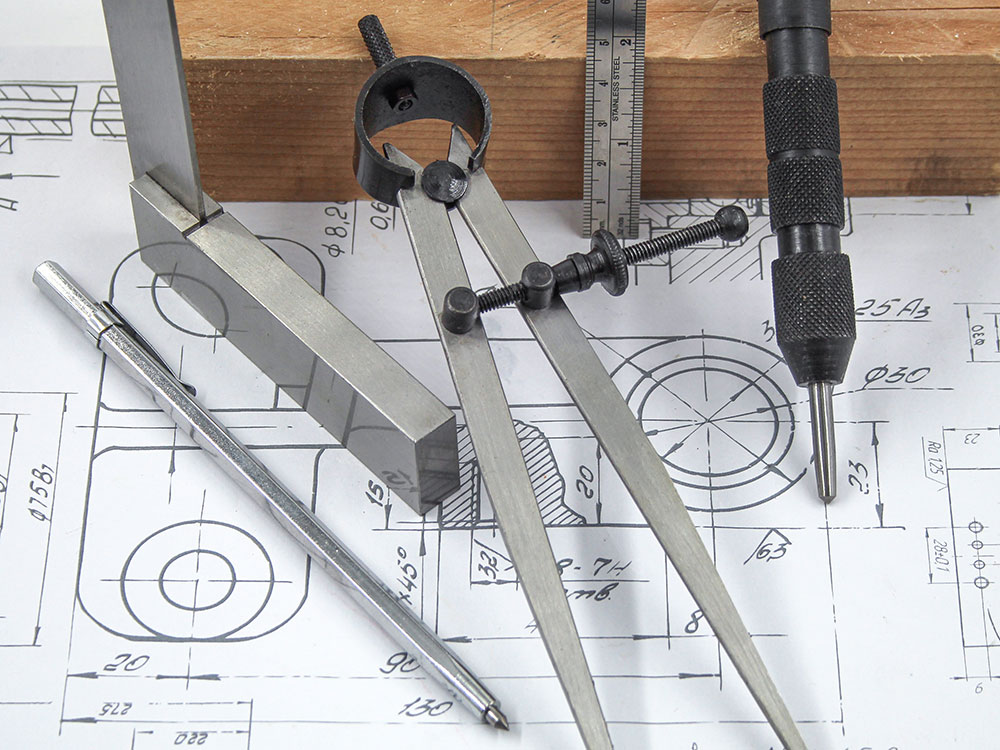
There are several types of scribes for different metal marking needs. Each has a unique tip shape and use.
- Standard scribe: A sharp pointed tip for general marking.
- Diamond-tip scribe: For hard metals and fine lines.
- Titanium-tipped scribe: Long-lasting and very tough.
- Carbide scribe: Ideal for very hard surfaces.
Materials And Durability
Scribes come in various materials that affect their lifespan and performance on metal surfaces.
| Material | Durability | Best For |
| Steel | Medium | General metal marking |
| Carbide | High | Hard metals and heavy use |
| Diamond | Very High | Precision marking on tough metals |
| Titanium | High | Long-lasting for frequent use |
Ergonomics And Grip
Comfort is key for steady and accurate marking. Choose a scribe with a good grip and balanced weight.
- Look for rubber or textured handles to avoid slipping.
- Consider the scribe’s weight for long use without fatigue.
- Check the shape to fit your hand size comfortably.
- Some scribes have a clip for easy storage and access.

Credit: rumbointerior.com
Preparing The Metal Surface
Marking metal accurately needs a clean and smooth surface. Dirt, oil, or rust can cause errors. Preparing the metal helps the scribe make clear lines.
This guide covers cleaning, inspecting, and applying layout fluid. Each step makes marking easier and more precise.
Cleaning Techniques
Start by removing dirt, oil, and rust from the metal. Use the right tools and materials to avoid damage.
- Use a wire brush to clear rust and debris.
- Apply a degreaser or rubbing alcohol to remove oils.
- Wipe the surface with a clean cloth to dry it.
- Sand rough spots lightly with fine-grit sandpaper.
Surface Inspection
Check the metal for scratches, dents, or uneven areas. These flaws can affect the scribe’s accuracy.
| Inspection Point | What to Look For |
| Scratches | Shallow or deep marks that may mislead the scribe |
| Dents | Indented spots that can distort lines |
| Surface Smoothness | Any roughness that might catch the scribe tip |
| Cleanliness | Absence of dust, oil, or residue |
Applying Layout Fluid
Layout fluid helps scribe lines stand out. It creates a dark background on the metal surface.
Use these tips when applying layout fluid:
- Shake the bottle well before use.
- Apply a thin, even coat with a brush or cloth.
- Allow it to dry completely before marking.
- Remove mistakes with acetone or a cloth dampened with solvent.
Marking Techniques
Marking metal accurately is key for any project. Using a scribe helps you make clear, precise lines. This guide covers basic marking methods and how to mark straight lines, curves, and angles.
Each technique ensures your metal pieces fit well. Proper marking saves time and reduces mistakes during cutting or shaping.
Basic Marking Methods
Start by cleaning the metal surface to remove dirt and oils. Use a scriber with a sharp, fine tip. Lightly scratch the surface to avoid deep gouges. You can also use a center punch to make small indentations for drill points.
- Clean the metal surface
- Hold the scribe like a pencil
- Use steady pressure for clear marks
- Mark reference points with a center punch
- Check your marks before cutting
Creating Straight Lines
Use a straight edge or ruler to guide your scribe. Place the metal on a flat surface. Hold the straight edge firmly against the metal. Run the scribe along the edge to make a clean, straight line.
- Position the metal securely
- Place the straight edge on the metal
- Hold the edge firmly
- Draw the line with the scribe
- Double-check the line’s position
Marking Curves And Angles
Curves need a flexible tool like a compass or a template. For angles, use a protractor or angle finder. Mark points along the curve or angle before connecting them with the scribe.
| Tool | Use |
| Compass | Draw circles and curves |
| Template | Copy shapes and curves |
| Protractor | Measure and mark angles |
| Angle finder | Check and mark angles |
Maintaining Precision
Marking metal with a scribe needs care to keep lines clear and exact. Precision helps in cutting and shaping metal pieces correctly.
Using the right tools and techniques makes it easier to get neat, straight marks without mistakes.
Using Guides And Templates
Guides and templates help you draw straight and repeatable lines on metal. They hold the scribe steady and prevent slipping.
- Use a metal ruler or square as a straight guide.
- Clamp templates firmly to the metal surface.
- Check that the guide is aligned before marking.
- Move the scribe slowly along the guide edge.
Controlling Pressure
Pressure control affects how clear and deep the mark is. Too much pressure can damage the metal or your scribe.
| Pressure Level | Effect on Mark |
| Light | Faint line, may be hard to see |
| Moderate | Clear and visible line without damage |
| Heavy | Deep scratch, risk of slipping or damage |
Apply even, moderate pressure for the best results. Hold the scribe like a pencil for control.
Avoiding Common Mistakes
Errors can ruin your work. Avoid these common issues to keep marks precise.
- Do not rush the marking process.
- Keep your scribe sharp and clean.
- Ensure the metal surface is free of oil and dirt.
- Check your measurements twice before marking.
- Avoid dragging the scribe too fast or unevenly.
Care And Maintenance Of Your Scribe
Keeping your metal scribe in good shape helps you mark metal clearly. Proper care makes your tool last longer and work better.
Learn simple steps to sharpen, store, and protect your scribe. These tips keep the tool sharp and ready for use every time.
Sharpening Tips
Sharpen your scribe regularly to keep the tip sharp for clear marks. Use a fine-grit sharpening stone for the best results.
- Clean the tip to remove any dirt or rust.
- Hold the scribe at a 30-degree angle to the stone.
- Move the tip in small circles on the stone.
- Check the tip often to avoid over-sharpening.
- Wipe the tip clean after sharpening.
Storage Solutions
Store your scribe where it stays dry and safe. Avoid places with moisture or heavy tools that can damage the tip.
- Use a tool roll or case with separate slots.
- Keep it in a dry drawer or toolbox.
- Add silica gel packs to stop moisture.
- Wrap the tip with a small cloth or cap.
Extending Tool Life
Take care of your scribe to make it last many years. Small habits protect the tool and keep it working well.
| Action | Why It Helps |
|---|---|
| Clean after each use | Removes metal dust and dirt |
| Keep away from moisture | Prevents rust and corrosion |
| Use gentle pressure when marking | Avoids bending or breaking the tip |
| Sharpen regularly | Keeps marks clear and precise |
Credit: www.faithfulltools.com

Credit: www.amazon.com
Frequently Asked Questions
What Is A Scribe Used For In Metalworking?
A scribe is a sharp tool used to mark precise lines on metal surfaces. It helps guide cutting or machining processes accurately.
How Do You Properly Hold A Metal Scribe?
Hold the scribe like a pen with a firm grip. Apply consistent pressure to scratch clear, visible lines without slipping.
Can You Use A Scribe On All Metal Types?
Yes, scribes work on most metals like steel, aluminum, and brass. Harder metals may require more pressure or a carbide tip scribe.
Why Is Marking Metal With A Scribe Important?
Marking metal ensures precise cuts and measurements. It reduces errors and improves the quality and accuracy of metal projects.
Conclusion
Marking metal with a scribe is simple and precise. Use steady hands and sharp tools for clear lines. Always clean the metal surface before starting. Practice helps improve accuracy and confidence. This method saves time and reduces mistakes. Try it yourself to see the difference.
Small steps lead to better results every time. Keep your scribe sharp and your workspace neat. Metal marking becomes easier with regular use. Now, you are ready to mark metal like a pro.
