If you want your woodworking projects to look clean and fit perfectly, knowing how to mark wood for lap joints is a must. Getting this step right saves you time, avoids costly mistakes, and makes your work stronger.
In this guide, you’ll discover simple, clear methods to mark your wood accurately every time. Whether you’re a beginner or just want to improve your skills, you’ll find tips that make the process easier and more precise. Ready to take your lap joints from rough to professional?
Let’s dive in and get your measurements spot on.
Tools Needed
Marking wood accurately is key for strong lap joints. Using the right tools helps you make clean, precise lines. This guide covers the basic tools you need for marking wood.
Each tool plays a role in measuring, marking, or cutting the wood. Choose tools that fit the size and type of your project.
Essential Marking Tools
Marking tools help you draw clear lines on wood. These lines guide your cuts and joinery.
- Pencil: Use a sharp carpenter’s pencil for fine lines.
- Marking Knife: Offers thin, precise lines that do not smudge.
- Try Square: Ensures your lines are square to the wood edge.
- Marking Gauge: Makes parallel lines for consistent lap joint depths.
Measuring Instruments
Measuring tools ensure your lap joints fit tightly. Accurate measurements reduce gaps and weak spots.
| Tool | Purpose |
|---|---|
| Tape Measure | Measures length and width of wood pieces |
| Combination Square | Checks angles and measures short distances |
| Ruler | Measures and draws straight lines |
| Caliper | Measures thickness precisely |
Cutting Equipment
Cutting tools remove wood along your marks. The right tool gives smooth, even cuts for clean lap joints.
- Hand Saw: Good for small or detailed cuts.
- Chisel: Cleans up joints and removes waste wood.
- Back Saw: Provides straight, controlled cuts for joints.
- Router: Cuts precise grooves and lap areas quickly.
Credit: makethingswithrob.com
Choosing The Right Wood
Choosing the right wood is important for making strong lap joints. The wood must hold the joint well and be easy to work with.
Different woods have different strengths and textures. Picking the right type helps the joint last longer and look better.
Wood Types For Lap Joints
Softwoods and hardwoods both work for lap joints. Softwoods are easier to cut. Hardwoods are stronger but harder to shape.
- Pine: Softwood, easy to cut, good for practice.
- Oak: Hardwood, very strong, holds joints firmly.
- Maple: Hard and smooth, great for fine work.
- Poplar: Medium hardness, affordable and stable.
- Cedar: Soft, lightweight, resists decay.
Wood Preparation Tips
Prepare your wood carefully before marking lap joints. Clean, smooth surfaces help make accurate marks.
Check the wood for knots or defects. These can weaken the joint or make marking difficult.
- Sand the wood surface to remove rough spots.
- Use a straight edge to check for flatness.
- Remove any dirt or oil before marking.
- Cut wood to size before marking lap joints.
- Use sharp marking tools for clear lines.
Measuring And Marking Techniques
Marking wood for lap joints needs care and skill. You must measure and mark the wood precisely for a good fit.
Using the right tools and clear lines helps you cut the wood accurately. This saves time and avoids mistakes.
Accurate Measurement Methods
Use a reliable tape measure or ruler for exact wood measurements. Check twice before marking any line.
Measure the thickness and length of each piece carefully. Mark the wood at the correct spots to match the joint size.
- Place the tape measure flat and straight along the wood edge
- Note the exact number where the joint should start and end
- Use a square tool to ensure right angles
- Double-check measurements before marking
Marking Lines Clearly
Use a sharp pencil or marking knife to draw clear lines. Faint lines can cause cutting errors.
Mark both edges and faces of the wood for better guidance. This helps you see the lines from all angles.
- Draw thin, sharp lines for accuracy
- Mark all necessary cuts and depths
- Label each piece to avoid confusion
- Use a marking gauge for consistent line height
Marking Lap Joint Layouts
Marking wood for lap joints is important for strong connections. It helps cut the wood precisely for a good fit.
Clear layout lines guide your tools and save time. Careful marking reduces mistakes in your project.
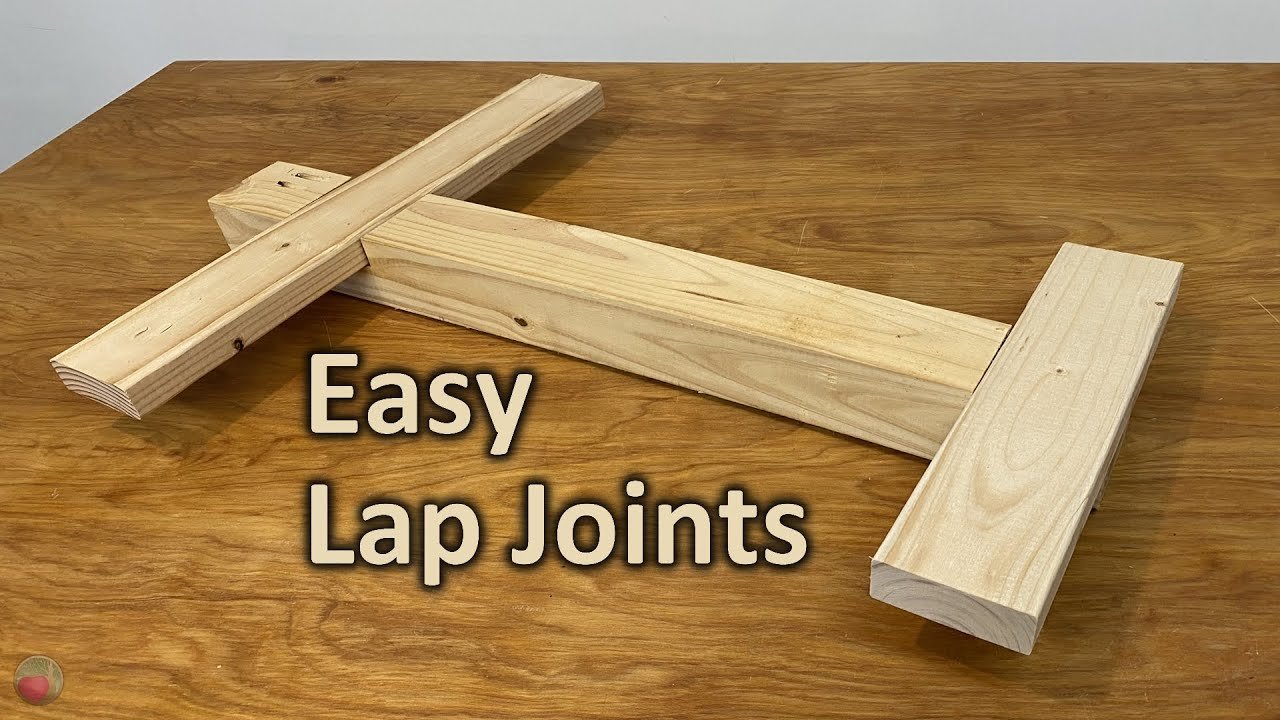
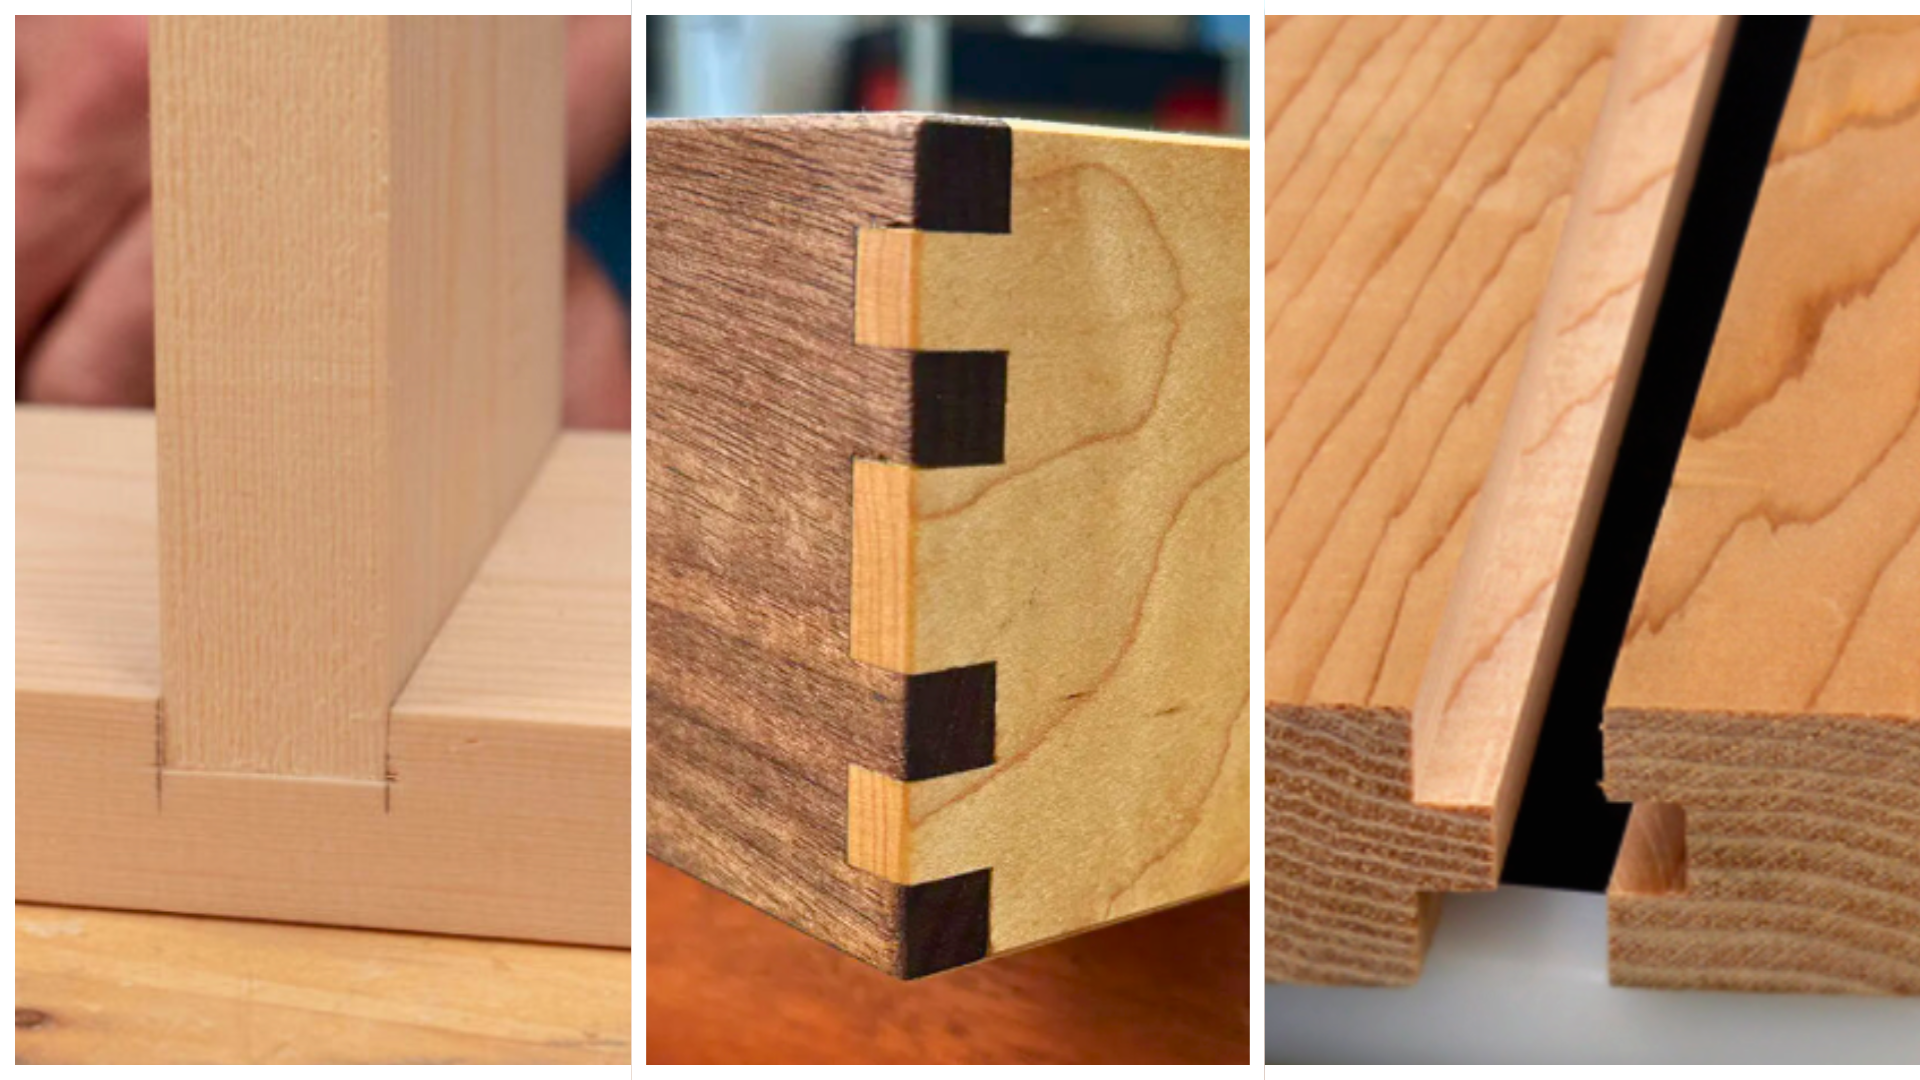
Half-lap Joint Patterns
Half-lap joints remove half the thickness of each wood piece. They overlap to make one solid piece.
Patterns vary by the type of joint. Common types include cross lap, end lap, and T lap joints.
- Cross lap joints join two pieces at right angles.
- End lap joints connect two pieces end-to-end.
- T lap joints form a “T” shape by joining one piece to the middle of another.
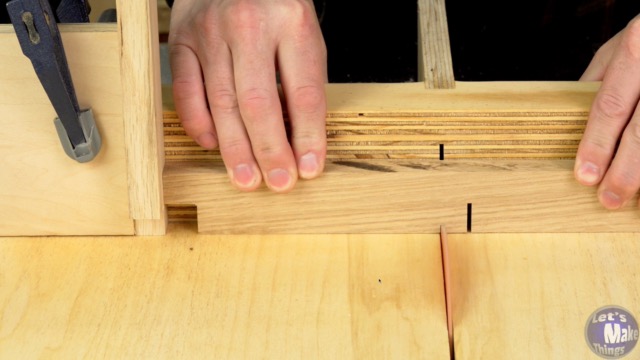
Step-by-step Marking Process
Start by measuring the wood thickness and length. Use a pencil and square for accurate lines.
Mark the center line where the joint will meet. Draw the cut lines to remove half the wood thickness.
- Measure and mark the wood thickness on both pieces.
- Draw the center line for the joint overlap.
- Mark the cut lines to remove half the thickness.
- Double-check measurements before cutting.
- Use a sharp pencil for clear lines.
Tips For Perfect Alignment
Marking wood accurately is key for strong lap joints. Proper marks help pieces fit tightly.
Use careful measuring and marking tools. This keeps your cuts straight and joints aligned.
Using Squares And Gauges
Squares and gauges help you draw straight, precise lines. They make sure your marks are at exact angles.
A try square checks right angles. A marking gauge sets consistent line depth for both pieces.
- Use a try square to mark 90-degree lines.
- Set a marking gauge for line depth on both parts.
- Double-check measurements before marking.
Avoiding Common Mistakes
Many errors come from rushing or poor tools. Take time and use sharp pencils or knives for clear lines.
Misaligned marks cause loose or uneven joints. Mark both pieces carefully and check alignment often.
- Don’t guess measurements; always measure twice.
- Avoid thick pencil lines that blur edges.
- Keep tools clean and in good condition.
- Check alignment by dry fitting pieces before cutting.
Credit: ahouseinthehills.com
Preparing For Cutting
Marking wood correctly is important for lap joints. It helps you cut the wood accurately and fit pieces well.
Before cutting, prepare your wood carefully. This step saves time and reduces mistakes.
Securing Wood Pieces
Hold the wood firmly to avoid movement while marking. Use clamps or a stable workbench.
Secure wood pieces side by side if marking both parts. This keeps the joints aligned.
- Use clamps to hold wood on a flat surface.
- Check that wood does not wobble or shift.
- Keep the work area clean to avoid slips.
Double-checking Marks
Check your marks twice before cutting. Mistakes here cause poor fitting joints.
Use a square or ruler to confirm lines are straight and even on both pieces.
- Compare marks on each wood piece for matching lines.
- Measure twice to confirm correct dimensions.
- Correct any misaligned marks before cutting.
Finishing Touches
After marking wood for lap joints, the final steps make a big difference. These steps prepare the wood for a perfect fit and smooth finish.
Careful sanding and test fitting ensure your joints look neat and hold strong.
Sanding Marked Areas
Sanding the marked areas removes pencil lines and rough edges. Use fine-grit sandpaper to avoid changing the joint shape.
Light sanding helps wood glue stick better and gives the joint a clean look.
- Start with 180-grit sandpaper
- Smooth only the marked surfaces
- Check that sanding does not alter joint size
- Wipe away dust with a dry cloth
Test Fitting Joints
Test fitting ensures the lap joint fits snugly before gluing. Fit the two pieces together gently to check alignment.
Make small adjustments if the joint is too tight or loose. This step prevents mistakes during final assembly.
- Fit the joint pieces without glue
- Look for gaps or tight spots
- Sand or trim areas as needed
- Repeat fitting until the joint fits well

Credit: www.reddit.com
Frequently Asked Questions
What Tools Are Needed To Mark Wood For Lap Joints?
You need a pencil, combination square, marking gauge, and a sharp chisel. These tools help create precise lap joint markings for accurate cuts.
How Do You Measure Wood For Lap Joints Accurately?
Measure the wood thickness and mark half on both pieces. Use a square to draw straight lines for clean lap joints.
What Is The Best Method To Mark Lap Joints Clearly?
Use a sharp pencil or marking knife for clear lines. Mark both pieces carefully to ensure the lap joint fits tightly.
How Can I Avoid Mistakes When Marking Lap Joints?
Double-check measurements and use a marking gauge for consistency. Take your time to mark both pieces precisely before cutting.
Conclusion
Marking wood for lap joints is simpler with these steps. Measure accurately. Use a sharp pencil for clear lines. Ensure all angles are correct. Double-check your work before cutting. Precision prevents errors later. Practice helps improve your skills. Lap joints are strong and useful in many projects.
They add durability and style. By mastering marking, your projects will look professional. Enjoy the process. With patience and care, you’ll achieve great results. Happy woodworking!