
Are you struggling to get accurate measurements for your projects? Knowing how to measure depth with a depth gauge can save you time and prevent costly mistakes.
Whether you’re working on woodworking, metalworking, or even automotive repairs, getting the depth right is crucial. You’ll discover simple steps to use a depth gauge like a pro. Keep reading, and you’ll gain the confidence to measure depth quickly and precisely every time.

Credit: www.reddit.com
Choosing The Right Depth Gauge
Measuring depth accurately is important in many tasks like woodworking and machining. Using the right depth gauge helps get precise measurements.
There are different depth gauges for different needs. Knowing what type to choose makes your work easier and more accurate.
Types Of Depth Gauges
There are several types of depth gauges. Each type works best for certain jobs and materials.
- Vernier Depth Gauge:Uses a sliding scale for precise reading.
- Digital Depth Gauge:Shows measurements on an easy-to-read screen.
- Dial Depth Gauge:Has a dial that displays the depth measurement.
- Blade Depth Gauge:Simple tool with a blade that slides down to measure.
Choose a type based on accuracy needs and how easy it is to read the results.
Factors To Consider
Think about what you will measure and the environment where you will work. These factors affect which depth gauge is best.
- Measurement Range:Check if the gauge can measure the depth you need.
- Accuracy:Choose a gauge that gives the precision your task requires.
- Ease of Reading:Digital gauges are easier to read than analog ones.
- Durability:Select a gauge made from strong materials if you work outdoors or in tough places.
- Budget:Some gauges cost more, but they may last longer or be more accurate.
Pick a depth gauge that fits your tasks and budget. This helps you measure depth the right way every time.

Credit: www.amazon.ca
Preparing The Depth Gauge
Measuring depth accurately requires proper preparation of the depth gauge. Taking time to set up the tool ensures reliable results.
This guide covers essential steps to prepare your depth gauge before use.
Calibrating The Gauge
Calibration sets the depth gauge to zero, so measurements start correctly. You must do this before every use.
- Place the depth gauge on a flat, even surface.
- Lower the measuring probe until it touches the surface gently.
- Adjust the dial or digital readout to zero.
- Check the zero setting by lifting and lowering the probe again.
- Repeat calibration if the zero mark changes.
Cleaning The Measuring Surface
Dirty surfaces can cause false readings. Clean the area where you measure before using the depth gauge.
| Cleaning Method | Details |
| Wipe with a dry cloth | Remove dust and loose dirt |
| Use rubbing alcohol | Eliminate grease and oils |
| Dry fully | Prevent moisture from affecting measurements |
Measuring Depth Accurately
Measuring depth accurately is important for many tasks. A depth gauge helps you get exact measurements of holes, slots, or recesses.
Using the right technique ensures you avoid errors. Follow simple steps to position, measure, and check your readings carefully.
Positioning The Gauge Correctly
Place the depth gauge flat on the surface around the hole. Make sure the base sits firmly to avoid tilting.
- Clean the surface to remove dust or debris
- Hold the gauge perpendicular to the surface
- Check that the measuring rod is aligned with the hole
- Keep your hand steady to prevent movement
Taking The Measurement
Lower the measuring rod slowly into the hole. Stop when it touches the bottom without forcing it.
| Action | Tip |
|---|---|
| Insert rod | Do it gently to avoid bending |
| Read scale | Look straight at the scale to avoid parallax |
| Record measurement | Write down the number immediately |
Avoiding Common Mistakes
Errors can happen if you rush or ignore small details. Watch out for these common problems.
- Not cleaning the surface before measuring
- Tilting the gauge instead of holding it flat
- Forcing the rod too hard into the hole
- Reading the scale at an angle
- Not recording the measurement right away
Interpreting The Results
Using a depth gauge helps you measure the depth of holes or gaps accurately. After taking the reading, you need to understand what the numbers mean.
Correctly interpreting the results ensures you get precise data for your project or inspection.
Reading The Scale
Look closely at the depth gauge scale to find the measurement. The scale usually shows millimeters or inches.
Read the number where the gauge’s pointer or slider stops. This number is the depth.
- Check if the scale uses metric or imperial units
- Note the exact point of the pointer or slider
- Be aware of any fractions or decimals on the scale
Recording Measurements
Write down the depth measurements right after reading them. This helps avoid mistakes or forgetting numbers.
Use a notebook or digital device to keep a clear record of each measurement.
- Note the unit of measurement (mm or inches)
- Record the location or part where you measured
- Write down the date and time for reference
Maintaining Your Depth Gauge
Keeping your depth gauge in good shape helps it last longer. It also gives you accurate measurements every time.
Regular care prevents damage and keeps your tool working well in tough conditions.
Regular Cleaning
Clean your depth gauge after each use. Dirt and debris can affect its accuracy.
Use a soft cloth to wipe the surface. Avoid harsh chemicals that can damage the gauge.
- Remove dust and grime gently
- Use mild soap and water if needed
- Dry the gauge completely before storing
- Check for any stuck parts and clean carefully
Safe Storage Tips
Store your depth gauge in a dry place. Moisture can cause rust and damage the tool.
Keep it in a protective case or pouch to avoid scratches and drops.
- Use a sturdy case or box
- Avoid places with high humidity
- Keep away from heavy objects that may cause damage
- Store in a clean area free of dust
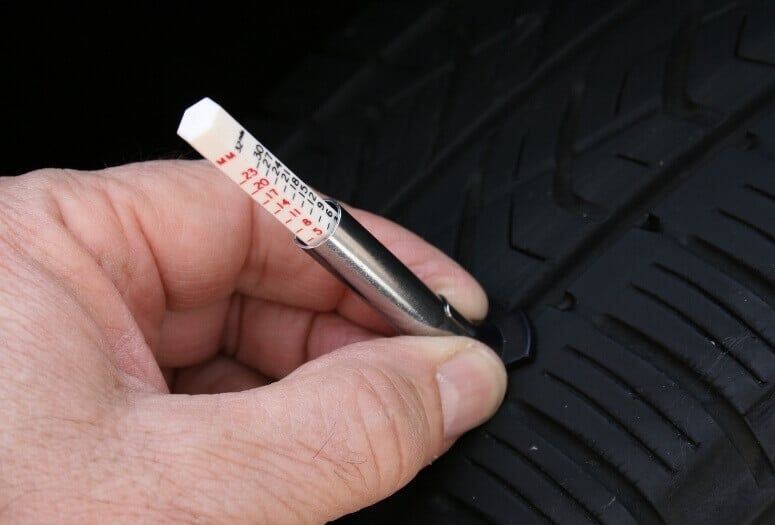
Credit: www.blackcircles.ca
Frequently Asked Questions
What Is A Depth Gauge Used For?
A depth gauge measures the distance from a surface to a specific point. It accurately checks the depth of holes, slots, or grooves. This tool is essential in machining, woodworking, and automotive tasks for precision and quality control.
How Do You Read A Depth Gauge Accurately?
To read a depth gauge, place its base firmly on the surface. Extend the measuring rod into the hole. Read the scale or digital display carefully. Ensure the gauge is perpendicular to the surface for precise measurement.
Can Depth Gauges Measure Different Materials?
Yes, depth gauges measure depth on various materials like metal, wood, and plastic. The tool’s design allows it to adapt to different surfaces. It provides consistent and reliable depth readings across multiple applications.
What Types Of Depth Gauges Are Available?
Common types include dial depth gauges, digital depth gauges, and vernier depth gauges. Each offers different precision levels and ease of reading. Choose based on your accuracy needs and budget constraints.
Conclusion
Using a depth gauge is simple and effective. It helps measure depth accurately. Follow the steps to ensure precision every time. Practice improves skill and confidence. Choose the right gauge for your task. Regular maintenance ensures long-lasting use. Always double-check your measurements for accuracy.
A depth gauge is a handy tool in many fields. From woodworking to metalwork, it proves invaluable. Remember, measuring accurately saves time and materials. Keep honing your technique for the best results. Happy measuring!