If you’ve ever tried to fix a faucet and struggled to reach those tight nuts under the sink, you know how frustrating it can be. That’s where a basin wrench becomes your best friend.
This simple tool is designed to make your life easier, helping you loosen or tighten hard-to-reach faucet parts without the hassle. In this guide, you’ll learn exactly how to use a basin wrench step-by-step, so you can tackle faucet repairs confidently and save time.
Ready to take control of your plumbing projects? Keep reading to master this essential tool!
Credit: www.amazon.in
What Is A Basin Wrench
A basin wrench is a special tool used to tighten or loosen nuts under sinks. It helps reach places that are hard to get to.
This wrench has a long handle and a jaw that grips the nut tightly. It is useful for installing or removing faucets.
Design Of A Basin Wrench
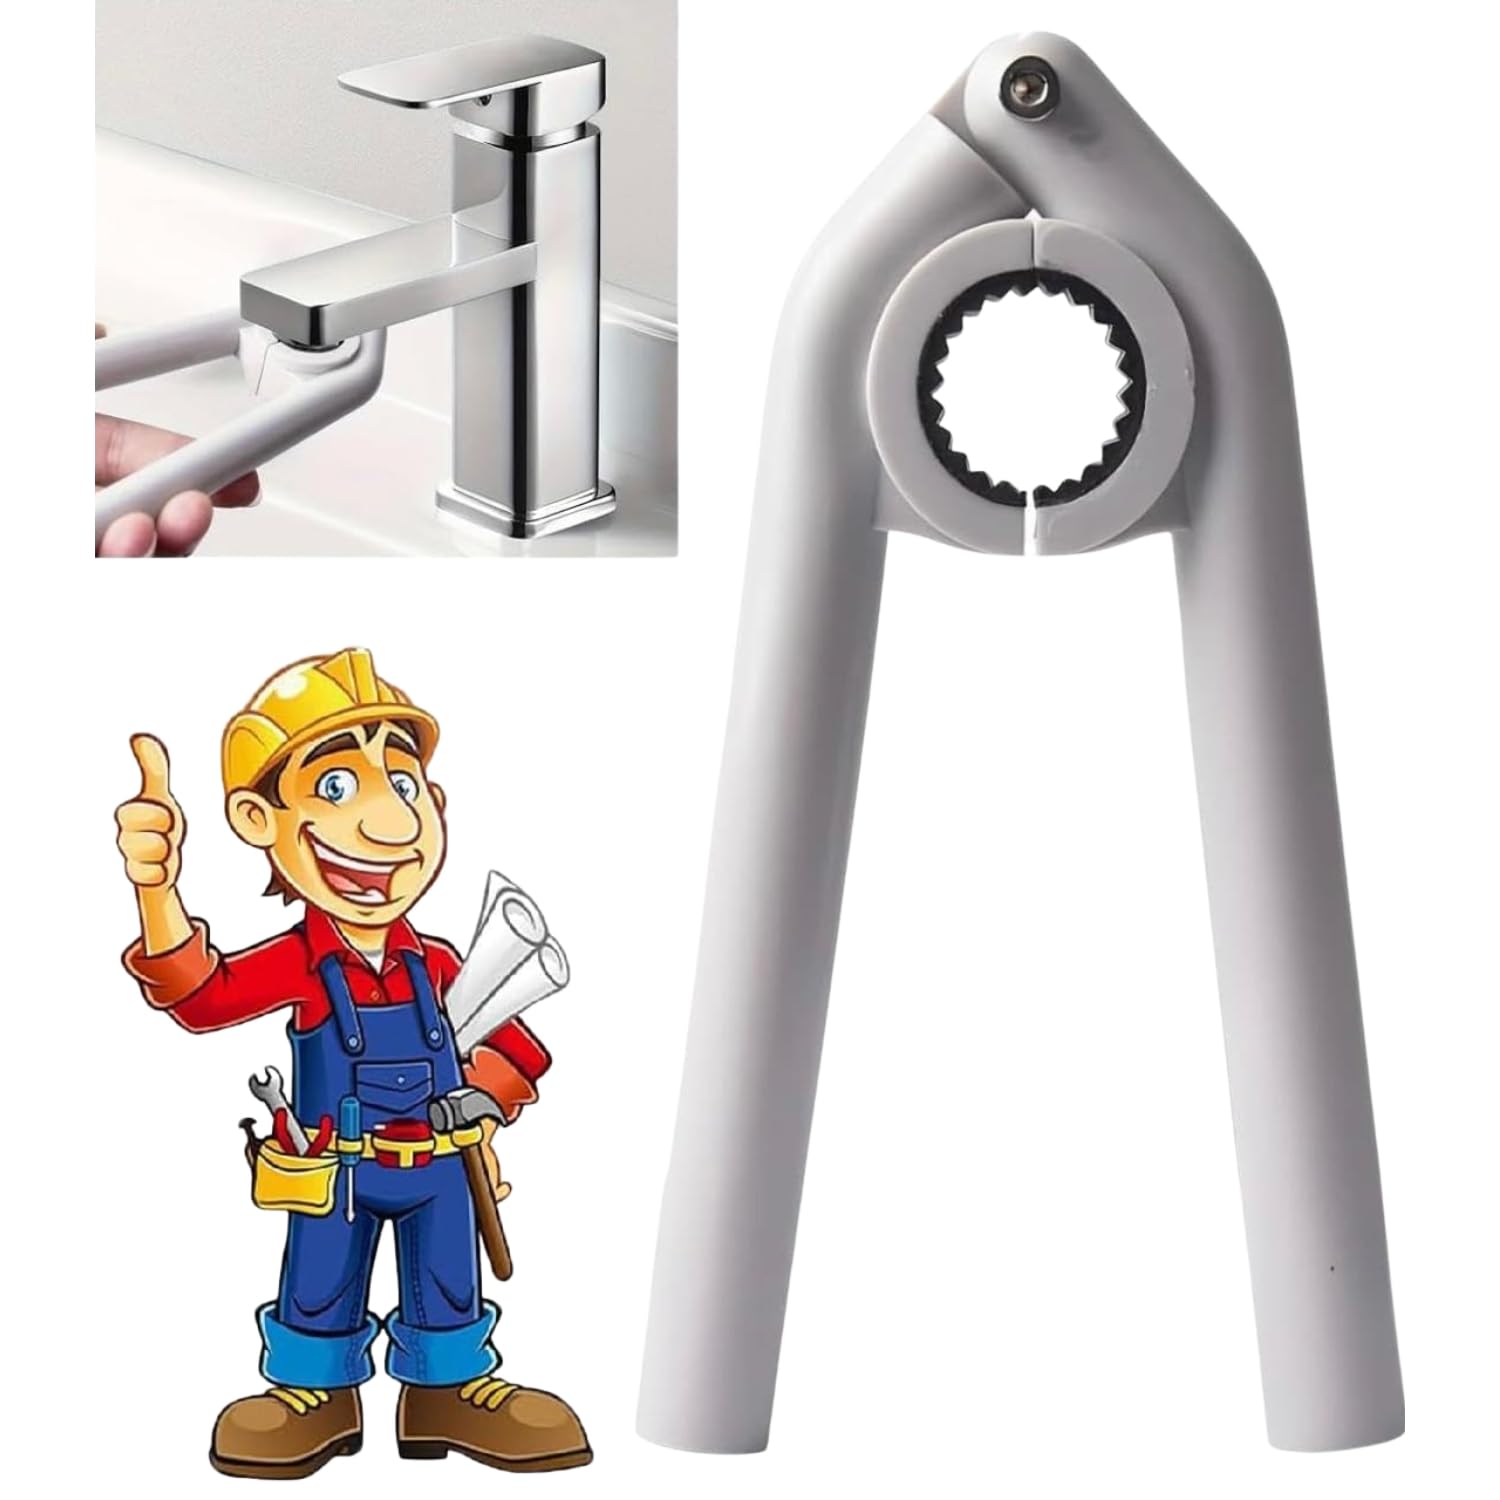
The basin wrench has a long handle that lets you reach behind sinks. At the end, it has a jaw that holds the nut.
The jaw can turn to fit different nut sizes. It also pivots, so you can work at different angles under the sink.
- Long handle for deep reach
- Pivoting jaw for easy grip
- Adjustable jaw size for different nuts
Purpose Of A Basin Wrench
This wrench is made to work in tight spaces where normal tools can’t fit. It helps you work under the sink easily.
You use it mainly to remove or install faucet nuts. These nuts hold the faucet to the sink tightly.
- Accesses hard-to-reach nuts
- Loosens or tightens faucet nuts
- Makes faucet installation easier
Materials And Sizes
Basin wrenches are often made of steel for strength. Some have rubber handles for better grip.
They come in various sizes. Choose a size that fits your sink and faucet space.
- Steel body for durability
- Rubber or plastic grips for comfort
- Different sizes for different sinks
When To Use A Basin Wrench
A basin wrench is a special tool used for plumbing tasks. It helps reach tight spaces under sinks. You need it when regular wrenches do not fit.
This tool makes it easier to loosen or tighten nuts on faucet connections. It saves time and effort in hard-to-reach areas.
Tight Spaces Under The Sink
You use a basin wrench in narrow spaces under the sink. These areas are too small for regular wrenches. The long handle and swivel head help you reach behind pipes.
This tool is perfect for turning faucet mounting nuts that are hard to see or reach.
Installing Or Replacing Faucets
A basin wrench is needed when you install or replace a faucet. It helps secure the faucet to the sink. You can tighten or loosen the mounting nuts easily.
This tool saves time and reduces the risk of damaging the faucet or sink during installation.
Working With Stubborn Or Rusty Nuts
Sometimes faucet nuts are rusty or stuck. A basin wrench gives extra leverage to loosen these nuts. Its design fits tight and helps apply strong force.
Using this wrench reduces the chance of slipping and damaging the nut or plumbing parts.
Choosing The Right Basin Wrench
A basin wrench is a handy tool for fixing faucets. Picking the right one helps you work faster and easier. You should know the main types before buying.
This guide looks at two key features: fixed vs. adjustable heads and different handle types. Understanding these will help you choose the best wrench for your needs.
Fixed Vs. Adjustable
Fixed basin wrenches have a set jaw size. They fit only certain nuts and bolts. Adjustable wrenches can change size to fit many parts.
- Fixed:Simple design, strong grip, best for one size
- Adjustable:Versatile, fits multiple sizes, may be less sturdy
Choose fixed if you work with the same faucet sizes often. Adjustable is better if you fix many types of faucets.
Handle Types
| Handle Type | Description | Best For |
|---|---|---|
| Long Handle | Offers more leverage and reach under sinks | Tight spaces and stuck nuts |
| Short Handle | Easier to control in small areas | Compact spaces with less force needed |
| Ratchet Handle | Allows turning without removing the wrench | Saving time on repetitive tasks |
Pick a handle type based on your workspace and how much force you need. A ratchet handle can speed up your work, while a long handle helps reach deep nuts.
Preparing For Faucet Removal
Removing a faucet requires some preparation to avoid damage. You need to get ready before using a basin wrench.
Two important tasks include shutting off the water supply and clearing the work area. These steps help make the process safer and easier.
Shutting Off Water Supply
Turn off the water to prevent leaks during faucet removal. Locate the shut-off valves under the sink and close them tightly.
- Find the hot and cold water valves.
- Turn each valve clockwise to close.
- Check that water flow stops at the faucet.
- If no valves are under the sink, shut off the main water supply.
Clearing The Area
Clear space around the sink for easy access. Remove items like soap, towels, and cleaning supplies.
- Lay down a towel or bucket under the sink to catch drips.
- Make sure you have good lighting.
- Keep the basin wrench within reach.
- Wear gloves to protect your hands.
Using The Basin Wrench Step-by-step
A basin wrench helps you reach tight spaces under sinks. It makes loosening or tightening faucet nuts easier. Follow these steps to use the wrench safely and effectively.
Each part of the wrench has a role. Learn how to position it, secure the jaw, and turn the fastener correctly.
Positioning The Wrench
Place the basin wrench so its long handle fits in the narrow space under the sink. The head should face the fastener you want to turn. Adjust the wrench so it can grip the nut firmly.
Securing The Jaw
The jaw of the basin wrench opens to grip different nut sizes. Make sure the jaw fits tightly around the fastener. A loose grip can slip and cause damage.
- Slide the jaw over the fastener.
- Check that the jaw teeth catch the nut’s edges.
- Tighten the wrench handle slightly to hold the jaw in place.
Turning The Fastener
Use the wrench handle to turn the fastener. Turn clockwise to tighten and counterclockwise to loosen. The long handle gives you extra leverage in tight spots.
| Action | Direction to Turn |
| Tighten Fastener | Clockwise |
| Loosen Fastener | Counterclockwise |

Credit: www.temu.com
Tips For Easier Faucet Installation
Using a basin wrench makes faucet installation simpler. It helps you reach tight spaces under sinks. Knowing some tips can save time and effort.
Two important steps are cleaning threads and applying lubricant. These steps ensure a smooth and secure faucet fit.
Cleaning Threads
Clean threads remove dirt and old sealant. This allows the faucet to tighten properly. Use a wire brush or cloth for best results.
- Remove any old tape or sealant from the threads
- Use a wire brush to scrub off rust or debris
- Wipe threads with a clean cloth to dry them
- Inspect threads for damage before installing
Applying Lubricant
Lubricant helps the threads turn smoothly and prevents seizing. Apply a small amount to the threads before tightening the faucet.
| Type of Lubricant | Purpose |
| Silicone grease | Protects threads and seals |
| Plumber’s grease | Easy thread movement |
| Petroleum jelly | Temporary lubrication |
Common Mistakes To Avoid
Using a basin wrench can make faucet repairs easier. Many people make simple mistakes that slow down the job.
Knowing what to avoid helps you work faster and safer. Read on to learn the common errors.
Not Adjusting The Wrench Properly
The basin wrench has a jaw that must fit the nut tightly. Many users forget to adjust it before use.
If the wrench is too loose, it will slip and damage the nut or your hand. Always check the jaw size first.
- Loosen or tighten the jaw before use
- Fit the wrench snugly on the nut
- Test the grip by gently pulling
Using Excessive Force
Applying too much force can break the wrench or the plumbing parts. It can also cause injury.
Use steady, controlled pressure. If the nut does not move, try repositioning the wrench or check for corrosion.
- Apply gentle pressure first
- Reposition wrench if stuck
- Use penetrating oil on rusted nuts
Ignoring Tight Spaces
Basins often have tight areas that limit wrench movement. Not planning for this causes frustration.
Use the wrench’s long handle and swivel head to reach hard spots. Clear the area if possible before starting.
- Use the swivel feature for angles
- Clear pipes or debris around the area
- Work slowly to avoid slipping
Forgetting To Turn Off Water Supply
Some users start without closing the water valves. This causes leaks and water damage.
Always turn off the water supply before loosening faucet nuts. Drain pipes to avoid spills.
- Locate and close supply valves
- Open faucet to drain remaining water
- Use towels to catch drips
Using The Wrong Size Wrench
Some try to use a basin wrench that is too big or too small. This can damage the tool or the fixture.
Pick a basin wrench size that fits your faucet nuts. Using the correct size improves grip and safety.
- Check nut size before buying wrench
- Use adjustable wrenches for various sizes
- Replace worn or damaged wrenches
Maintaining Your Basin Wrench
A basin wrench helps you reach tight spaces when fixing faucets. Keeping it in good shape makes your work easier. Regular care stops damage and keeps the tool ready to use.
This guide shows simple ways to clean, store, and check your basin wrench. These steps save money and extend the tool’s life.
Cleaning After Use
Remove dirt and water from the wrench after every job. Use a dry cloth to wipe the head and handle. For stuck grime, use mild soap and warm water. Dry the wrench fully to stop rust.
Lubricating Moving Parts
Apply light oil to the wrench’s joints to keep them moving smoothly. Open and close the wrench several times to spread the oil well. Wipe off extra oil to avoid dirt buildup.
Storing Properly
- Keep the wrench in a dry place to prevent rust.
- Store it in a toolbox or hang it on a pegboard.
- Avoid placing heavy tools on top of it.
- Check the wrench before storage for damage or dirt.
Checking For Wear And Tear
| Part | Signs of Wear | Action Needed |
| Jaw | Loose grip or bending | Replace or repair |
| Spring | Weak tension | Lubricate or replace |
| Handle | Cracks or rust | Clean or replace |

Credit: www.amazon.ca
Frequently Asked Questions
What Is A Basin Wrench Used For?
A basin wrench is a plumbing tool designed to reach and tighten nuts in hard-to-access faucet areas. It fits into tight spaces under sinks, making faucet installation and removal easier and faster.
How Do You Operate A Basin Wrench?
Hold the handle and position the jaw around the faucet nut. Apply pressure and turn the wrench to loosen or tighten the nut. The pivoting head allows access in tight spaces.
Can A Basin Wrench Fit All Faucet Sizes?
Most basin wrenches have adjustable jaws to fit various nut sizes. However, extremely large or small nuts may require a different size wrench or tool.
Why Choose A Basin Wrench Over Pliers?
A basin wrench reaches confined spaces under sinks where pliers can’t fit. It offers better grip and leverage, reducing damage to faucet fittings during repairs.
Conclusion
Mastering the use of a basin wrench is essential for faucet repairs. This tool makes tight spaces more accessible. Proper technique ensures smooth installations or removals. Always check the wrench fits snugly before turning. Practice a steady hand to avoid damage.
Over time, using a basin wrench becomes second nature. With patience, you’ll handle plumbing tasks confidently. Remember, safety first. Wear gloves to protect your hands. Keep your tools organized for easy access. A well-maintained tool saves time and stress. Enjoy the satisfaction of a job well done.
Happy plumbing!