If you want your woodworking projects to look smooth and professional, mastering a hand planer is a must. But using this tool the right way isn’t always easy.
You might be struggling with uneven surfaces, tear-outs, or just not getting the finish you want. Don’t worry—this guide is here to help you avoid those common mistakes and get the best results every time. Keep reading, and you’ll discover simple tips that will make your hand planer work smarter, not harder.
Your next project will thank you.
Credit: www.familyhandyman.com
Choosing The Right Hand Planer
Using a hand planer can make your woodworking smoother and more precise. Picking the right one helps you work better and faster.
This guide covers the main types of hand planers, how to select one for your wood, and how to adjust the blade for best results.
Types Of Hand Planers
There are several types of hand planers. Each type suits different tasks and wood surfaces.
- Bench Planer:Used for flattening and smoothing large boards.
- Block Planer:Smaller and good for trimming edges and small pieces.
- Rabbet Planer:Designed to cut rabbets and grooves.
- Shoulder Planer:Ideal for fine trimming of shoulders and tenons.
Selecting Based On Wood Type
Different woods require different planers and blades. Hardwoods and softwoods behave differently under the blade.
| Wood Type | Recommended Planer | Blade Type |
| Softwood | Block Planer | Standard Steel |
| Hardwood | Bench Planer | High-Speed Steel |
| Exotic Wood | Rabbet Planer | Carbide-Tipped |
Adjusting Blade Settings
Blade settings affect the cut depth and smoothness. Correct adjustments avoid tear-out and rough surfaces.
- Loosen the blade lever or screws.
- Set the blade depth slightly deeper than the wood surface.
- Tighten the blade securely to prevent movement.
- Test on scrap wood and adjust as needed.

Credit: www.familyhandyman.com
Preparing Your Workspace
Getting your workspace ready is important before using a hand planer. A good setup helps you work safely and well.
Focus on having a steady work area, clear lighting, and no clutter around. These steps make your job easier.
Securing The Wood
Keep the wood steady by clamping it to a workbench. This stops it from moving while you plane.
Use strong clamps or vices to hold the wood tight. Moving wood can cause mistakes or injuries.
- Place clamps near the area you plan to work on
- Check that the wood does not wobble before starting
- Use soft pads on clamps to avoid damaging the wood
Ensuring Proper Lighting
Good lighting helps you see the wood surface clearly. This makes it easier to plan your cuts well.
Use bright, even light that does not cast strong shadows. Natural light or white LED lights work well.
- Place lights above or to the side of your work area
- Avoid lights that create glare or reflections on the wood
- Check lighting before starting to spot any dark spots
Maintaining A Clean Area
Keep your workspace clear of dust and debris. This prevents slips and helps you focus on your work.
Clean wood shavings often. A tidy area reduces the chance of accidents and keeps tools in good shape.
- Sweep or vacuum shavings regularly
- Keep tools organized and within reach
- Remove any obstacles around your workbench
Mastering The Planing Technique
Using a hand planer well takes practice and attention. The right technique helps you get smooth wood surfaces.
This guide covers how to hold the planer, control the depth, and keep a steady pace.
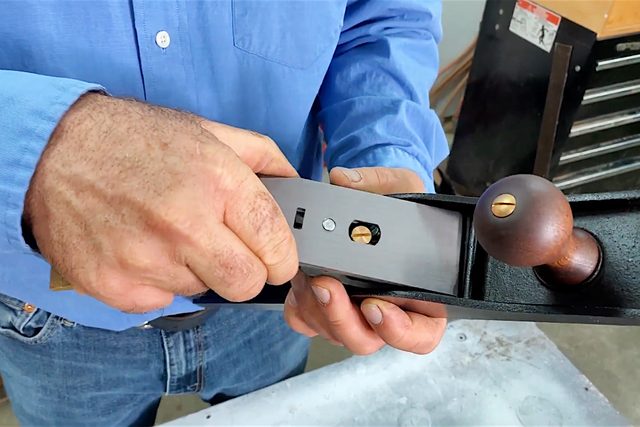
Holding The Planer Correctly
Grip the planer firmly but not too tight. Keep your hands in the right places for balance.
- Place one hand on the front knob for guidance.
- Hold the rear handle with your other hand for power.
- Keep your fingers clear of the blade area.
- Stand with feet shoulder-width apart for stability.
- Lean slightly into the planer while moving it forward.
Controlling The Planing Depth
Adjust the blade depth before planing. Use small settings for fine work.
| Depth Setting | Use | Result |
| Shallow | Final smoothing | Thin, smooth shavings |
| Medium | General planing | Moderate wood removal |
| Deep | Rough shaping | Thick, coarse shavings |
Test the depth on scrap wood. Adjust if the planer feels hard to push.
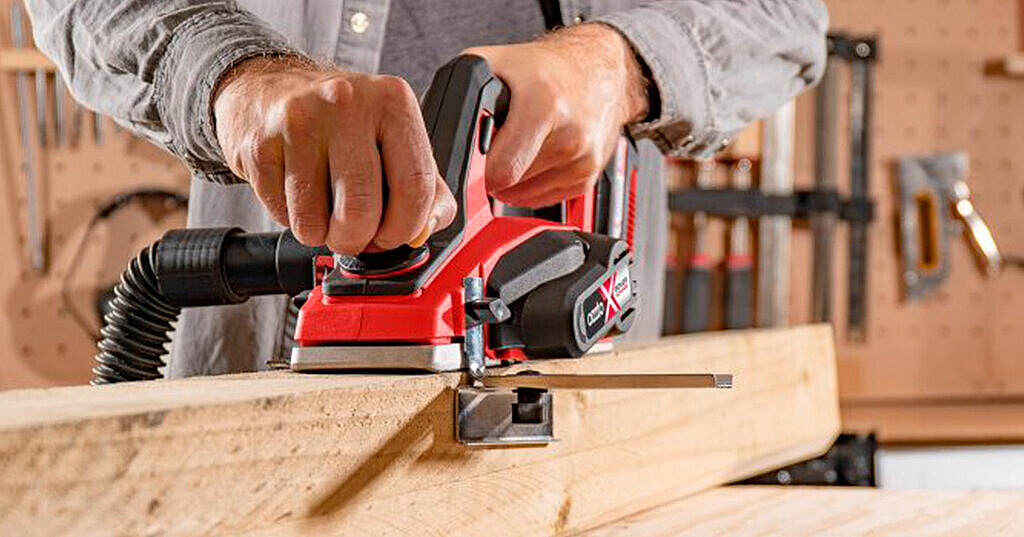
Maintaining A Steady Pace
Move the planer at a steady speed. Too fast or slow can cause uneven surfaces.
Follow these tips for a smooth pace:
- Push the planer forward with even pressure.
- Keep your arms relaxed to avoid jerky movements.
- Stop and check your work regularly.
- Make multiple passes instead of deep cuts.
Credit: www.ozito.com.au
Avoiding Common Mistakes
Using a hand planer can give your wood a smooth finish. Many beginners make simple mistakes that affect the results. Knowing what to avoid helps you get better cuts and saves wood.
This guide covers key tips on preventing tear-out, dealing with grain direction, and handling knots and hard spots. Follow these to improve your planing skills.
Preventing Tear-out
Tear-out happens when wood fibers lift and split while planing. It makes the surface rough and uneven. You can reduce tear-out by adjusting your technique and tools.
- Use a sharp blade to make clean cuts.
- Set the blade to take thin shavings instead of thick ones.
- Plane with a steady, even pressure to avoid sudden catches.
- Try planing from the middle toward the edges to support fibers better.
- Use a backer board under thin or soft wood to prevent splintering.
Dealing With Grain Direction
Wood grain changes direction and affects how the planer cuts. Planing against the grain can cause rough surfaces and tear-out. It is important to identify the grain direction first.
| Grain Direction | Planing Tip |
| With the grain | Plane smoothly with steady strokes. |
| Against the grain | Take lighter cuts or change direction. |
| Cross grain | Be cautious and use sharp blades. |
Handling Knots And Hard Spots
Knots and hard spots are tougher to plane. They can dull blades and cause uneven surfaces. Use the right approach to handle these areas carefully.
Tips for working with knots and hard spots:
- Check the blade sharpness before starting.
- Take very light passes over knots.
- Keep your hand steady and avoid forcing the planer.
- Consider sanding knots after planing for a smooth finish.
Sharpening And Maintaining Blades
Keeping your hand planer blades sharp makes your work easier and cleaner. Dull blades can damage wood and slow down your project.
Regular maintenance helps your blades last longer and perform better. Let’s explore how to sharpen and store your blades properly.
When To Sharpen
Sharpen your planer blades when they stop cutting smoothly. You will notice more effort is needed to push the planer.
Look for signs like rough surfaces or tear-out on the wood. These mean the blade is dull and needs sharpening.
Proper Sharpening Methods
Use a sharpening stone or a honing guide to keep the blade angle correct. This gives a sharp, even edge.
Start with a coarse stone if the blade is very dull. Then move to a fine stone to polish the edge.
- Clean the blade before sharpening
- Keep the bevel angle steady (usually 25 to 30 degrees)
- Use light, even strokes on the stone
- Hone the back of the blade flat
- Test the blade on scrap wood after sharpening
Blade Storage Tips
Store blades in a dry place to prevent rust. Moisture can damage the metal and reduce sharpness.
Keep blades in a protective case or wrap them in cloth. This stops edges from chipping or dulling.
- Use blade guards or covers
- Label blades if you have many
- Store blades flat, not standing on edges
- Check blades regularly for rust or damage
Advanced Tips For Smooth Finishes
Using a hand planer well can give your wood a very smooth surface. Fine details make a big difference in the final look.
These tips help you get the best finish with your hand planer. Small changes improve your results greatly.
Using A Backer Board
A backer board supports the wood edges while planing. It helps prevent tear-out and damage on soft or thin wood.
Place the backer board behind the cut line. This gives the planer solid backing to cut cleanly without splintering.
- Use a scrap piece of wood as the backer board
- Clamp it firmly behind the area you will plane
- Align it to support the fibers that might tear out
- Remove the backer board after planing for a smooth edge
Final Pass Techniques
Make your last passes very light and slow. This removes small high spots and leaves a smooth finish.
Use the full length of the planer base for stability. Keep the blade sharp for the cleanest cuts.
- Check blade sharpness before starting final passes
- Adjust the blade for a very shallow cut
- Push the planer steadily and slowly across the wood
- Overlap each pass slightly for evenness
Combining With Sanding
Planing removes most roughness, but sanding smooths out fine scratches. Use sanding after planing for a polished look.
Start with medium grit sandpaper and finish with fine grit. Sand along the grain to avoid marks.
- Begin sanding with 120-grit paper after planing
- Progress to 180-grit for smoother surface
- Finish with 220-grit or finer for best results
- Use light pressure and sand in the grain direction
Frequently Asked Questions
What Is The Best Wood For Using A Hand Planer?
Softwoods like pine and cedar are easier to plane. Hardwoods require sharper blades and more effort. Always choose wood that matches your planer’s capability for smooth results.
How Do I Adjust The Depth On A Hand Planer?
Most hand planers have a knob or lever to adjust blade depth. Turn it gradually to control how much wood is removed. Start with a shallow cut and increase if needed.
How Often Should I Sharpen Hand Planer Blades?
Sharpen blades after every few uses or when cuts become rough. Sharp blades improve efficiency and surface finish. Regular sharpening prevents damage to wood and tool.
Can I Use A Hand Planer On Rough Or Uneven Surfaces?
Yes, hand planers can smooth rough surfaces. Work slowly and evenly, removing thin layers. Avoid deep cuts to prevent gouging or unevenness.
Conclusion
Mastering a hand planer takes practice and patience. Start with simple projects. Use the tips discussed for better results. Ensure your planer is sharp for smooth surfaces. Pay attention to wood grain direction. This prevents tear-out and ensures a clean cut.
Keep your workspace tidy for safety. Regularly inspect your tools for wear and tear. This prolongs their lifespan. Remember, practice makes perfect. The more you use your planer, the better you’ll get. Enjoy the process and the satisfaction of crafting with your hands.
Happy woodworking!
