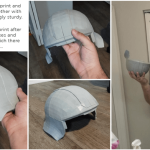
When you’re working on a DIY construction project, your safety should be your top priority. One of the easiest and most effective ways to protect yourself is by wearing a helmet.
But simply putting on a helmet isn’t enough—you need to use it the right way to get the full benefits. You’ll discover practical tips that will help you wear your helmet correctly and keep your head safe while you build.
Keep reading, because a few simple changes could make a big difference in preventing injuries and giving you peace of mind during your project.
Credit: www.sbs.com.au
Choosing The Right Helmet
Wearing a helmet is important for safety in DIY construction. Picking the right helmet helps protect your head from injuries.
There are different types of helmets and features to consider before buying one. This guide helps you choose a helmet that fits your needs.
Types Of Helmets For Construction
Construction helmets come in various types. Each type suits different jobs and safety needs.
- Type I: Protects the top of the head from falling objects.
- Type II: Protects the top and sides of the head with extra impact resistance.
- Full-Brim Helmets: Offer shade and protect the face and neck from sun and rain.
- Cap Style Helmets: Lightweight and good for indoor work but offer less coverage.
Helmet Material And Durability
Helmet materials affect strength and weight. Strong materials last longer and protect better.
| Material | Strength | Weight | Durability |
|---|---|---|---|
| High-Density Polyethylene (HDPE) | Good | Light | High |
| Fiberglass | Very High | Moderate | Very High |
| Polycarbonate | High | Light | Good |
| ABS Plastic | Moderate | Light | Moderate |
Proper Fit And Comfort
A helmet must fit well to protect you. Comfort helps you keep it on longer.
- Measure your head size before buying.
- Look for adjustable straps and suspension systems.
- Check that the helmet feels snug but not too tight.
- Choose helmets with ventilation for airflow.
- Try the helmet on with any gear you will wear.

Credit: www.youtube.com
Helmet Preparation Before Use
Using a helmet during DIY construction keeps your head safe. Preparing the helmet before use is very important.
Proper checks and adjustments help the helmet protect you well. Follow these tips to get your helmet ready.
Inspecting For Damage
Look closely at your helmet for cracks or dents. Damage can make the helmet unsafe to wear.
Check the shell, straps, and suspension system carefully. Replace the helmet if you find any damage.
- Look for cracks on the outer shell
- Check the inside padding for wear or tears
- Examine straps for fraying or cuts
- Test the suspension system for breaks or loosening
Adjusting Straps And Suspension
Adjust the straps so the helmet fits snugly but not too tight. Loose straps reduce protection.
Set the suspension system to hold the helmet firmly on your head. It should feel comfortable and stable.
- Place the helmet level on your head
- Tighten chin straps until secure without discomfort
- Adjust side straps to form a “V” below your ears
- Check suspension for proper fit and comfort
Cleaning And Maintenance Tips
Keep your helmet clean to extend its life and keep it safe. Dirt can hide damage or weaken materials.
Use mild soap and water to clean the helmet. Avoid strong chemicals that can damage the shell or straps.
- Remove dust and dirt with a soft cloth
- Wash with mild soap and warm water
- Air dry the helmet away from direct sunlight
- Store in a cool, dry place when not in use
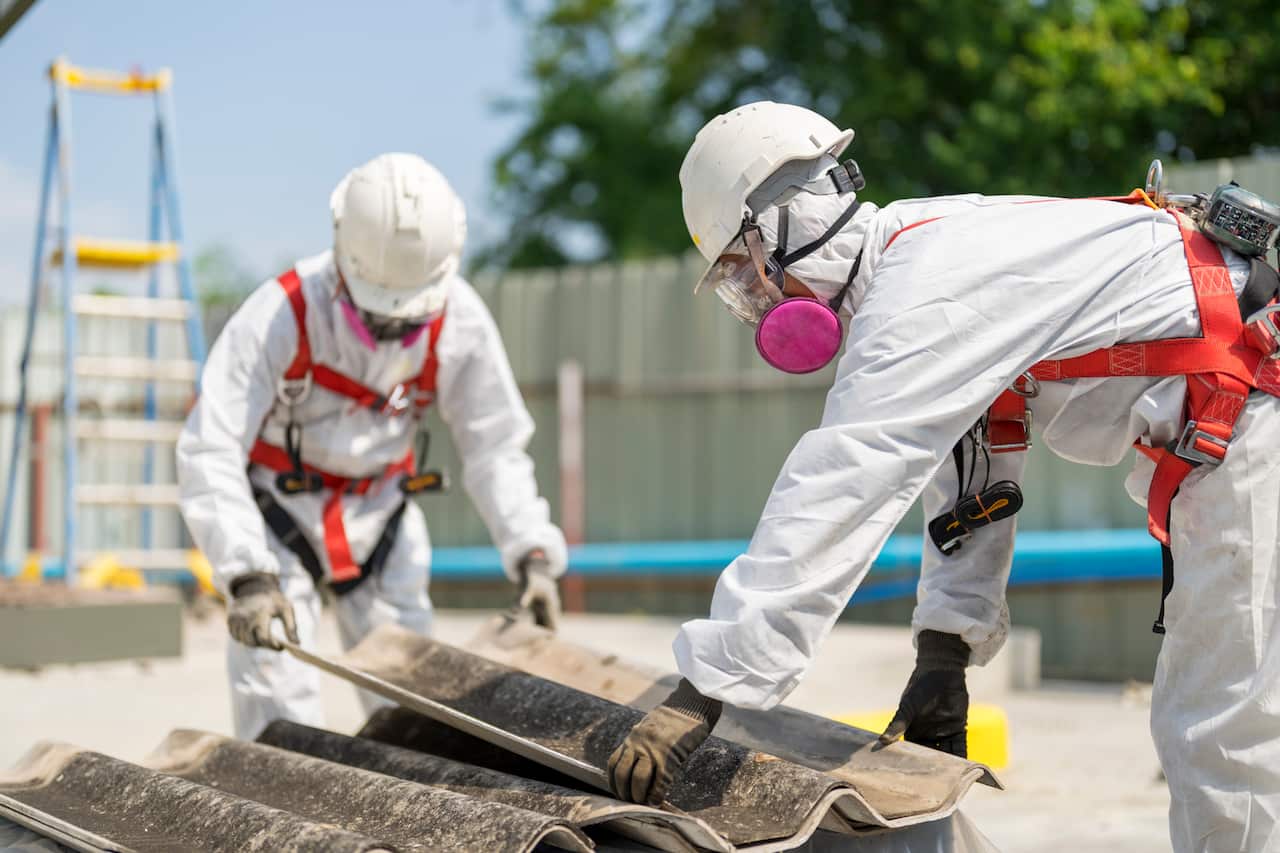
Wearing The Helmet Correctly
Wearing a helmet is essential for safety in DIY construction. It protects your head from falling objects and impacts.
To get the best protection, you must wear the helmet properly every time you work.
Positioning On The Head
Place the helmet level on your head. It should sit just above your eyebrows and cover the top of your head well.
A helmet that tilts back or forward can leave parts of your head exposed and reduce its protection.
Securing The Chin Strap
Fasten the chin strap firmly but comfortably. The strap stops the helmet from falling off during sudden movements.
- Adjust the strap so it fits snugly under your chin
- Make sure it is not too tight to cause discomfort
- Check the buckle is locked properly
- Test by moving your head to see if the helmet stays in place
Avoiding Common Mistakes
| Mistake | Why It Is Risky | How to Fix It |
|---|---|---|
| Wearing the helmet too high | Exposes forehead and reduces coverage | Lower helmet to sit just above eyebrows |
| Loose chin strap | Helmet may fall off during impact | Tighten strap snugly under chin |
| Using a damaged helmet | Less protection due to cracks or dents | Inspect helmet before use and replace if needed |
| Wearing a helmet with hair or hats underneath | Can cause poor fit and slipping | Wear helmet directly on the head or with thin liner |
Enhancing Helmet Safety
Wearing a helmet is important for safety during DIY construction. You can improve helmet protection by adding simple features. These tips help you stay visible and comfortable while working.
Using the right accessories and making sure your helmet fits well with other gear also adds safety. Learn how to make your helmet work better for you.
Adding Reflective Stickers
Reflective stickers make your helmet easier to see in low light. They help others notice you, reducing the chance of accidents. Place stickers where light hits them best.
- Put stickers on the front and back of the helmet.
- Use bright colors like silver or neon.
- Choose weatherproof stickers for durability.
- Replace stickers if they peel or fade.
Using Helmet Accessories
Accessories can improve comfort and safety. Some help with visibility, while others protect your face or ears. Choose accessories that fit your helmet well.
| Accessory | Purpose | Tips |
| Visor | Protects eyes from debris | Check for clear, scratch-free material |
| Chin Strap | Keeps helmet secure | Adjust strap to fit snugly |
| Ear Covers | Protects ears from cold and dust | Ensure covers do not block hearing |
| Helmet Light | Improves visibility at night | Use rechargeable batteries for long use |
Helmet Compatibility With Other Gear
Your helmet must fit well with other gear like safety glasses and ear protection. Poor fit can reduce safety and cause discomfort. Check how all your gear works together.
- Try wearing all gear before starting work.
- Adjust straps and pads for a comfortable fit.
- Pick gear designed to work with helmets.
- Avoid bulky accessories that block vision.
Helmet Care During And After Work
Using a helmet is important for safety in DIY construction. Taking care of your helmet keeps it strong and safe. Proper care helps your helmet last longer and protect you better.
Learn how to store, clean, and know when to replace your helmet. These tips help keep your helmet in good shape after every job.
Safe Storage Practices
Store your helmet in a cool, dry place away from direct sunlight. Avoid areas with extreme heat or cold. These conditions can damage the helmet materials.
Keep the helmet off the floor and away from sharp objects. Use a shelf or a hook to hang it safely. This prevents scratches and dents.
- Choose a dry, shaded storage spot
- Keep helmet away from chemicals and oils
- Do not place heavy items on top of the helmet
- Hang or place on a clean shelf
Regular Cleaning Routine
Clean your helmet after each use to remove dirt and sweat. Use mild soap and warm water. Avoid harsh chemicals that can weaken the helmet.
Wipe the interior padding with a damp cloth. Let the helmet dry completely before storing it. This stops mold and bad smells.
- Use soft cloth and mild soap
- Rinse with clean water
- Air dry in a cool place
- Clean straps and padding regularly
When To Replace Your Helmet
Replace your helmet if it has any cracks or deep dents. Damage can reduce its ability to protect you. Also, replace after a strong impact, even if it looks fine.
Check the helmet’s age. Most helmets last five years. After this time, the materials start to weaken. Always follow the manufacturer’s advice.
- Replace if helmet is cracked or dented
- Replace after a heavy impact
- Replace every five years or as advised
- Check straps and padding for wear

Credit: www.youtube.com
Safety Hacks For Diy Construction
Wearing a helmet is a must for any DIY construction project. It protects your head from injury and keeps you safe. Using your helmet correctly improves safety and comfort.
This guide shares tips to fix common helmet problems, improve visibility, and prepare for emergencies.
Quick Fixes For Helmet Issues
If your helmet feels loose or uncomfortable, quick fixes can help. Small adjustments keep the helmet secure and protect your head better.
- Use foam pads to fill gaps inside the helmet
- Tighten or replace the chin strap for a snug fit
- Clean vents and straps to avoid slipping
- Replace worn-out parts like padding or buckles
Improving Visibility
Good visibility helps you avoid accidents. Make sure your helmet does not block your view. Bright colors and reflective tape make you easier to see.
- Choose helmets with wide, clear face shields
- Attach reflective strips to your helmet
- Keep your helmet clean to avoid fog and dirt
- Use a headlamp or clip-on light for dark areas
Emergency Preparedness Tips
Accidents can happen even with safety gear. Be ready to act fast. Know how to remove your helmet safely and keep first aid supplies nearby.
- Practice removing your helmet quickly without hurting yourself
- Keep a small first aid kit in your work area
- Have a phone or communication device close by
- Inform someone about your work schedule and location
Frequently Asked Questions
How Do I Choose The Right Helmet?
Choosing the right helmet involves checking for a proper fit and certification. Ensure it meets safety standards and suits your construction needs. Look for adjustable straps and adequate padding for comfort. A well-ventilated helmet can also help prevent overheating during long hours of work.
Why Is Helmet Fit Important For Safety?
A properly fitted helmet ensures maximum protection during accidents. It should sit level on your head and not wobble. Adjust the straps for a snug fit without discomfort. An ill-fitting helmet can shift during impact, reducing its effectiveness and increasing the risk of injury.
How Often Should I Replace My Construction Helmet?
Replace your construction helmet every 2-5 years, depending on wear and tear. Regularly inspect it for cracks, dents, or any damage. If your helmet experiences a significant impact, replace it immediately. A compromised helmet may not provide adequate protection during future incidents.
What Are The Benefits Of A Ventilated Helmet?
Ventilated helmets help keep you cool during long hours of work. They reduce sweat buildup and improve comfort. Proper ventilation can prevent overheating, especially in hot weather. This feature can enhance focus and productivity by keeping you comfortable throughout your construction tasks.
Conclusion
Wearing a helmet keeps you safe during DIY construction work. Always choose one that fits well and feels comfortable. Check it for cracks or damage before each use. Adjust the straps so it stays secure on your head. Remember, a helmet can prevent serious injuries.
Safety should be your top priority on every project. Protect yourself and work with confidence. Stay safe, stay smart.