
Are you looking to refinish your furniture and give it a fresh, new look? An orbital sander might just be your new best friend.
This handy tool can transform worn-out surfaces into smooth, polished masterpieces. But before you dive into your next DIY project, it’s essential to know the ins and outs of using an orbital sander effectively. In this guide, you’ll discover easy-to-follow tips that will help you achieve professional results without the frustration.
Get ready to unlock the secrets to a flawless finish and make your furniture shine like never before. Keep reading, and let’s turn your furniture restoration dreams into reality!
Credit: dengarden.com
Choosing The Right Orbital Sander
Using an orbital sander on furniture needs the right tool. Picking the correct sander helps you get smooth results fast.
This guide explains what to look for when choosing an orbital sander. It covers types, grit, power, and size.
Types Of Orbital Sanders
There are several types of orbital sanders. Each type works best for different tasks and surfaces.
Random orbital sanders move in circles and orbits. They reduce swirl marks on wood. Finishing sanders move in a small circle. They are good for fine work.
- Random orbital sanders: smooth and fast, good for big areas
- Finishing sanders: small orbit, good for delicate work
- Detail sanders: small tips, reach tight corners
Selecting The Proper Grit
Grit means how rough the sandpaper is. Lower numbers mean rougher grit. Higher numbers mean finer grit.
Start with rough grit to remove old finish or paint. Use finer grit to smooth the surface before painting or staining.
- Coarse grit (40-60): remove thick finish or shape wood
- Medium grit (80-120): smooth surfaces and remove scratches
- Fine grit (150-220): final smoothing before finishing
Power And Size Considerations
Power affects how fast and strong the sander works. Size affects how easy it is to handle.
Smaller sanders are good for small furniture or detailed work. Larger sanders cover big surfaces faster but can be harder to control.
- Power: 2 to 3 amps for home use is enough
- Pad size: 5 to 6 inches is common for furniture
- Weight: lighter sanders reduce fatigue during long use
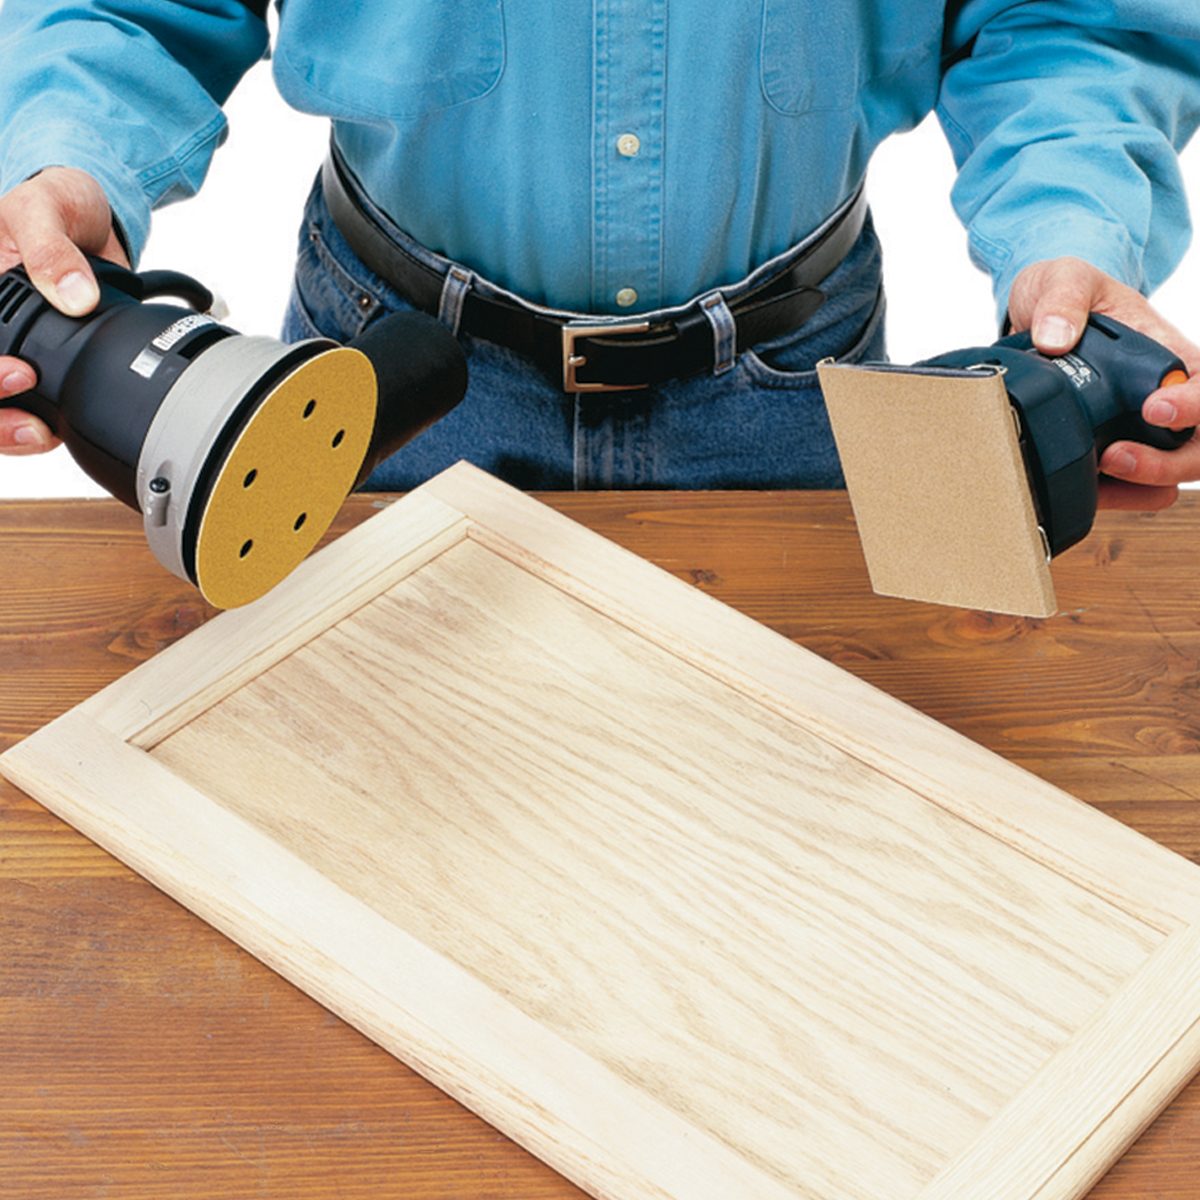
Credit: www.familyhandyman.com
Preparing Furniture For Sanding
Before using an orbital sander, prepare your furniture carefully. Good preparation helps you get smooth results without damage.
Taking time to clean, secure, and follow safety steps will make sanding easier and safer.
Cleaning And Removing Old Finishes
Start by cleaning the furniture surface. Remove dirt, dust, and grease with a soft cloth and mild cleaner.
Old paint or varnish can block sanding. Use a chemical stripper or sandpaper to remove old finishes first.
- Wipe surface with a damp cloth to remove dust
- Apply paint stripper if old finish is thick
- Scrape off softened finish gently
- Let the wood dry before sanding
Securing The Furniture
Keep your furniture steady before sanding. Moving parts can cause accidents or uneven sanding.
Use clamps or place the furniture on a solid workbench. Make sure it will not slip or wobble.
- Use clamps to hold small pieces
- Place large furniture on a flat surface
- Check stability before starting the sander
Safety Precautions
Wear safety gear to protect yourself. Sanding creates dust and noise that can harm you.
Use eye protection, a dust mask, and hearing protection to stay safe during sanding.
- Wear safety goggles to protect your eyes
- Use a dust mask to avoid breathing dust
- Wear earplugs or earmuffs to protect hearing
- Work in a well-ventilated area
- Keep cords away from the sanding area
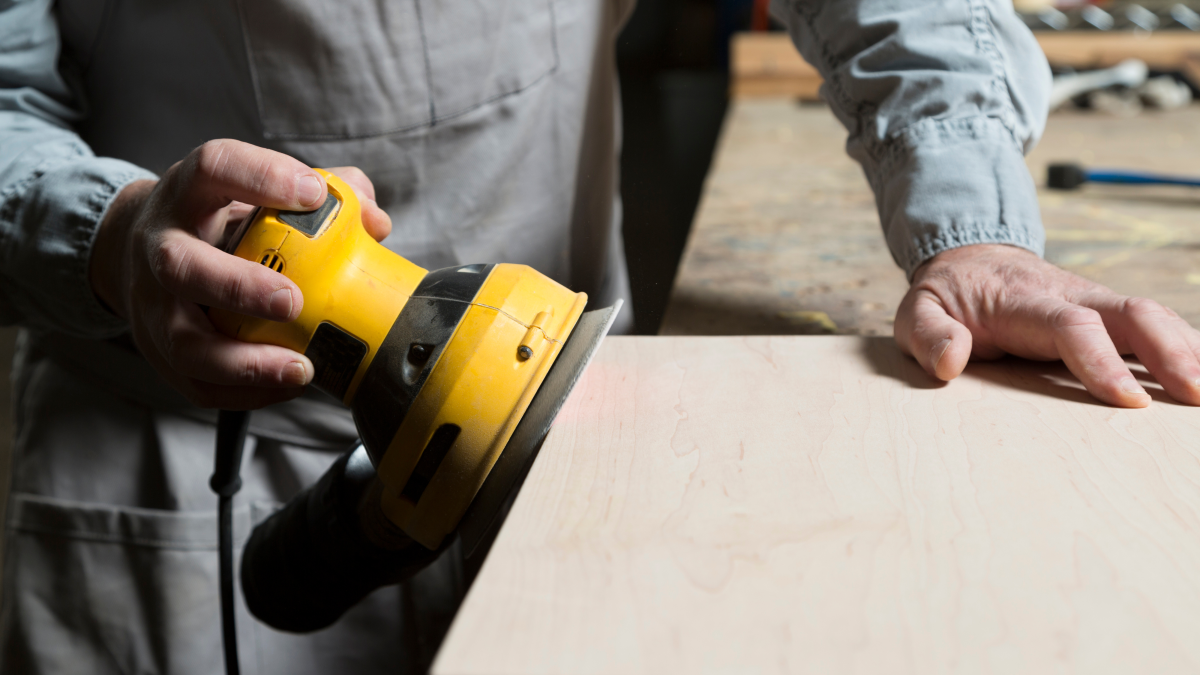
Sanding Techniques
Using an orbital sander on furniture needs careful technique. Good sanding improves smoothness and finish.
Learn how to keep pressure steady and use the right motion. Avoid sanding too much to protect the wood.
Maintaining Even Pressure
Pressing evenly keeps the surface smooth and prevents dents. Hold the sander firmly but do not push hard.
- Use both hands to control the sander
- Let the sander’s weight do the work
- Move the sander gently across the surface
- Check the surface often for uneven spots
Using The Correct Motion
Move the sander in slow, steady motions. Avoid staying too long in one spot to prevent marks.
| Motion Type | Description |
| Circular | Use small circles to cover edges well |
| Back and Forth | Move along the wood grain for smooth finish |
| Overlap | Overlap passes to avoid missed spots |
Avoiding Over-sanding
Too much sanding wears the wood down and can cause damage. Stop sanding as soon as the surface is smooth.
Tips to avoid over-sanding:
- Check the surface regularly with your hand
- Use finer grit sandpaper to finish
- Do not rush the sanding process
- Focus on problem areas, not the whole piece
Dealing With Edges And Corners
Edges and corners on furniture need careful sanding. Orbital sanders can be too large for tight spots. Using the right methods helps keep the shape and finish smooth.
This guide shows ways to handle these tricky areas well. You will learn how to use attachments and hand sanding for best results.
Using Detail Sanding Attachments
Detail sanding attachments fit on your orbital sander. They help reach edges and corners without damage. These tools give better control and precision.
- Choose a small triangular or pointed pad for tight spaces.
- Attach fine-grit sandpaper for delicate surfaces.
- Move the sander gently along edges to avoid rounding them off.
- Check the edge often to keep the right shape.
- Clean dust off between passes to see progress clearly.
Hand Sanding Tips
Hand sanding helps finish corners where machines cannot reach. Use sanding blocks or folded sandpaper for better grip and control.
| Tip | Reason |
|---|---|
| Use light pressure | Prevents damage to edges and maintains shape |
| Sand along the grain | Reduces scratches and uneven surfaces |
| Change sandpaper grit gradually | Ensures smooth finish without rough spots |
| Keep sandpaper clean | Improves sanding effectiveness and surface quality |
| Wear a dust mask | Protects lungs from fine dust particles |
Dust Management
Using an orbital sander on furniture creates a lot of dust. Dust can make your work messy and harm your health. Managing dust helps keep your workspace clean and safe.
Good dust control also improves sanding results. It stops dust from settling back on the wood. This guide covers two key ways to manage dust well.
Using Dust Collection Systems
Many orbital sanders have built-in dust collection ports. You can attach a vacuum or dust bag to these ports. This traps most of the dust as you sand.
Using a dust collection system reduces airborne dust. It keeps your workspace cleaner and makes cleanup easier after sanding.
- Check that the dust port fits your vacuum hose or bag
- Empty dust bags often to maintain suction
- Use a vacuum with a HEPA filter for best results
- Wear a mask even with a dust collection system
Cleaning Between Passes
Stop sanding sometimes to wipe away dust from the surface. Dust left on furniture can clog the sandpaper and cause uneven sanding.
Use a tack cloth or a soft brush to clean the area gently. This keeps the wood surface clear and ready for the next sanding pass.
- Wipe with a tack cloth after each sanding pass
- Use a soft brush to reach corners and edges
- Avoid blowing dust with compressed air on delicate finishes
- Keep your workspace clean to reduce dust buildup
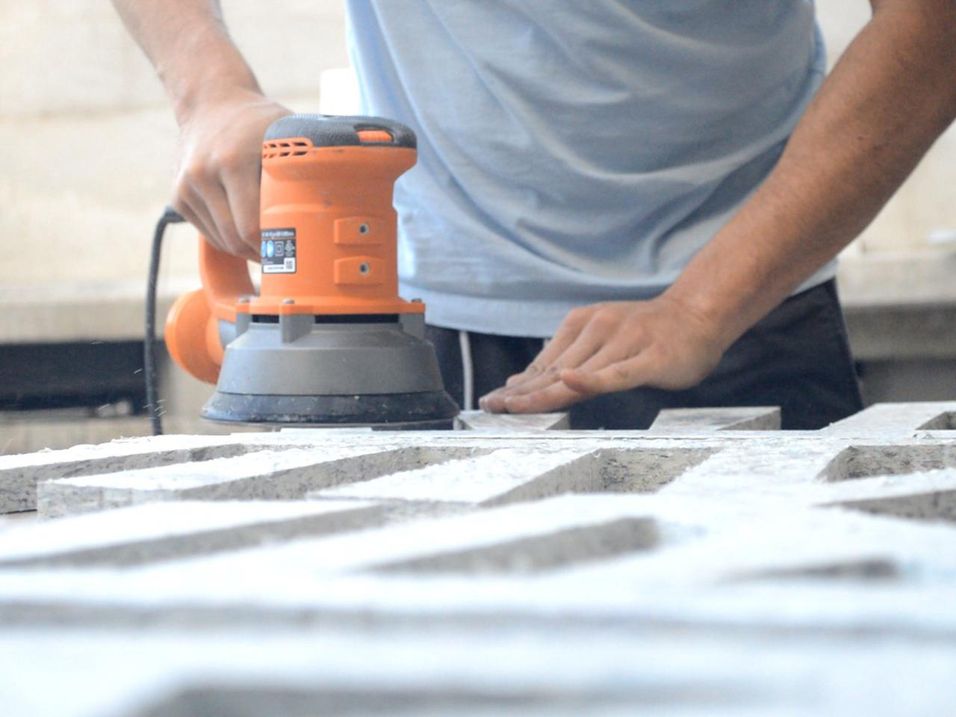
Credit: community.preciousplastic.com
Finishing Touches
Using an orbital sander on furniture helps create a smooth, even surface. The finishing touches make your piece ready for painting or staining.
Careful inspection and final sanding steps improve the look and feel of your furniture. These steps take your project to the next level.
Inspecting The Surface
Look closely at the surface after sanding. Check for scratches, dents, or rough spots that need more work.
Use good lighting and run your hand over the surface to feel any uneven areas. Fixing these early saves time later.
- Check corners and edges carefully
- Note any areas that feel rough or raised
- Look for old finish that did not sand off
- Use a tack cloth to remove dust before the next step
Final Sanding Steps Before Staining Or Painting
Choose a fine-grit sandpaper for the last sanding. This helps create a smooth base for your finish.
Sand lightly and evenly. Avoid pressing too hard to prevent uneven spots or scratches.
- Use 220-grit sandpaper for final sanding
- Sand in the direction of the wood grain
- Remove all sanding dust with a vacuum or tack cloth
- Keep the sander moving to avoid marks
Frequently Asked Questions
What Grit Sandpaper Is Best For Furniture Sanding?
Use 120-grit sandpaper to start and 220-grit to finish. Coarse grits remove old finish, while fine grits smooth surfaces. This combo prevents damage and ensures a polished look on furniture.
How To Avoid Swirl Marks With An Orbital Sander?
Keep the sander moving consistently in overlapping circles. Avoid pressing too hard to prevent gouges. Using the right grit sandpaper also minimizes swirl marks on furniture surfaces.
Can I Use An Orbital Sander On Delicate Furniture?
Yes, but use fine grit sandpaper and low speed. Test on a small area first to avoid damage. Orbital sanders work well if handled gently on delicate furniture.
How To Prepare Furniture Before Sanding With An Orbital Sander?
Remove all hardware and clean the surface thoroughly. Check for nails or staples that can damage the sander. Proper prep ensures even sanding and avoids tool damage.
Conclusion
Using an orbital sander on furniture takes care and patience. Start with the right sandpaper grit for smooth results. Keep the sander moving to avoid marks or damage. Always wear safety gear to protect yourself. Clean the surface well after sanding to get the best finish.
Practice on scrap wood to build confidence. Follow these tips for a neat and even sanding job. Your furniture will look fresh and ready for finishing. Simple steps lead to great results every time.