If you’re tackling a big sanding job, using a belt sander can save you hours of hard work. But handling this powerful tool on large surfaces isn’t always easy.
You might wonder how to get smooth, even results without damaging your wood or wasting time. You’ll discover simple tips and tricks to master your belt sander. By the end, you’ll feel confident and ready to transform any large surface with ease.
Keep reading to learn how to work smarter, not harder, and achieve professional-looking finishes every time.

Credit: www.homebuilding.co.uk
Choosing The Right Belt Sander
Using a belt sander helps smooth large surfaces quickly. Picking the right tool makes your work easier and better.
This guide covers belt sander types, power and speed, and belt grit choices. Each part affects how well the sander works for big jobs.
Types Of Belt Sanders
Belt sanders come in several forms. Each type fits different tasks and surfaces. Knowing these helps you pick the best one.
- Handheld Belt Sanders:Portable and good for medium to large areas.
- Stationary Belt Sanders:Mounted on a bench for detailed work and small surfaces.
- Floor Belt Sanders:Large machines designed for sanding floors and very big surfaces.
Power And Speed Considerations
Power and speed affect how fast and smooth the sander works. More power handles tough jobs well.
| Power (Amps) | Speed (Feet per Minute) | Best Use |
| 3 to 5 | 500 to 800 | Light sanding on soft wood |
| 6 to 9 | 800 to 1200 | General sanding and refinishing |
| 10+ | 1200+ | Heavy-duty sanding and large surfaces |
Selecting The Proper Belt Grit
Belt grit controls how rough or smooth the sanding is. Use the right grit for each stage of your project.
- Coarse Grit (40-60):Removes old finish and shapes wood fast.
- Medium Grit (80-120):Smooths surfaces and removes scratches from coarse grit.
- Fine Grit (150-220):Prepares the surface for finishing and final sanding.

Credit: www.familyhandyman.com
Preparing The Surface
Using a belt sander on large surfaces needs good preparation. Getting the surface ready helps you work safely and get smooth results.
This guide covers three key steps before sanding: cleaning and inspecting the area, securing the workpiece, and marking trouble spots.
Cleaning And Inspecting The Area
Clear the surface of dust, dirt, and debris. A clean surface lets the sander work better and prevents damage.
- Use a brush or vacuum to remove loose dirt
- Wipe the surface with a damp cloth if needed
- Look for nails, screws, or staples sticking out
- Check for cracks or deep scratches
Securing The Workpiece
Fix the wood or material firmly in place. Movement during sanding causes uneven results and can be unsafe.
| Method | Details |
|---|---|
| Clamps | Use C-clamps or bar clamps to hold edges tightly |
| Work Bench | Place the workpiece on a flat, stable surface |
| Non-Slip Pads | Put pads under the workpiece to stop sliding |
Marking Trouble Spots
Identify areas that need extra care. Mark spots with a pencil or tape to sand them carefully.
- Mark dents and deep scratches
- Highlight uneven edges or warped areas
- Note spots with old paint or glue
Safety Precautions
Using a belt sander on large surfaces needs care and attention. Safety rules help prevent accidents and injuries.
Following safety steps makes the work faster and protects your health. Always prepare before starting.
Personal Protective Equipment
Wear proper gear to protect your eyes, ears, and lungs from dust and noise. Safety glasses stop flying debris.
Use ear protection to reduce loud noise. A dust mask or respirator keeps dust from entering your lungs.
- Safety glasses or goggles
- Ear plugs or earmuffs
- Dust mask or respirator
- Work gloves for hand protection
- Close-fitting clothing to avoid loose fabric
Workspace Setup
Prepare your workspace to avoid hazards. Keep the area clean and free of clutter before sanding.
Make sure the surface you are sanding is stable. A secure workspace prevents slips and accidents.
- Clear the floor of tools and debris
- Use good lighting to see the work area
- Keep power cords away from the sanding path
- Secure the material with clamps or a workbench
Handling Dust And Debris
Sanders create a lot of dust that can harm your health and make the area slippery. Control dust properly.
Use a vacuum system or dust bag attached to the sander. Clean the workspace often to reduce dust buildup.
- Connect the sander to a dust collection system
- Wear a mask to protect your lungs
- Vacuum or sweep dust regularly
- Avoid using compressed air to blow dust
Sanding Techniques For Large Surfaces
Using a belt sander on large surfaces can save time and effort. Proper technique is key to getting smooth, even results.
This guide covers important tips to help you sand large areas effectively and avoid common mistakes.
Maintaining Even Pressure
Keep steady pressure on the belt sander to avoid uneven sanding. Pressing too hard can cause dips and marks on the surface.
- Hold the sander firmly but do not push down too much.
- Let the weight of the sander do most of the work.
- Move the sander smoothly to keep pressure consistent.
- Check your work often to catch uneven spots early.
Using Smooth, Controlled Movements
Move the sander in long, even strokes along the grain of the wood. Avoid jerky or fast movements that can scratch or gouge the surface.
Tips for smooth sanding:
- Keep the sander flat on the surface.
- Overlap each pass slightly to avoid missed spots.
- Maintain a steady speed without rushing.
Avoiding Gouges And Uneven Spots
Gouges and uneven spots happen when the sander stays too long in one place or pressure is uneven. Watch for these issues and fix them quickly.
| Cause | Effect | How to Fix |
| Too much pressure | Deep gouges | Lighten grip and sand evenly |
| Sander paused on one spot | Uneven sanding | Keep moving the sander continuously |
| Improper angle | Scratches or rough edges | Hold sander flat and aligned with grain |
Dealing With Common Challenges
Using a belt sander on large surfaces can be tricky. You might face some common problems that affect your work quality.
Knowing how to handle these issues helps you get smooth, even results every time you sand.
Managing Heat Buildup
Heat builds up quickly when sanding large surfaces. This can damage both the belt and your workpiece.
To avoid heat buildup, move the sander steadily and do not stay too long in one spot. Use lighter pressure to keep the belt cool.
- Keep the sander moving at a steady pace
- Use light, even pressure
- Take breaks if the belt feels hot
- Choose the right grit for the job
Preventing Belt Slippage
Belt slippage happens when the sanding belt slips off or moves unevenly. This slows down your work and causes rough patches.
To prevent slippage, check the belt tension regularly. Make sure the belt is installed correctly and is not worn out.
- Inspect belt tension before starting
- Replace belts that show wear or damage
- Align the belt properly on the sander
- Keep the sander clean from dust and debris
Fixing Uneven Sanding
Uneven sanding leaves some areas rough or over-sanded. This spoils the look of your surface.
To fix this, move the sander in smooth, overlapping strokes. Check the surface often and adjust your technique as needed.
- Use steady, overlapping passes
- Do not press too hard on edges
- Sand with the grain of the wood
- Inspect your progress frequently
Finishing Touches
Using a belt sander on large surfaces requires careful finishing. The final steps make the surface smooth and ready for use.
These finishing touches help improve the look and feel of your project. They also prepare the surface for painting or staining.
Switching To Finer Grits
Start sanding with a coarse grit to remove rough areas. Then change to finer grits for a smoother finish.
Finer grits reduce scratches left by rough belts. They create a polished surface that looks clean and even.
- Begin with 60 or 80 grit for heavy sanding
- Move to 120 grit for medium smoothing
- Finish with 180 or 220 grit for a fine surface
Cleaning And Inspecting The Finished Surface
After sanding, clean the surface to remove dust and debris. Use a brush or cloth to wipe it well.
Check the surface for scratches or uneven spots. Fix these areas by sanding lightly with fine grit paper.
- Use a vacuum or brush to clear dust
- Wipe with a damp cloth for fine dust
- Look closely for rough patches or gouges
- Smooth out problem spots with light sanding
Maintaining Your Belt Sander
Keep your belt sander clean and in good shape. Regular care extends its life and keeps it working well.
Check the sanding belts often. Replace worn belts to avoid damage to your work surface.
- Clean dust from the sander after each use
- Inspect belts for tears or wear
- Replace belts when sanding becomes uneven
- Lubricate moving parts as recommended
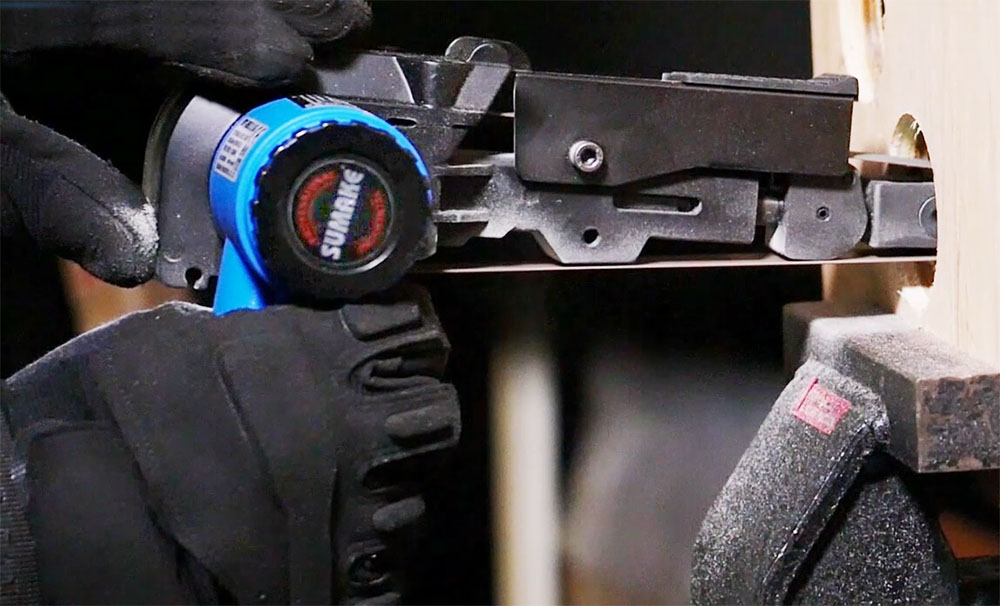
Credit: www.sumake.com
Frequently Asked Questions
What Is The Best Belt Sander For Large Surfaces?
The best belt sander for large surfaces has a wide sanding belt, powerful motor, and variable speed. Look for models with at least 3-4 amps and a belt width of 3-4 inches. This ensures efficiency and smooth sanding over big areas.
How Do You Prepare Large Surfaces For Sanding?
Clean the surface thoroughly to remove dust and debris before sanding. Check for nails or staples that may damage the sander. Use a coarse grit belt initially, then switch to finer grits for a smooth finish on large surfaces.
Can A Belt Sander Damage Large Wooden Surfaces?
Yes, a belt sander can damage surfaces if used improperly. Keep the sander moving steadily to avoid gouges or uneven sanding. Use the right grit and pressure to protect the wood and achieve an even finish.
How Do You Control Dust When Sanding Large Areas?
Use a belt sander with a built-in dust collection system or attach a vacuum. Wear a dust mask and work in a well-ventilated area. Regularly empty dust bags to maintain efficiency during sanding large surfaces.
Conclusion
Mastering the belt sander improves your work on large surfaces. It offers efficiency and smooth results. Practice increases skill and confidence. Always prioritize safety by wearing protective gear. Choose the right sandpaper for your project. This ensures the best finish.
Regularly clean and maintain your sander. This extends its lifespan and performance. Remember, patience is key in sanding. Take your time to achieve the best results. A belt sander is a valuable tool for any DIY enthusiast. With it, tackle large projects with ease and precision.