
Ever tried hanging a picture or installing a shelf on an uneven wall, only to find it looking lopsided? Frustrating, isn’t it?
That’s where a spirit level becomes your best friend. But using it on uneven surfaces can be tricky. In this guide, you’ll discover how to master the art of leveling on any surface. Imagine the satisfaction of stepping back and admiring perfectly aligned decor or a flawlessly installed shelf.
With the right tips and tricks, you’ll transform your DIY projects from frustrating to fabulous. Ready to unlock the secrets to precision? Let’s dive in and get your projects on the level.
Choosing The Right Spirit Level
Using a spirit level on uneven surfaces can be tricky. Picking the right tool helps you get accurate results.
Different spirit levels suit different jobs. Knowing their types and features makes your work easier.
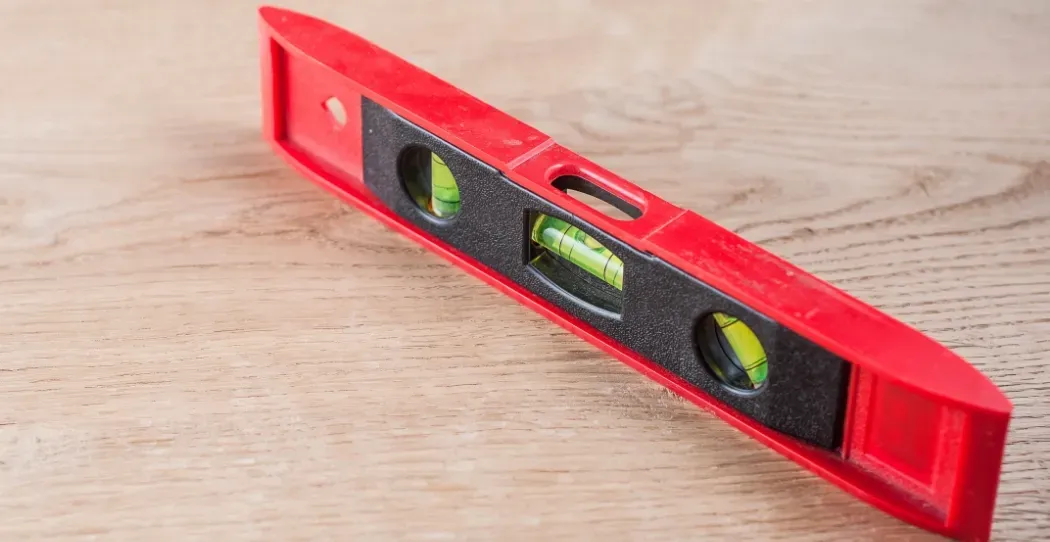
Types Of Spirit Levels
Spirit levels come in many forms. Each type fits specific tasks and surfaces.
- Box Level:Sturdy and easy to hold, good for general use.
- Torpedo Level:Small and compact, fits tight spaces well.
- Carpenter’s Level:Longer and heavier, ideal for large surfaces.
- Line Level:Used with a string to check long distances.
- Digital Level:Shows readings on a screen for precise work.
Features For Uneven Surfaces
Some spirit levels have special features that help on uneven surfaces. These features improve accuracy and ease of use.
- Multiple Vials:Helps check both horizontal and vertical levels.
- Adjustable Vials:Can be set for different angles on uneven ground.
- Flexible Body:Bends slightly to match curved or uneven surfaces.
- Magnetic Base:Sticks to metal surfaces for steady measuring.
- Shock-Resistant Frame:Protects the level from drops and rough handling.
Credit: www.woodcocks.us
Preparing The Surface
Using a spirit level on uneven surfaces needs good preparation. Preparing the surface helps get accurate readings and better results.
Cleaning and clearing the surface makes it easier to spot problem areas and place the spirit level correctly.
Cleaning And Clearing Debris
Remove dirt, dust, leaves, and other debris before using a spirit level. Debris can block the level from sitting flat and give wrong readings.
- Sweep the area with a broom or brush.
- Use a damp cloth to wipe off dust and dirt.
- Clear away any stones or loose materials.
- Check for wet or slippery spots and dry them if needed.
Identifying Uneven Areas
Find the uneven parts of the surface before placing the spirit level. This helps you adjust or support the level properly.
| Surface Area | Signs of Unevenness |
| Wooden Deck | Gaps, warping, or loose boards |
| Concrete Floor | Cracks, dips, or raised spots |
| Soil or Ground | Soft spots, bumps, or holes |
| Tile or Stone | Broken tiles or uneven joints |
Positioning The Spirit Level
Using a spirit level on uneven surfaces can be tricky. Proper positioning helps get an accurate reading.
Place the spirit level carefully to avoid errors caused by bumps or dips in the surface.
Aligning On Irregular Spots
Find the flattest part of the uneven surface to place the spirit level. This spot gives the best balance.
If the surface is very rough, adjust the level slightly until the bubble stays steady. Avoid spots that tilt the level.
Using Multiple Contact Points
Support the spirit level at more than two points on the surface. This helps keep it stable and gives a true reading.
- Use small shims or pieces of wood to fill gaps
- Make sure the level touches the surface evenly at each point
- Check the bubble position after adjusting contact points

Credit: elecart.in
Reading The Bubble Accurately
Using a spirit level on uneven surfaces needs careful reading. The bubble shows if the surface is level or slanted.
Understanding how to read the bubble position helps you get precise results. This guide explains how to interpret the bubble and adjust for surface changes.
Interpreting Bubble Position
The bubble sits inside a liquid-filled vial. When the bubble is centered, the surface is level. If it moves left or right, the surface tilts in that direction.
- Look at the bubble carefully between the two marked lines.
- If the bubble touches both lines, the surface is perfectly level.
- If the bubble is closer to one line, note which side it leans toward.
- Small shifts can mean the surface is slightly uneven.
Adjusting For Surface Variations
Uneven surfaces need adjustments to get an accurate reading. You may need to reposition the level or use support to balance it.
| Adjustment Method | Purpose | How to Do It |
| Reposition Level | Find more stable spot | Move the level slightly and read bubble again |
| Use Shims | Lift low points | Place thin pieces under level ends |
| Check Multiple Points | Confirm evenness | Read bubble at several spots on surface |
Techniques For Leveling On Uneven Ground
Using a spirit level on uneven ground can be tricky. The surface may cause the level to give wrong readings.
There are ways to adjust and get accurate results. This guide explains simple techniques to help you level objects on uneven ground.
Using Shims And Wedges
Shims and wedges are thin pieces of material. They fill gaps under the object or spirit level.
Place shims under the low side until the bubble centers. This makes the surface appear even to the level.
- Use wood, plastic, or metal shims
- Insert wedges carefully to avoid slipping
- Check the bubble position after each adjustment
Combining With Other Tools
Other tools help improve leveling on uneven ground. A laser level or a carpenter’s square can add accuracy.
Use a laser level to project a straight line. A carpenter’s square helps check right angles before leveling.
- Laser levels show a horizontal or vertical reference line
- Carpenter’s square ensures corners are square
- Combine tools to double-check your work
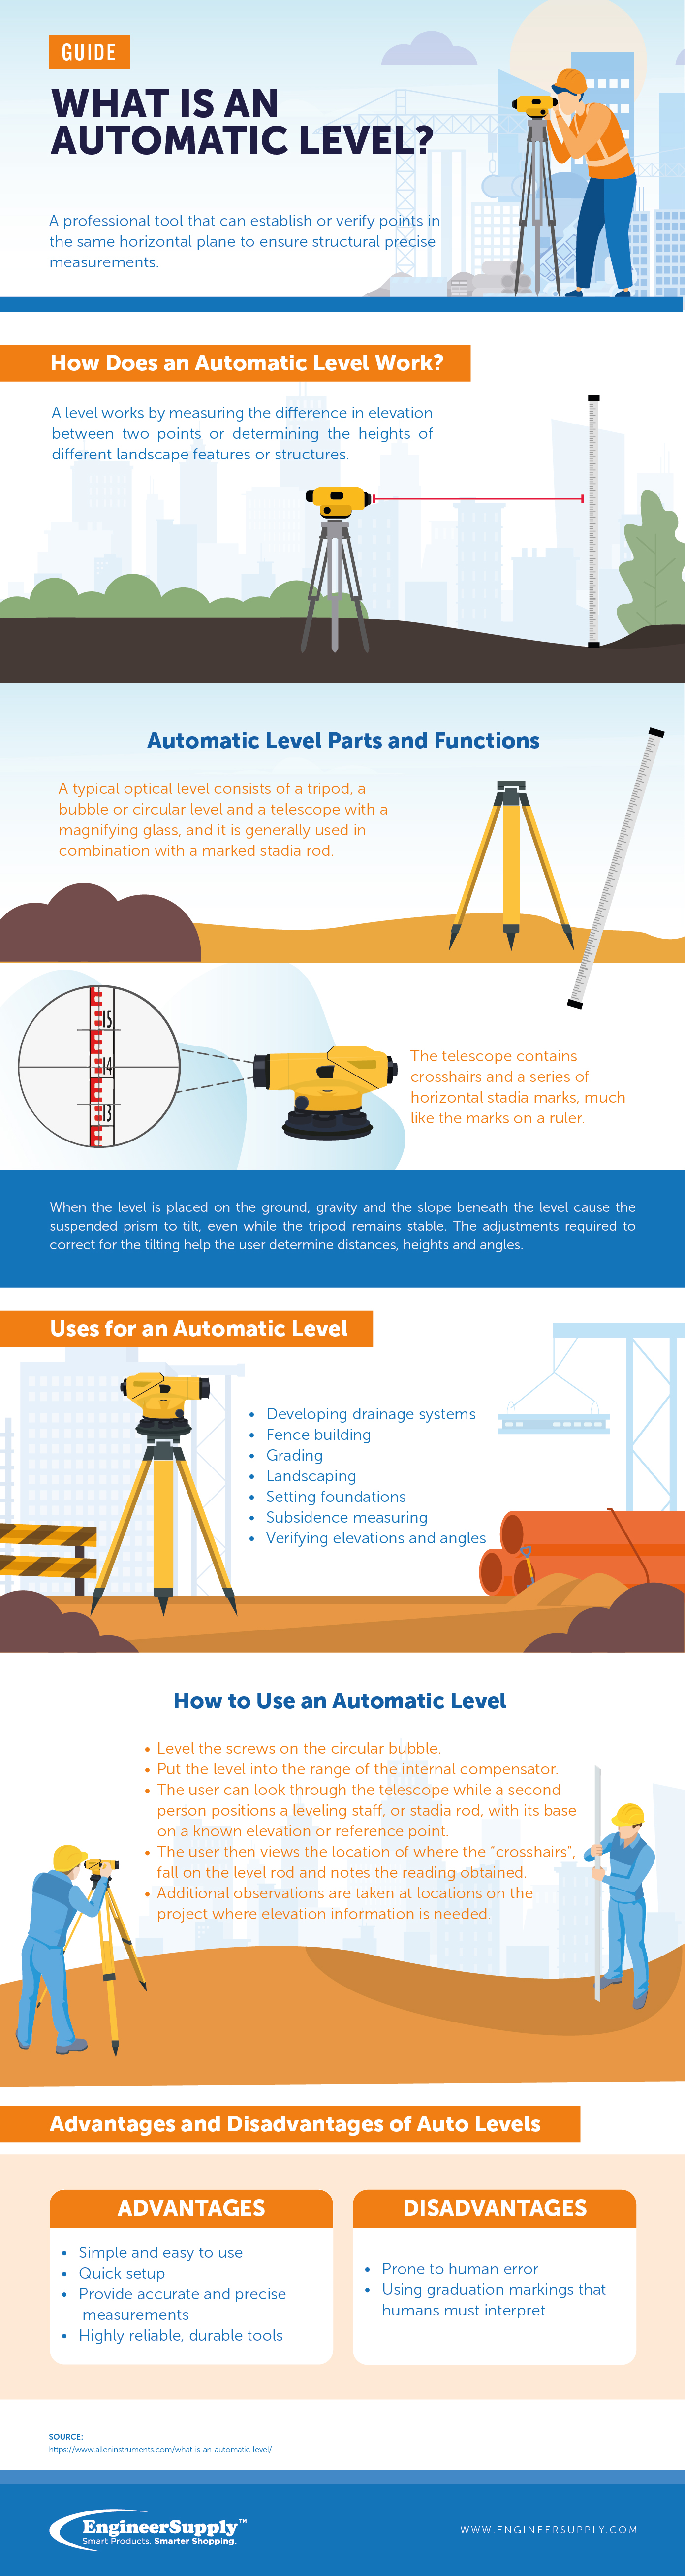
Credit: www.engineersupply.com
Maintaining And Calibrating Your Spirit Level
Keeping your spirit level accurate is important for good results. Regular care helps the tool last longer.
Checking and adjusting your spirit level keeps it reliable on uneven surfaces.
Routine Checks
Inspect your spirit level often to find any damage or wear. Clean it after use to remove dirt.
Look for cracks in the vial and make sure the bubble moves freely. Check the frame for bends or dents.
- Wipe the surface with a soft cloth
- Check the bubble vial for damage
- Ensure the frame is straight and solid
- Store the level flat and safe
Calibration Methods
Calibration keeps your spirit level accurate. Test it on a flat surface and adjust if needed.
Flip the level 180 degrees on the same spot. The bubble should stay in the same position. If not, adjust the vial or mark the error.
- Place the level on a flat surface and note bubble position
- Turn the level end to end
- Compare bubble positions
- Adjust the vial or record the difference
Common Mistakes To Avoid
Using a spirit level on uneven surfaces can be tricky. Many users make errors that affect accuracy. Avoiding these mistakes helps get the best results.
Read the level carefully and pay attention to the surface. Small errors can cause big problems in your project.
Misreading The Level
One common mistake is not reading the bubble correctly. The bubble should be centered between the lines for a true level. Do not guess or assume the position.
- Check the bubble from eye level to avoid angle errors.
- Make sure the spirit level is clean and free from damage.
- Use a level with clear markings for better visibility.
- Hold the level steady until the bubble stops moving.
- Double-check your reading before marking or fixing.
Ignoring Surface Irregularities
Uneven surfaces can cause false readings. Ignoring bumps or dips will affect the accuracy of your work. Always check the surface before using the spirit level.
| Surface Type | What to Do |
| Rough or bumpy | Place a flat board under the level for support |
| Sloping or curved | Take multiple readings at different points |
| Soft or unstable | Use a rigid base or stabilize the surface first |
| Dirty or dusty | Clean the surface to avoid slipping |
Frequently Asked Questions
How Do You Use A Spirit Level On Uneven Surfaces?
Place the spirit level on the surface and adjust it until the bubble centers. Use shims or wedges to level the surface gradually.
What Tools Help Level Uneven Floors With A Spirit Level?
Use shims, wedges, or adjustable supports alongside the spirit level. These tools help create a flat, even surface for accurate readings.
Can A Spirit Level Measure Slopes On Uneven Ground?
Yes, a spirit level can measure slopes by reading bubble position. Use slope markings or an inclinometer attachment for precise angle measurements.
How To Maintain Accuracy When Using A Spirit Level Outdoors?
Ensure the spirit level is clean and free from debris. Avoid placing it on loose materials and check calibration regularly for consistent results.
Conclusion
Using a spirit level on uneven surfaces is simple with the right steps. Always place the level carefully and check the bubble closely. Small adjustments help achieve accurate results. Practice makes the process easier and quicker. Keep your tools clean for best performance.
This guide helps you work with confidence and precision. Try these tips on your next project. You will see better, more even results every time.