
Are you tired of loose wires and weak electrical connections that just won’t hold? Knowing how to solder electrical connections properly can change the way you handle repairs and projects forever.
Imagine creating strong, lasting bonds that ensure your devices work flawlessly every time. This guide will give you clear, simple steps to master soldering, even if you’ve never tried it before. Stick with me, and by the end, you’ll have the confidence to tackle your own electrical fixes with ease and precision.
Ready to make your connections stronger than ever? Let’s dive in.

Credit: www.familyhandyman.com
Essential Tools And Materials
Soldering electrical connections needs the right tools and materials. These help create strong and safe joints.
This guide covers the main tools and supplies you need to start soldering well.
Types Of Soldering Irons
Soldering irons come in many types. Each type suits different projects and skill levels.
Here are common soldering irons used for electrical work.
- Basic Soldering Iron:Simple and affordable. Good for light tasks.
- Temperature-Controlled Iron:Lets you set exact heat. Ideal for sensitive parts.
- Soldering Station:Includes iron and base with controls. Best for frequent use.
- Butane Soldering Iron:Portable and cordless. Useful for outdoor or mobile work.
Choosing The Right Solder
Solder is a metal alloy used to join wires and components. Picking the right solder is important.
Here are key points to consider when choosing solder for electrical connections.
- Lead-Free Solder:Safer and eco-friendly. Usually made of tin, copper, and silver.
- Lead-Based Solder:Easier to melt and flow. Contains lead, so use with care.
- Diameter:Thin solder (around 0.7mm) works best for small electronics.
- Flux Core:Built-in flux helps clean surfaces and improve bonding.
Additional Supplies Needed
Besides iron and solder, other supplies make soldering easier and safer.
These items help prepare, clean, and protect your work area.
- Soldering Stand:Holds the hot iron safely when not in use.
- Wire Cutters:Cut excess wire and trim leads neatly.
- Desoldering Pump or Wick:Removes unwanted solder from joints.
- Safety Glasses:Protect your eyes from solder splashes.
- Heat-Resistant Mat:Protects your work surface from heat damage.
- Flux:Cleans metal surfaces to help solder flow better.
- Small Brush or Cloth:For cleaning parts before soldering.

Credit: avcsstechworld.com
Preparing For Soldering
Good preparation is key to strong and safe solder joints. Taking time to prepare helps you avoid mistakes.
This guide focuses on three important steps before soldering: cleaning parts, securing workpieces, and setting up a safe workspace.
Cleaning Electrical Components
Dirty parts make poor solder connections. Remove dust, grease, and oxidation from wires and circuit boards.
Use a small brush or cloth with rubbing alcohol or a special cleaner made for electronics.
- Wipe parts gently to avoid damage
- Remove all old solder if reworking
- Allow parts to dry before soldering
Securing Workpieces
Hold wires and components steady while soldering. Movement can cause weak joints or shorts.
Use helping hands, clamps, or a vise to keep parts in place.
- Position parts so solder flows evenly
- Keep soldering iron tip steady
- Adjust clamps for a clear view
Setting Up A Safe Workspace
Safety comes first. Arrange your area to avoid burns, fire, and breathing harmful fumes.
Work in a well-ventilated space and use a heat-resistant mat to protect surfaces.
- Keep flammable materials away
- Wear safety glasses and gloves
- Have a fire extinguisher nearby
- Turn off soldering iron when not in use
Soldering Techniques
Soldering electrical connections is a skill that needs practice. Using the right techniques makes strong and safe joints.
Good soldering helps parts last longer and work better. Focus on three key steps for best results.
Tinning The Tip
Tinning the tip means coating the soldering iron tip with a thin layer of solder. This helps heat transfer better.
Always tin the tip before and after use. It stops the tip from rusting and makes solder flow easier.
- Heat the iron until hot
- Apply solder to the tip
- Spread solder evenly over the tip surface
- Wipe the tip on a damp sponge to remove excess
Heating The Joint Properly
Heat the parts you want to join, not just the solder. Both parts must be hot enough to melt solder.
Hold the iron tip on the joint for a few seconds. This ensures the connection is strong and reliable.
- Place the iron tip on the wire and pad
- Wait 2-3 seconds to heat both parts
- Remove the iron when solder flows smoothly
Applying Solder Correctly
Apply solder to the heated joint, not the iron tip. The solder should flow around the connection evenly.
A good solder joint looks shiny and smooth. Avoid cold joints that look dull or grainy.
- Touch solder to the joint, not the iron
- Let solder melt and cover the joint fully
- Remove solder first, then iron
- Let joint cool without moving parts
Common Soldering Challenges
Soldering electrical connections can be tricky. Many beginners face issues that affect the quality of their work.
This guide explains common challenges and how to avoid or fix them for better solder joints.
Avoiding Cold Joints
Cold joints happen when the solder does not melt fully or does not flow well. They cause weak connections that fail easily.
- Use a clean, hot soldering iron
- Heat the parts, not just the solder
- Apply solder only after parts are hot enough
- Avoid moving parts while solder cools
Preventing Overheating
Overheating can damage components and circuit boards. It happens if the soldering iron stays too long on one spot.
| Cause | Effect | Tip |
| Too hot iron | Burned parts | Use correct temperature (around 350°C) |
| Long contact time | Damaged pads or parts | Work quickly and efficiently |
| Excessive solder | Messy joints | Use just enough solder |
Fixing Solder Bridges
Solder bridges occur when solder connects two points that should be separate. This causes short circuits.
To fix solder bridges:
- Heat the bridge with the soldering iron
- Use desoldering braid to soak up excess solder
- Or remove solder carefully with a solder sucker
- Inspect the joint to ensure no metal connects wrongly
Advanced Tips For Better Connections
Soldering is key for strong electrical connections. Good technique helps prevent weak joints.
These tips focus on improving your soldering skills for cleaner, more reliable results.
Using Flux For Improved Flow
Flux cleans the metal surfaces before soldering. It helps solder flow smoothly and stick better.
Use the right amount of flux. Too much can cause buildup, too little reduces effectiveness.
- Apply flux to wires and pads before heating
- Choose rosin-based flux for most electronics
- Clean excess flux after soldering with isopropyl alcohol
Working With Different Wire Types
Wire materials affect soldering quality. Copper wires are easiest to solder.
Stranded wires need careful tinning before joining. Avoid overheating thin wires.
- Strip insulation carefully to avoid wire damage
- Tin stranded wire ends to keep strands together
- Use appropriate soldering iron tip size for wire thickness
Soldering Surface Mount Devices
Surface mount devices (SMDs) are small and need precise soldering. Use a fine tip iron.
Work in a well-lit area and hold parts steady with tweezers. Heat pads and leads evenly.
- Apply a small amount of solder to one pad first
- Place the device on the tack-soldered pad
- Heat the other pads and add solder carefully
- Check for bridges and fix with solder wick if needed
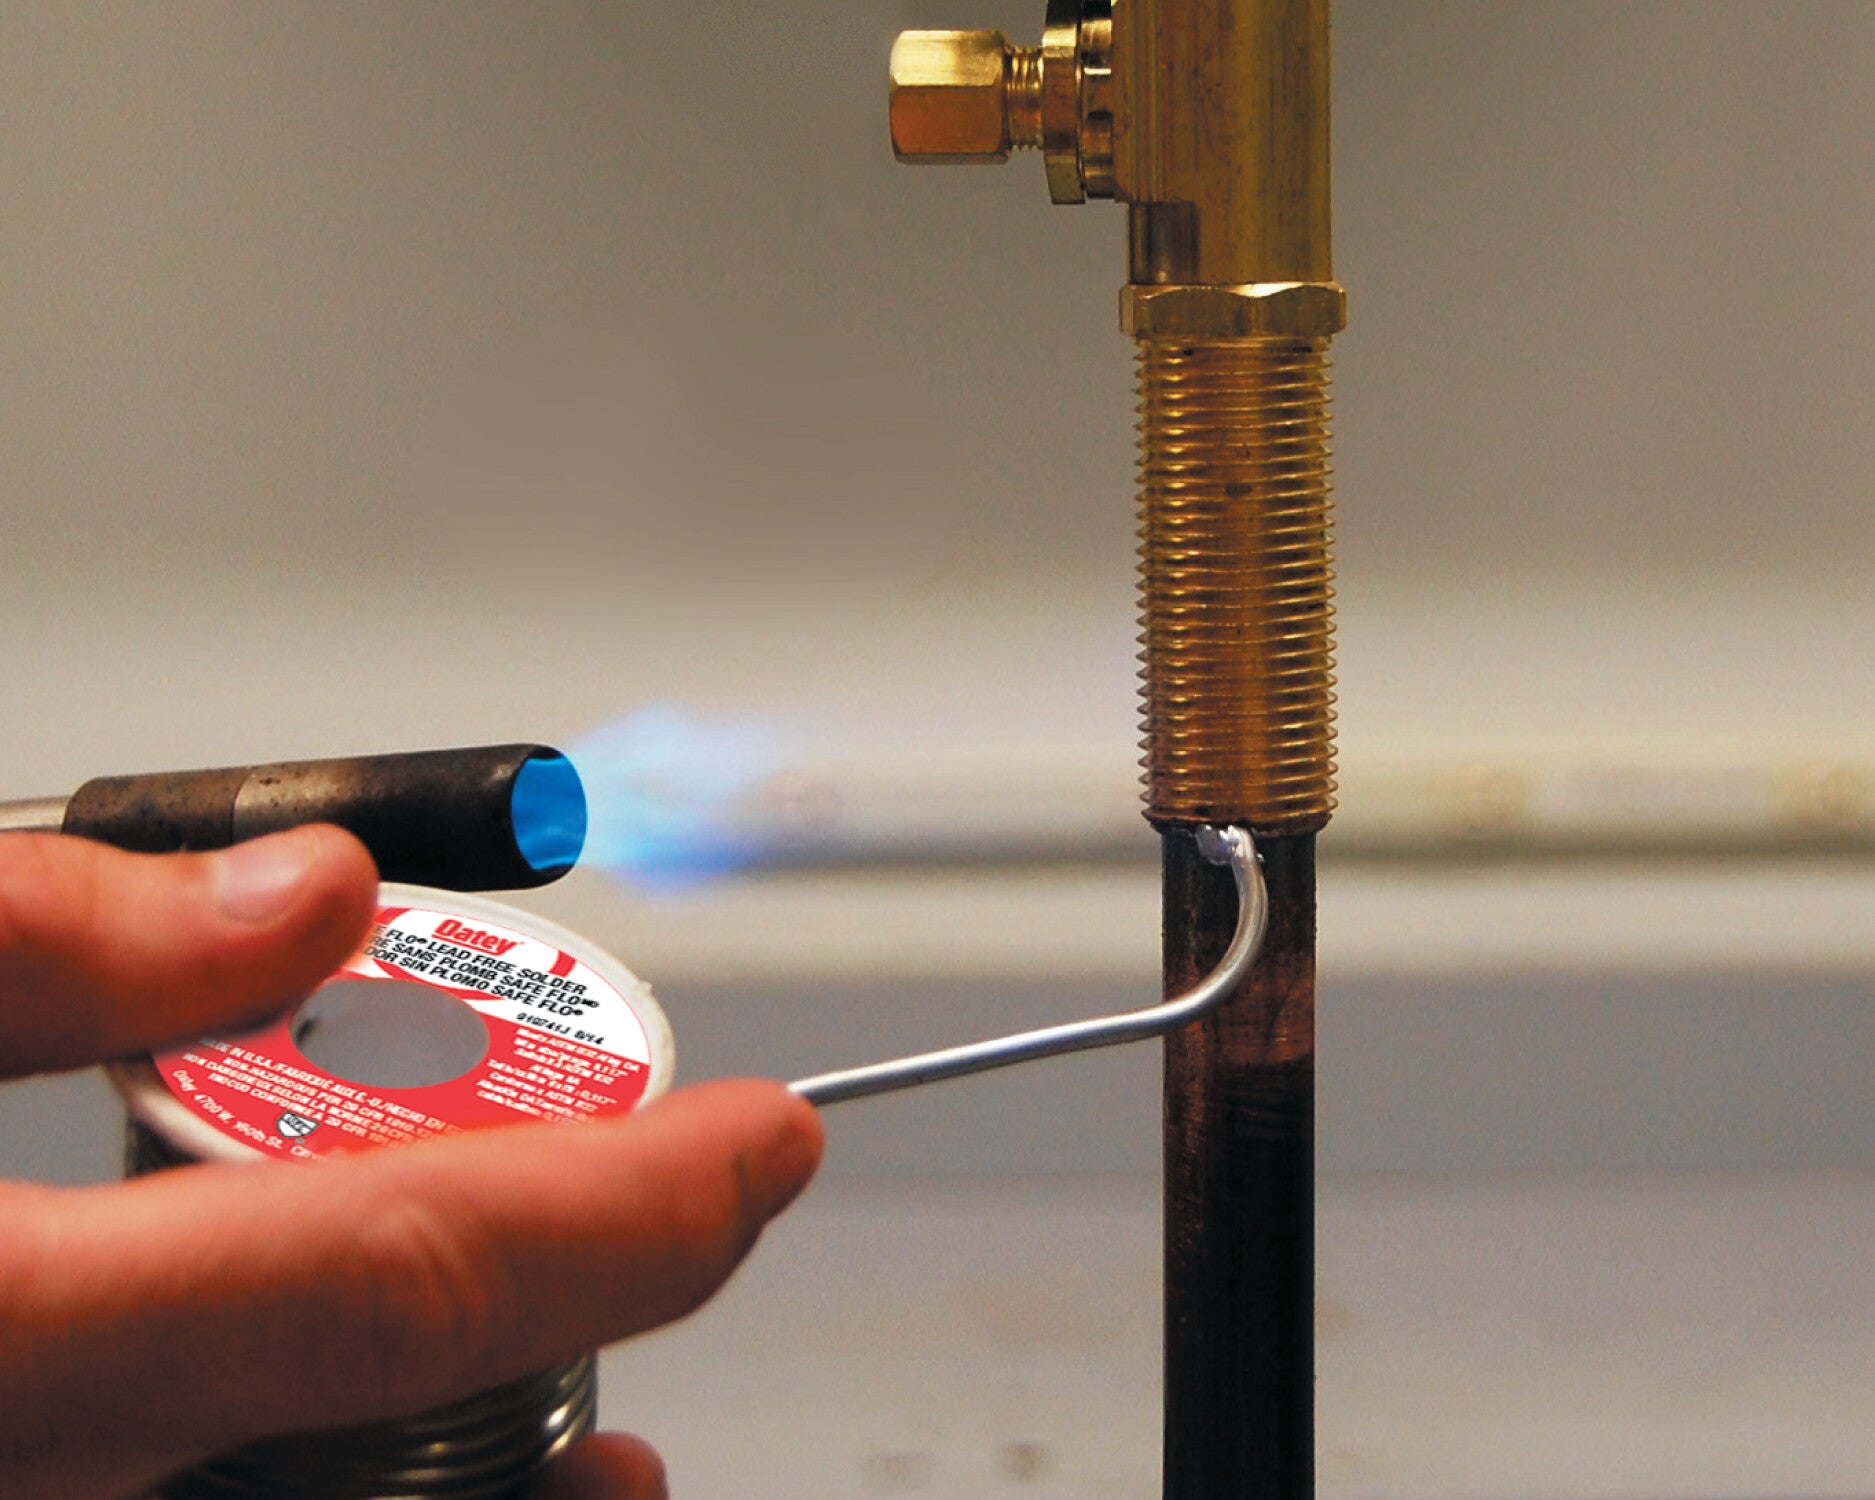
Credit: www.oatey.com
Safety Practices
Soldering electrical connections needs care and attention. Safety is very important to avoid injuries. Following safety rules protects you and others.
This guide covers key safety steps for soldering. Learn how to protect from burns, handle fumes well, and keep tools in good shape.
Protecting Yourself From Burns
Soldering irons get very hot. Burns can happen fast if you touch the tip or melted solder. Always be careful with the tool.
- Wear heat-resistant gloves to protect your hands.
- Keep the soldering iron on its stand when not in use.
- Do not touch the metal parts of the iron.
- Work in a well-lit area to see clearly.
- Allow the solder to cool before handling wires.
Handling Fumes And Ventilation
Soldering creates fumes that can irritate your eyes and lungs. Good air flow lowers health risks and keeps you safe.
| Fume Source | Risk | Safety Tip |
| Flux Smoke | Eye and lung irritation | Use a fan or fume extractor |
| Lead Fumes | Toxic if inhaled | Wear a mask and work in ventilated space |
| Burned Insulation | Harmful gases | Keep heat low and avoid overheating wires |
Proper Tool Maintenance
Keeping your soldering tools clean and working well improves safety. Faulty tools can cause accidents or poor solder joints.
- Clean the soldering iron tip regularly with a wet sponge.
- Check cords for damage before each use.
- Replace worn or broken parts quickly.
- Store tools in a dry place to avoid rust.
- Turn off tools when not in use to prevent overheating.
Frequently Asked Questions
What Tools Are Essential For Soldering Electrical Connections?
Essential tools include a soldering iron, solder wire, flux, wire cutters, and a helping hand tool. These ensure precise and safe soldering.
How Do I Prepare Wires Before Soldering?
Strip insulation from wire ends, clean them with isopropyl alcohol, and twist strands tightly. Proper prep ensures strong connections.
What Safety Precautions Should I Follow While Soldering?
Work in a well-ventilated area, wear safety glasses, avoid inhaling fumes, and keep flammable materials away. Safety prevents accidents and health risks.
How Can I Avoid Cold Solder Joints?
Heat the connection evenly and apply solder smoothly. Cold joints occur due to insufficient heat or poor technique.
Conclusion
Soldering electrical connections can seem tricky. But practice makes it easier. Start with basic tools and materials. Safety first: always wear protective gear. Clean connections ensure strong bonds. Heat your soldering iron properly. This avoids damaging components. Remember, patience is key.
Take your time to learn. Mistakes can happen, but that’s okay. Each soldering project builds your skills. Soon, you’ll be more confident. With these tips, better connections await. Happy soldering!
