Are you ready to take your metalworking skills to the next level? Knowing how to mark metal correctly before drilling or cutting is the key to getting precise, clean results every time.
If your marks are off even by a little, you risk ruining your project and wasting valuable materials. But don’t worry—this guide will show you simple, effective ways to mark metal so you can work confidently and avoid costly mistakes.
Keep reading, and you’ll discover easy tips that make your metal cutting and drilling tasks smoother and more accurate than ever before.
Choosing The Right Marking Tools
Marking metal correctly is important for drilling and cutting. Using the right tool helps make precise lines. This guide helps you pick the best marking tools for your metal projects.
Different metals need different marking methods. Choosing the correct tool depends on metal type and whether you want the mark to stay or be removed later.
Types Of Marking Instruments
Many tools can mark metal surfaces. Some are simple, and some are made for specific metals. Common types include scribers, markers, and punches.
- Scribers:Use a sharp point to scratch thin lines on metal.
- Permanent markers:Use ink to leave clear marks that resist fading.
- Soapstone pencils:Good for rough metals; marks wipe off easily.
- Center punches:Create small dents to guide drill bits.
- Chalk sticks:Work well on dark metals but may smudge.
Selecting Tools Based On Metal Type
Soft metals like aluminum need gentle tools like soapstone or markers. Hard metals like steel require scribers or punches for clear marks.
| Metal Type | Recommended Marking Tools | Notes |
| Aluminum | Soapstone pencils, permanent markers | Marks easy to remove |
| Steel | Scribers, center punches | Scratch marks stay well |
| Stainless steel | Permanent marker, scriber | Use oil-based markers for visibility |
| Copper | Soapstone, scribers | Marks may fade quickly |
Advantages Of Permanent Vs Temporary Marks
Permanent marks last through cutting and drilling. Temporary marks wipe off or fade with cleaning. Choose based on your project needs.
- Permanent marks:Ideal for long jobs or rough handling.
- Temporary marks:Best for quick jobs or when metal must stay clean.
- Permanent marks:Can resist oil, water, and heat.
- Temporary marks:Easy to remove without damaging metal.
Preparing Metal Surface
Marking metal before drilling or cutting is important for precise work. Preparing the metal surface helps the marks stay clear and accurate.
Good preparation makes the job easier and reduces mistakes during cutting or drilling. Clean and smooth surfaces improve the visibility of your marks.
Cleaning Techniques
Clean metal surfaces remove dirt, oil, and rust that hide marks. Use simple cleaning tools and solutions to prepare the metal well.
Wiping with a cloth and using a cleaner gives the best results. Avoid leaving any residue that can blur your marks.
- Use a degreaser or soapy water for grease and oil
- Scrub rust spots with a wire brush or sandpaper
- Dry the metal fully to stop rust from forming
Smoothing Rough Areas
Rough metal can make marks unclear or uneven. Smooth rough spots to get a flat surface for marking.
Use sandpaper or a file to even out bumps and sharp edges before marking. This helps your tools work better.
- Start with coarse sandpaper to remove large rough spots
- Finish with fine sandpaper for a smooth surface
- Check the surface by running your hand over it carefully
Ensuring Accurate Mark Visibility
Clear marks make drilling and cutting easier and safer. Use tools and materials that show well on metal.
Choose bright or contrasting markers and check your marks before starting work. Good lighting also helps see marks clearly.
- Use a metal scribe or permanent marker for sharp, visible lines
- Try chalk or white pencil on dark metals for contrast
- Keep the metal dry to avoid smudging marks
- Work under a good light source or use a flashlight
Marking Techniques For Drilling
Marking metal correctly is important before drilling. It helps you drill in the right place and avoid mistakes. Good marking makes your work neat and accurate.
This guide covers three main marking methods for metal: center punch methods, scribes and marking pens, and common mistakes to avoid.
Center Punch Methods
The center punch makes a small dent where you want to drill. This dent stops the drill bit from slipping. You use a hammer to tap the punch and mark the metal.
- Place the punch tip at the drilling spot.
- Hold the punch steady and straight.
- Tap the punch gently with a hammer.
- Check the dent before drilling.
Using Scribes And Marking Pens
Scribes and marking pens help draw clear lines on metal. A scribe uses a sharp tip to scratch the metal surface. Marking pens use ink for a visible line.
| Tool | Use | Best For |
| Scribe | Scratch thin lines | Steel and aluminum |
| Marking Pen | Draw thick lines | Dark or rough metal |
Avoiding Common Marking Mistakes
Wrong marking can cause errors in drilling. Avoid these common mistakes to get good results.
- Do not mark on dirty or oily metal.
- Do not use too much force when punching.
- Avoid making marks too close together.
- Do not rely on fading ink marks for drilling.
- Always double-check your measurements.
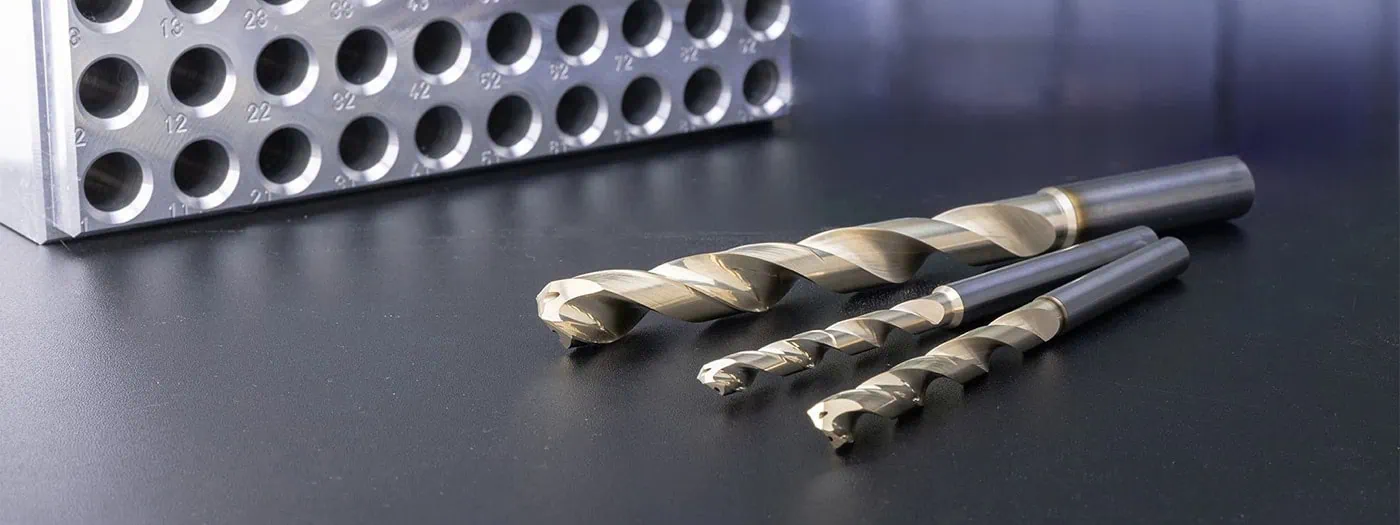
Credit: www.harveyperformance.com
Marking Strategies For Cutting
Marking metal accurately is key to clean cuts. It helps avoid mistakes and saves material.
Different shapes need different marking methods. Use the right strategy for each cut type.
Straight Line Marking
Mark straight lines using a ruler or metal straightedge. Ensure the tool stays steady for accuracy.
- Clean the metal surface before marking.
- Use a fine tip marker or scribe for clear lines.
- Hold the straightedge firmly to avoid slipping.
- Double-check measurements before marking.
Using Templates And Guides
Templates help mark repeated shapes quickly. Use guides to keep cuts consistent across pieces.
| Template Type | Best Use | Material |
| Metal Template | Heavy use, precise cuts | Steel or aluminum |
| Cardboard Template | One-time or few uses | Thick cardboard |
| Plastic Template | Flexible shapes, reusable | Polycarbonate or acrylic |
Marking Curves And Complex Shapes
Use flexible rulers or compasses for curves. Trace carefully to keep smooth lines.
Tips for curves and complex shapes:
- Draw the shape on paper first.
- Use carbon paper to transfer shapes onto metal.
- Check curves with a contour gauge.
- Mark lightly and darken once satisfied.
Safety Tips During Marking
Marking metal before drilling or cutting needs care to stay safe. Following safety tips helps prevent accidents and injuries.
Use the right tools and protect yourself well. Keep your work area organized and clean for better safety.
Protective Gear Recommendations
Wear protective gear to protect your body from metal scraps and sharp tools. Safety glasses keep your eyes safe from flying particles.
Gloves protect your hands from cuts and burns. Use sturdy gloves that fit well but still let you handle tools easily.
- Safety glasses or goggles
- Cut-resistant gloves
- Long-sleeve shirts and pants
- Closed-toe shoes
Handling Sharp Tools Safely
Always hold sharp tools carefully to avoid slips and cuts. Use tools with comfortable grips to control them better.
Keep blades and tips sharp for clean marks. Dull tools can slip and cause injuries. Store tools safely when not in use.
- Hold tools firmly and steadily
- Use sharp and well-maintained tools
- Store tools in a safe place
- Cut away from your body
Maintaining A Clean Work Area
Keep your workspace free from clutter to avoid accidents. A clean area helps you focus and find tools easily.
Remove metal scraps and dust after marking. Clean floors and surfaces reduce slipping and tripping hazards.
- Clear tools and materials after use
- Sweep metal dust and scraps regularly
- Keep floors dry and clean
- Organize tools for quick access

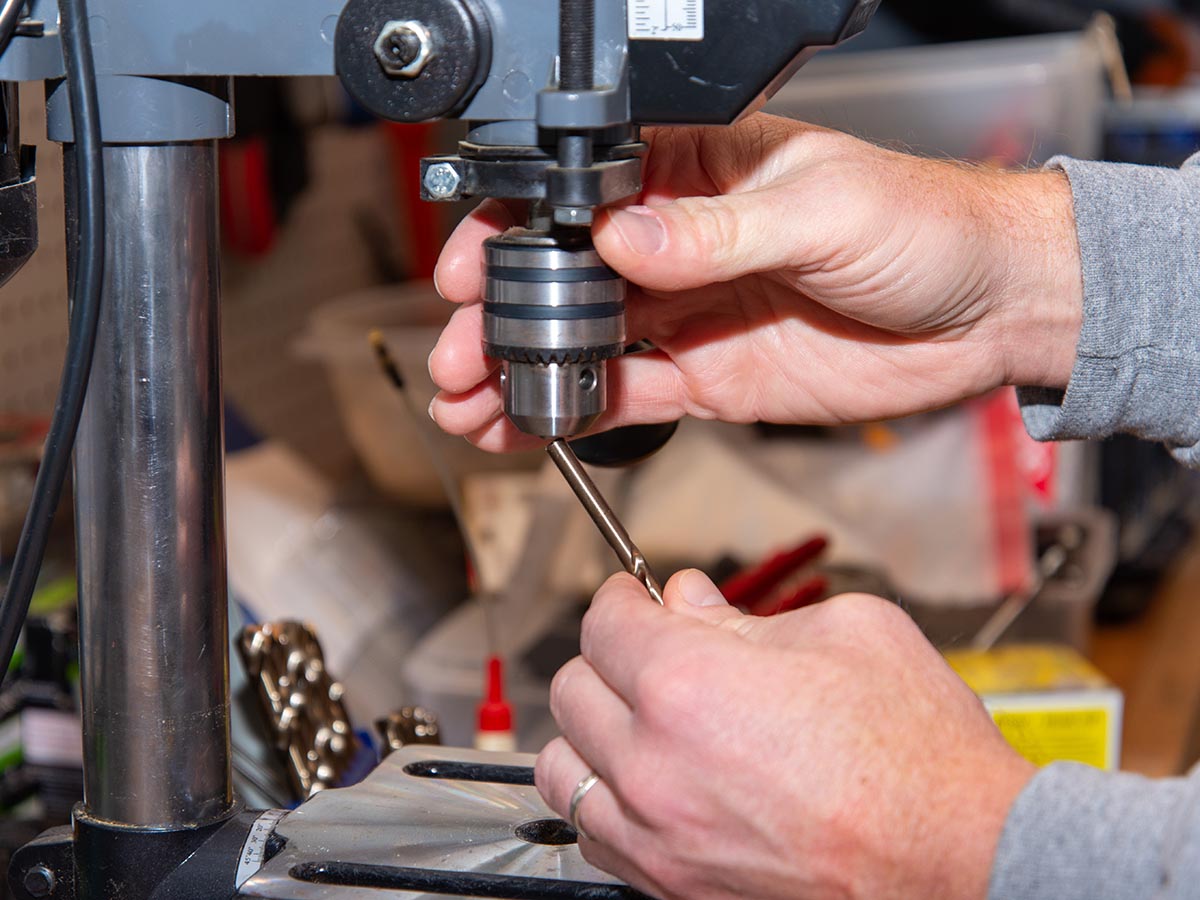
Credit: www.abmtools.com
Maintaining Accuracy Throughout The Process
Marking metal for drilling and cutting requires careful attention. Accurate marks ensure the final work matches your plans. Mistakes can waste materials and time.
Use the right tools and methods to keep your marks precise. This guide covers key tips to keep your measurements exact from start to finish.
Double-checking Measurements
Always measure twice before marking metal. This reduces errors and helps catch any mistakes early. Use a clean surface and good lighting to see clearly.
- Measure the distance needed with a ruler or tape.
- Mark lightly with a pencil or scribe.
- Check the measurement again using a second tool if possible.
- Confirm the mark is in the right place before cutting or drilling.
Using Calipers And Rulers Effectively
Calipers and rulers help measure metal parts with precision. Choose the right tool for the measurement size and type. Use steady hands and read the scales carefully.
| Tool | Best Use | Tips |
| Calipers | Inside and outside diameters, depths | Zero before measuring; hold firmly |
| Steel Ruler | Straight edges, short distances | Keep flat; avoid bending |
| Tape Measure | Longer lengths | Pull tight; use locking feature |
Preventing Mark Smudging
Marks can blur or disappear during work. Protect them to keep accuracy. Use the right marking tools and cover marks if needed.
- Use fine-tip scribes for metal marking instead of pencils.
- Avoid touching the marked surface with oily or dirty hands.
- Apply masking tape over marks for protection during cutting.
- Recheck and refresh marks if they start to fade.
Credit: www.bobvila.com
Frequently Asked Questions
What Tools Are Best For Marking Metal Accurately?
Use permanent markers, scribing tools, or center punches for precise metal marking. These tools help create clear, visible lines for drilling or cutting.
How To Prepare Metal Surface Before Marking?
Clean the metal surface with a degreaser or alcohol. Remove dirt and oil to ensure accurate and lasting marks.
Can I Use A Pencil To Mark Metal?
No, pencils usually don’t show well on metal. Use specialized markers or scribing tools for better visibility.
How To Ensure Marks Don’t Fade During Cutting?
Use permanent markers or scribe deep lines. Applying tape before marking can also protect the marks from fading.
Conclusion
Marking metal carefully makes drilling and cutting easier and safer. Use clear, visible marks to guide your tools. Choose the right marking tools for the metal type. Take your time to measure and mark accurately. Mistakes can waste material and cause problems.
Practice these steps to improve your results. Accurate marking saves time and effort in your projects. Keep your workspace clean and organized for better focus. With patience and care, you can achieve neat, precise cuts and holes every time.