Are your sanding blocks scattered around your workspace, making it difficult to find the right one when you need it? You’re not alone.
Keeping your tools organized can be a real challenge, especially when you’re juggling multiple projects. But here’s the good news: with a few clever storage tips, you can transform your chaotic workbench into a streamlined, efficient space. Imagine the satisfaction of knowing exactly where each sanding block is and the time you’ll save during your projects.
Stick around, and you’ll discover simple yet effective ways to store your sanding blocks that could revolutionize your workflow and boost your productivity. Curious? Let’s dive into the details!
Choosing The Right Storage Spot
Storing sanding blocks correctly keeps them useful for a long time. The right spot protects them from damage and wear.
Pick a place that keeps your sanding blocks dry and safe. This helps keep their shape and sanding surface strong.
Avoiding Moisture And Humidity
Moisture and humidity can ruin sanding blocks. Wet blocks lose their grip and may break down faster.
Store sanding blocks in a dry area to stop mold and damage. Use airtight containers if you can.
- Choose a dry room or cabinet
- Use sealed plastic boxes or bags
- Keep away from damp floors and walls
- Check your storage spot regularly for moisture
Keeping Away From Direct Sunlight
Sunlight can harm sanding blocks by drying and cracking them. UV rays break down the block’s material.
Store blocks in shaded or dark spots. Avoid windows or places where sunlight hits directly.
- Use covered bins or drawers
- Keep blocks inside toolboxes or shelves
- Close curtains or blinds near storage
- Place blocks in rooms without direct sun exposure
Cleaning Before Storing
Cleaning sanding blocks before storing keeps them in good shape. It helps them last longer and work better next time.
Removing dust and debris is the first step. Use the right tools to clean without damaging the sanding surface.
Removing Dust And Debris
Dust and debris can clog sanding blocks. Clean them after every use to keep the grit clear and effective.
- Tap the block gently to shake off loose dust
- Use a soft brush to sweep away stuck particles
- Check all sides of the block for hidden debris
- Avoid using water unless the block is waterproof
Using Compressed Air Or Brushes
Compressed air and brushes help remove fine dust from sanding blocks. These tools clean hard-to-reach spots quickly.
| Tool | Best Use |
| Compressed Air | Blowing dust from tight spaces |
| Soft Brush | Removing dust without damage |
| Wire Brush | Only for heavy debris on durable blocks |
Proper Storage Methods
Storing sanding blocks properly keeps them clean and ready to use. Good storage stops damage and saves time.
Choose a storage way that protects your sanding blocks from dust and moisture. This helps them last longer.
Using Airtight Containers
Airtight containers keep sanding blocks safe from dust and water. This storage keeps the blocks dry and clean.
Use plastic or metal containers with tight lids. Label each container to find blocks quickly when needed.
- Choose containers that fit your sanding blocks well
- Keep containers in a cool, dry place
- Seal containers after every use to block air and moisture
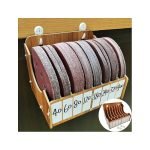
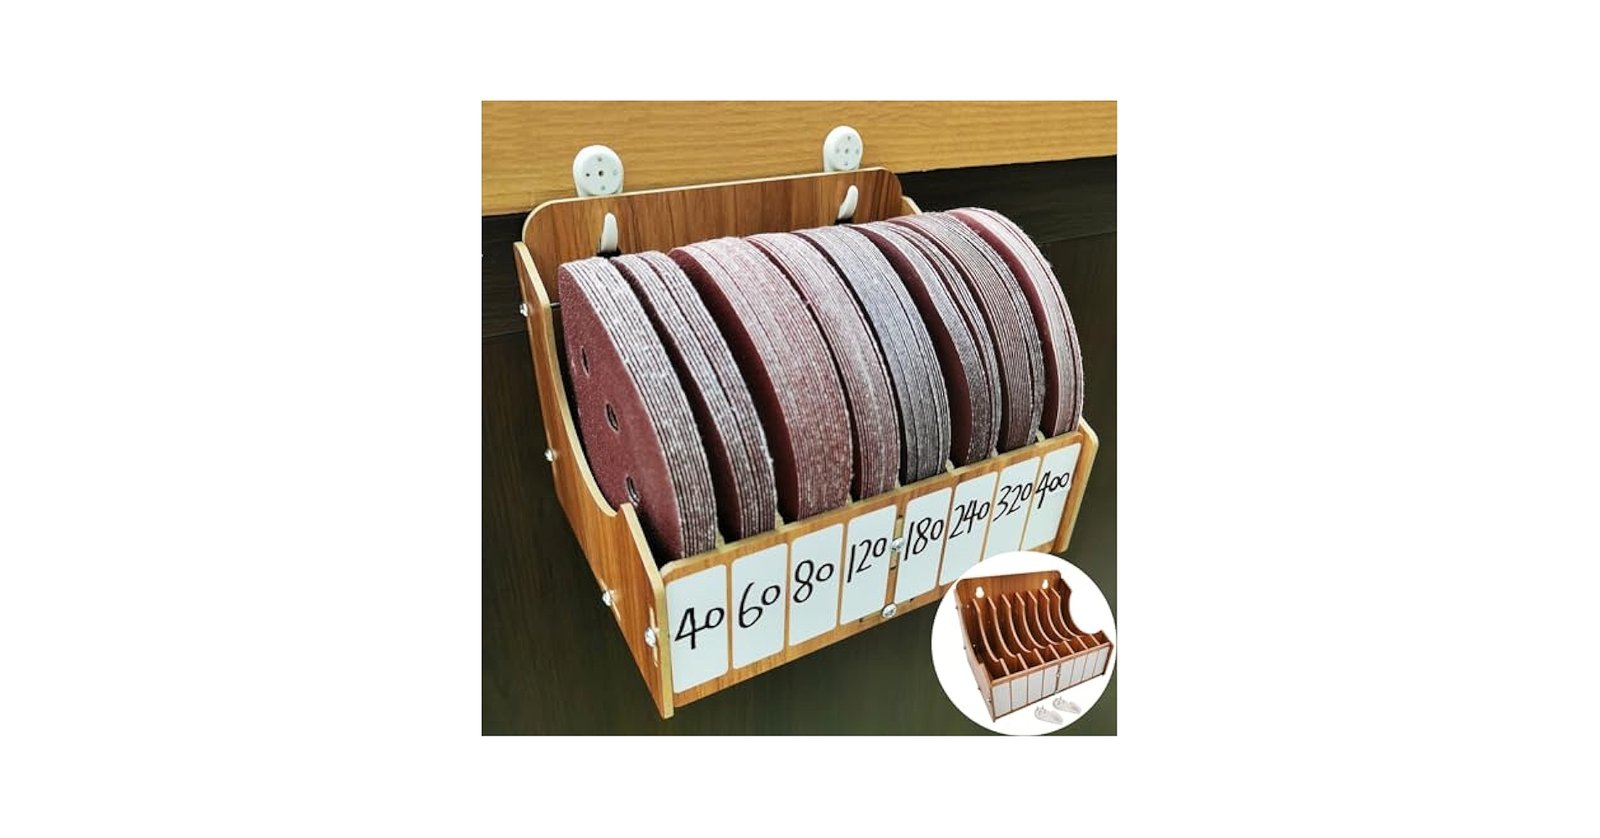
Organizing With Dividers Or Holders
Dividers or holders help keep sanding blocks in order. They stop blocks from rubbing and wearing out.
Use small dividers inside boxes or special holders for easy access. This system saves space and time.
- Sort blocks by grit size or shape
- Use foam or plastic dividers to separate blocks
- Place holders on shelves or inside drawers

Credit: www.amazon.co.uk
Maintaining Sanding Blocks
Keeping sanding blocks in good shape helps you get smooth finishes. Regular care makes them last longer and work better.
Check your sanding blocks often. Fix or replace them as needed to avoid damage to your projects.
Inspecting For Wear And Tear
Look closely at your sanding blocks before use. Worn or damaged blocks can cause uneven sanding and scratches.
- Check for uneven surfaces or dents
- Feel for hardened or clogged areas
- Look for torn or peeling sandpaper
- Ensure the block holds sandpaper tightly
- Clean off dust and debris regularly
Replacing Worn-out Blocks
Replace sanding blocks that no longer work well. Using bad blocks can harm your work and slow progress.
| Condition | Action |
| Block is cracked or broken | Replace immediately |
| Sandpaper peeling off | Attach new sandpaper or replace block |
| Block no longer holds sandpaper | Replace block |
| Surface is uneven or damaged | Replace block |
Diy Hacks For Longevity
Storing sanding blocks properly helps them last longer. Good storage keeps blocks dry and clean.
Simple DIY hacks can protect your sanding blocks from damage and loss. This saves money and time.
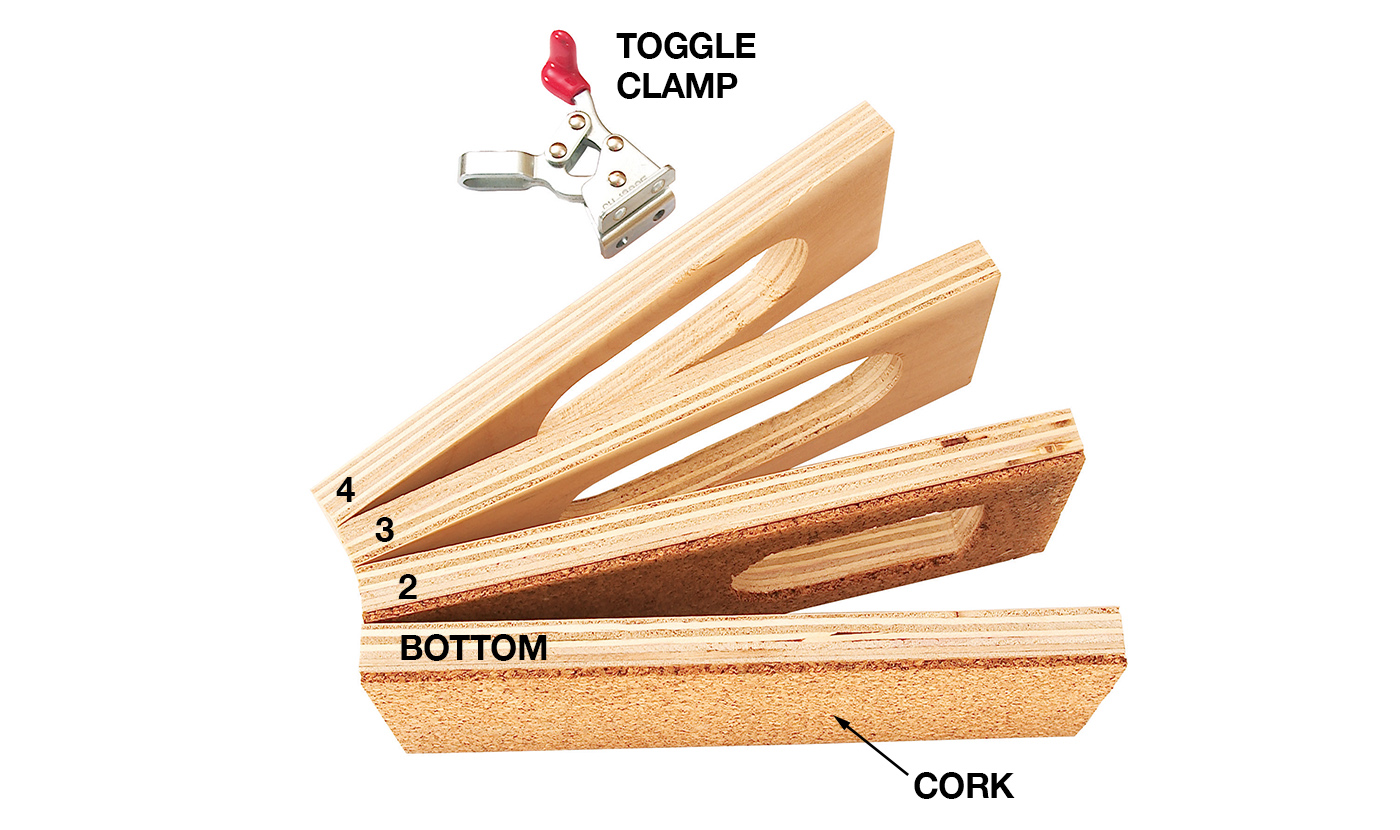
Creating Custom Storage Solutions
Make storage that fits your sanding blocks perfectly. Custom holders stop blocks from bending or breaking.
Use materials like wood, plastic, or foam to create slots or compartments. This keeps blocks separated and neat.
- Cut foam sheets to hold each block safely
- Build wooden racks with slots for each size
- Use plastic containers with dividers
- Attach magnetic strips for metal-backed blocks
Labeling For Easy Access
Label your sanding blocks clearly. It saves time by helping you find the right block fast.
Use simple labels with grit size and type. Place labels where they are easy to see.
- Write grit size on masking tape or stickers
- Use permanent markers for durable labels
- Label storage slots to match blocks
- Color-code labels for quick identification

Credit: www.reddit.com
Credit: www.popularwoodworking.com
Frequently Asked Questions
How Should I Store Sanding Blocks To Keep Them Effective?
Store sanding blocks in a dry, cool place away from moisture. Use airtight containers to prevent dust and debris buildup. Proper storage maintains their grit and prolongs usability.
Can Sanding Blocks Be Stored With Sandpaper Attached?
Avoid storing sanding blocks with sandpaper attached long-term. This can cause uneven wear and reduce effectiveness. Detach sandpaper after use and store blocks separately.
What Is The Best Container For Sanding Block Storage?
Plastic bins with lids or sealable bags work best. They protect sanding blocks from dust, moisture, and damage. Label containers for easy identification and organization.
How Often Should I Clean Sanding Blocks Before Storage?
Clean sanding blocks after each use to remove dust and residue. Use a brush or compressed air for best results. Clean blocks last longer and provide smoother finishes.
Conclusion
Proper storage keeps sanding blocks clean and ready to use. Store them in a dry place to avoid damage. Separate blocks by grit to find them fast. Use containers or bags to protect from dust. Regularly check blocks for wear and replace when needed.
Good care saves money and improves work quality. Small steps help your tools last longer. Keep your sanding blocks organized for easy access. Simple habits make your projects smoother and faster.