Are you ready to take your gardening skills to the next level? Imagine planting seeds with precision and ease, ensuring each one finds its perfect spot in the soil.
A garden dibber might just be the tool you didn’t know you needed. This simple yet powerful tool can transform your gardening experience, making it more efficient and enjoyable. In this guide, you’ll discover everything you need to know about using a garden dibber effectively.
From choosing the right one to mastering the technique, we’ll cover it all. Whether you’re a seasoned gardener or just getting started, you’ll find valuable insights that will enhance your green thumb. Keep reading to unlock the secrets of the garden dibber and watch your garden thrive like never before.
Credit: thelizlogelinfoundation.org
Choosing The Right Dibber
Using a garden dibber makes planting seeds and bulbs easier. Picking the right dibber helps you plant better and faster.
There are many dibbers available. This guide explains how to choose one that fits your garden needs.
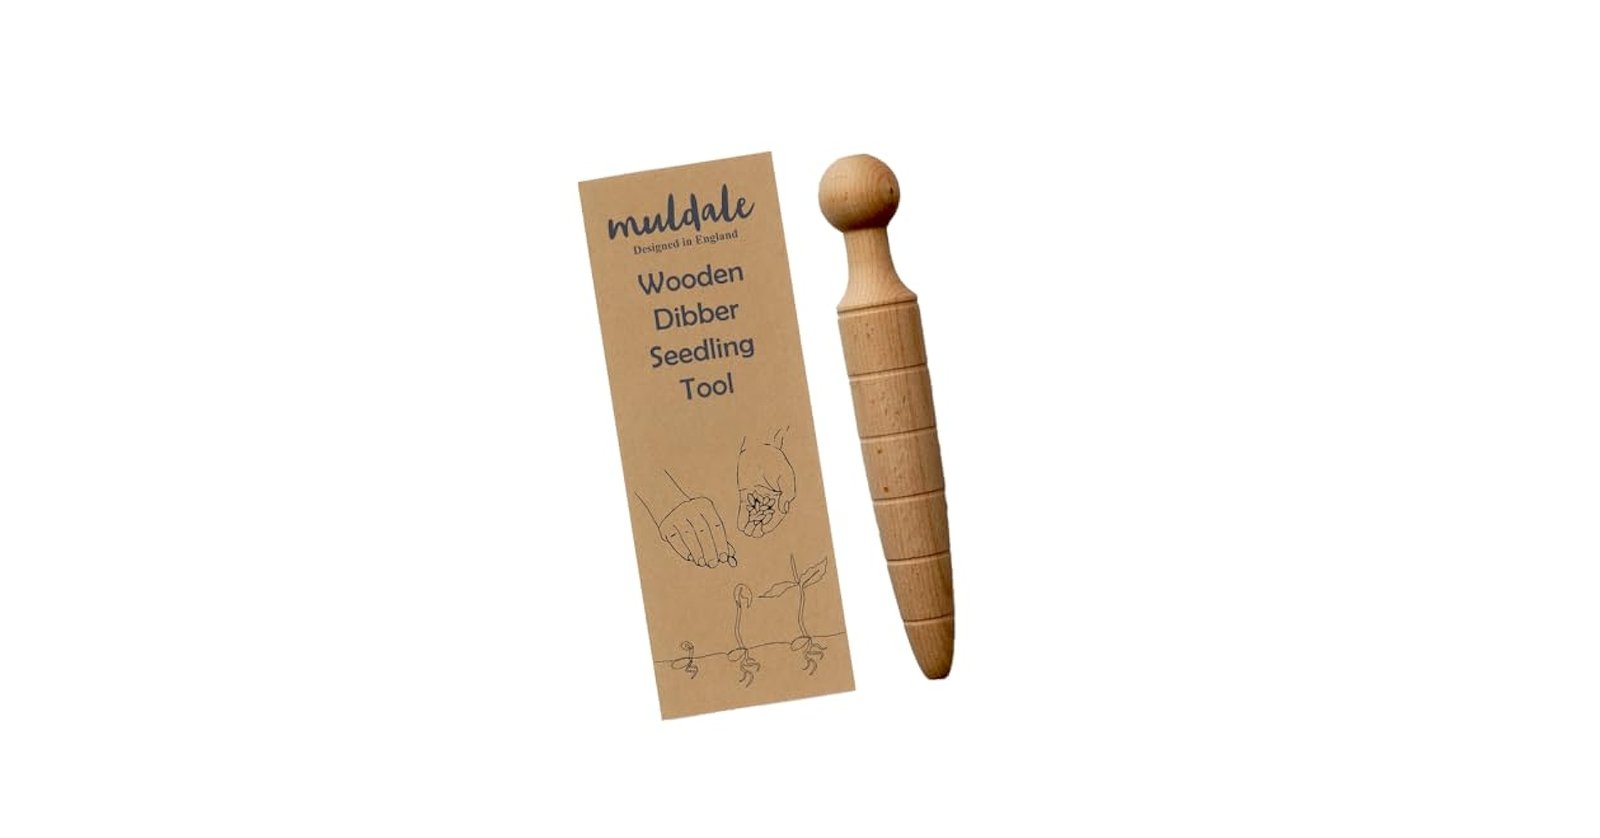
Materials And Sizes
Dibbers come in different materials like wood, metal, and plastic. Each material has its own benefits and drawbacks.
Sizes vary to match different planting depths and seed types. Choose a size that suits your garden work.
- Wood:Lightweight and easy to handle. Can wear out over time.
- Metal:Very strong and lasts long. Can be heavy and may rust.
- Plastic:Affordable and light. May break under heavy use.
- Small dibbers: Good for tiny seeds and shallow planting.
- Medium dibbers: Ideal for most seed sizes and depths.
- Large dibbers: Use for bulbs and deep planting.
Specialized Dibbers For Different Plants
Some dibbers are made for specific plants. Using the right type helps seedlings grow strong.
Different plants need different hole sizes and depths. Specialized dibbers make planting easier and more precise.
- Seed dibbers:Small tip for tiny seeds like lettuce or carrots.
- Bulb dibbers:Large and strong for planting bulbs like tulips or onions.
- Transplant dibbers:Designed to make holes for young plants or seedlings.
Preparing Your Soil
Good soil helps your plants grow strong. Preparing the soil is the first step before using a garden dibber.
Proper soil preparation makes it easier to plant seeds or bulbs with the dibber. It also helps roots spread well.
Loosening And Moistening
Loose soil lets the dibber make holes easily. It also allows water and air to reach the roots.
Moist soil is softer and easier to work with. Dry soil can be hard and crumbly, making dibbing difficult.
- Use a garden fork or spade to turn the soil.
- Break big clumps into smaller pieces.
- Water the soil lightly if it feels dry.
- Let water soak in before planting.
Removing Debris And Rocks
Clear out sticks, leaves, and rocks from the soil. They can block the dibber and damage seeds.
Removing debris helps the soil stay loose. It also makes planting faster and neater.
- Pick out large stones and sticks by hand.
- Use a rake to gather smaller debris.
- Dispose of debris away from the planting area.
- Check the soil again before planting.
Techniques For Accurate Planting
Using a garden dibber helps you plant seeds and seedlings at the right depth and spacing. This tool makes planting easier and more precise.
Proper planting techniques improve plant growth and yield. Focus on measuring hole depth and spacing between plants for best results.
Measuring Hole Depth
Planting at the right depth is key for seed germination and root growth. A dibber helps create uniform holes quickly.
- Use the dibber to poke the soil to the depth recommended on the seed packet.
- Mark the dibber with tape for consistent hole depth.
- Make holes slightly deeper for larger seeds and shallower for small ones.
- Check holes regularly to ensure even depth across the garden bed.
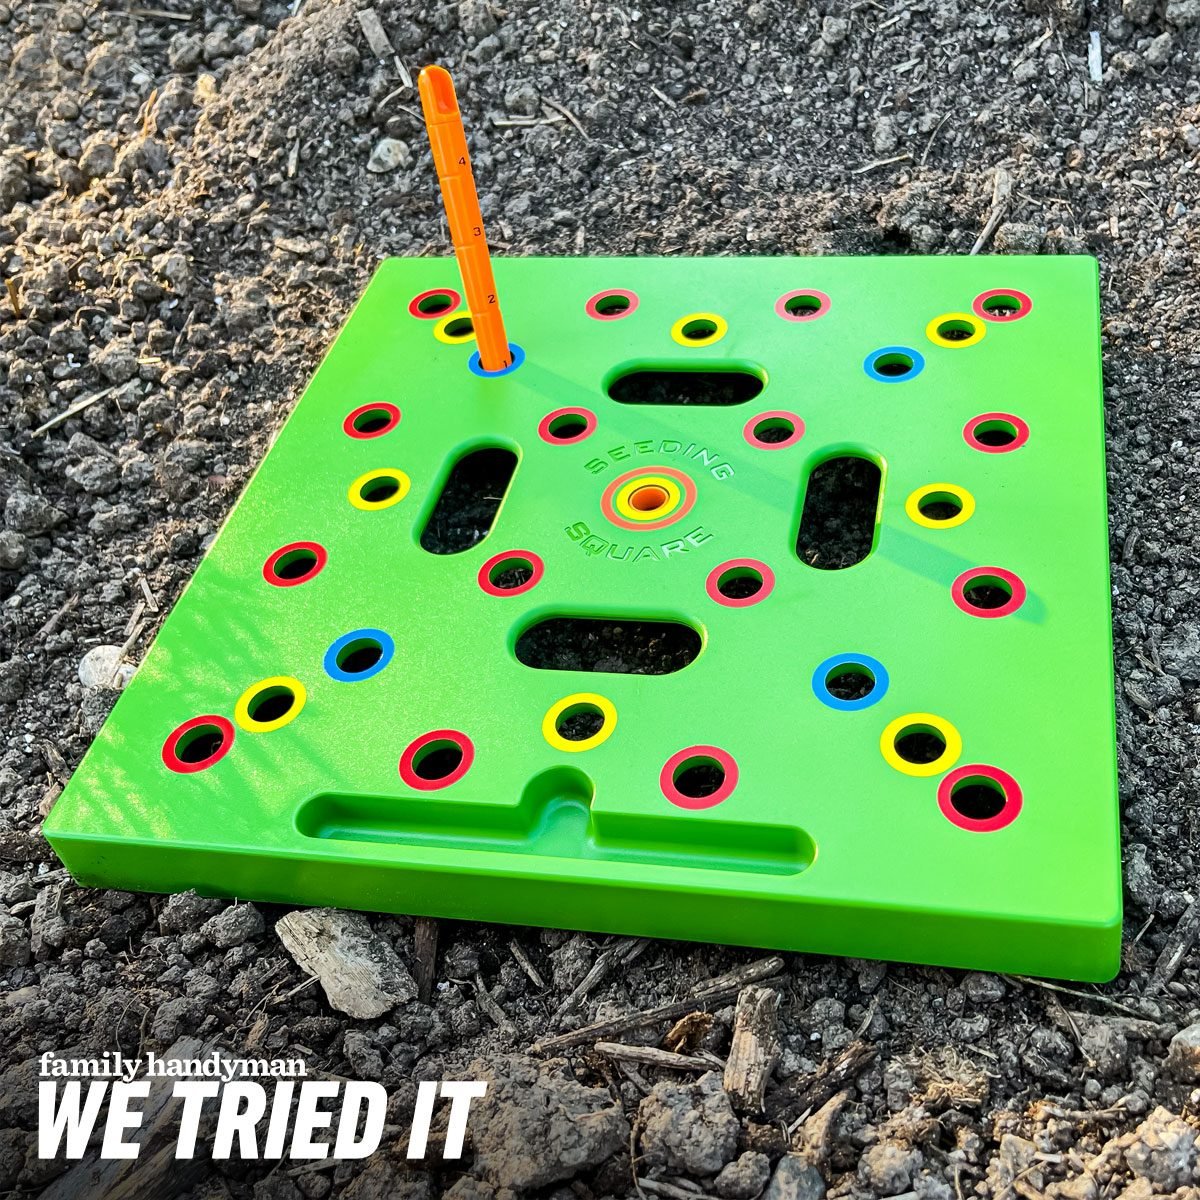
Spacing Between Plants
Correct spacing gives plants room to grow and access to sunlight and nutrients. Use a dibber to mark planting spots evenly.
| Plant Type | Recommended Spacing |
|---|---|
| Carrots | 2-3 inches |
| Tomatoes | 18-24 inches |
| Lettuce | 10-12 inches |
| Beans | 3-4 inches |
Using The Dibber Step-by-step
A garden dibber helps make planting easier and neater. It creates holes for seeds or seedlings in the soil quickly.
Using a dibber saves time and ensures plants are placed at the right depth. Follow these steps to use it well.
Creating Planting Holes
Hold the dibber like a pencil and push the pointed end into the soil. Make holes deep enough for your seeds or seedlings.
Space the holes according to the plant’s needs. Avoid making holes too close or too far apart.
- Press dibber straight down into soil
- Remove dibber carefully to keep hole shape
- Repeat for each planting spot
Placing Seeds And Seedlings
Put seeds or seedlings gently into each hole. Handle seedlings by their leaves to avoid root damage.
Check that seeds or roots are at the right depth. This helps plants grow strong and healthy.
- Drop seeds into holes one at a time
- Place seedling roots in the hole carefully
- Do not force seedlings into small holes
Covering And Firming Soil
Use the dibber or your hands to cover seeds or roots with soil. Cover lightly to protect the plants.
Press the soil gently to remove air pockets. Firm soil helps plants get water and support as they grow.
- Fill holes with soil carefully
- Lightly press soil around plants
- Avoid pressing too hard to keep soil loose
Maintaining And Storing Your Dibber
Taking care of your garden dibber helps it last longer. Cleaning and storing it properly keeps it ready for use.
Follow simple tips to keep your dibber in good shape after each gardening session.
Cleaning Tips
Remove dirt and debris from your dibber after each use. This prevents damage and rust if it has metal parts.
- Rinse the dibber under running water to remove loose soil
- Use a soft brush to clean stubborn dirt
- Dry the dibber completely with a cloth
- If it is wooden, apply a light coat of oil to keep the wood from drying out
- Check for cracks or damage before storing
Proper Storage Practices
Store your dibber in a dry and safe place. Avoid direct sunlight or damp areas to prevent damage.
| Storage Tip | Reason |
| Hang dibber on a hook | Keeps it off the ground and dry |
| Keep in a garden shed | Protects from weather and dirt |
| Wrap wooden dibbers with cloth | Prevents cracking and drying |
| Store metal dibbers with oil coating | Stops rust from forming |
Credit: www.temu.com
Common Mistakes To Avoid
Using a garden dibber can save time and help plants grow well. Still, many gardeners make mistakes that hurt their plants.
Knowing what to avoid helps you get the best results with your dibber and garden.
Over- Or Under-planting
One common error is planting seeds or bulbs too close or too far apart. Over-planting can cause crowding and poor growth.
Under-planting wastes space and lowers your garden’s yield. Use the dibber to make holes at the right distance.
- Check seed packet for spacing instructions
- Mark spots with your dibber before planting
- Space plants evenly to give roots room to grow
- Avoid making holes too deep or too shallow
Ignoring Soil Conditions
Not paying attention to soil type and moisture is a big mistake. Hard or dry soil makes dibber use hard and plants struggle to grow.
Soft, moist soil is easier to work with and helps plants settle quickly. Prepare soil before using the dibber for better results.
- Loosen soil if it is too hard
- Water soil a day before planting if dry
- Remove stones or debris that block the dibber
- Test soil pH for best plant health

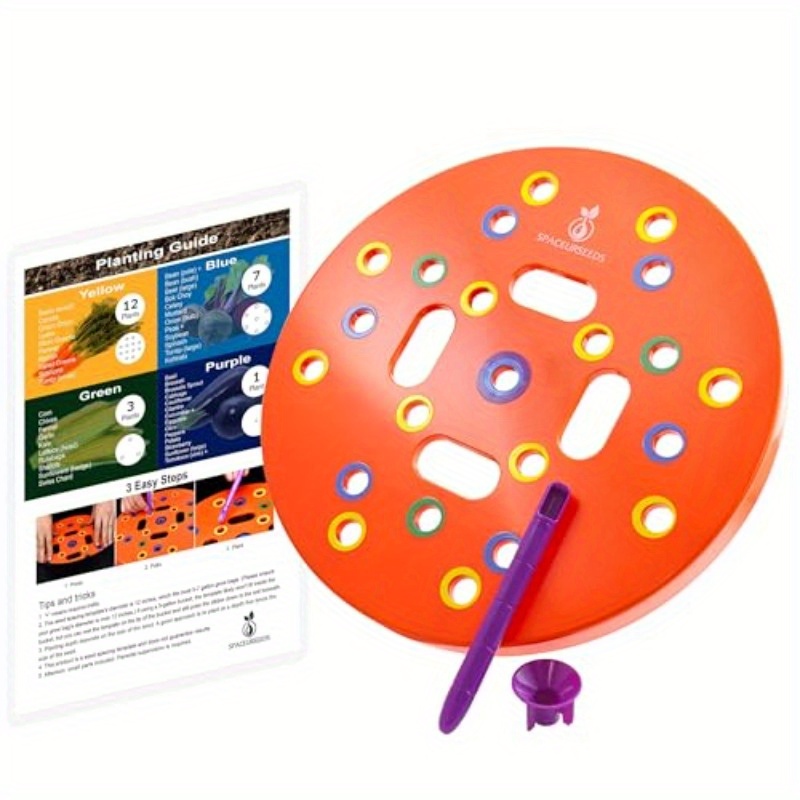
Credit: www.amazon.com
Frequently Asked Questions
What Is A Garden Dibber Used For?
A garden dibber is used to make holes in soil for planting seeds or seedlings. It helps in precise planting and ensures uniform depth. This tool saves time and improves seed germination by creating the perfect spot for plants.
How Do You Use A Garden Dibber Correctly?
To use a dibber, press its pointed end into the soil to the desired depth. Remove the dibber, place the seed or seedling into the hole, and cover it gently with soil. This method promotes healthy root growth and consistent plant spacing.
What Materials Are Garden Dibbers Made From?
Garden dibbers are commonly made from wood, metal, or plastic. Wooden dibbers are traditional and lightweight. Metal dibbers are durable and ideal for hard soil. Plastic dibbers are affordable and suitable for light gardening tasks.
Can A Garden Dibber Improve Seed Germination?
Yes, a garden dibber improves seed germination by planting seeds at the right depth. This ensures proper soil contact and moisture retention. Accurate planting depth helps seeds sprout evenly and grow stronger plants.
Conclusion
Using a garden dibber makes planting easier and more precise. It helps create perfect holes for seeds or bulbs. You save time and avoid guesswork. Gardens look neater and grow better with proper spacing. Keep your dibber clean and store it safely after use.
Enjoy watching your plants grow strong and healthy. Simple tools like this bring joy to gardening. Give it a try in your garden today.