Are you ready to turn your blank walls into a stylish storage space? Installing shelves might seem tricky, but with the right tool, you can do it yourself quickly and safely.
A cordless drill is your best friend for this job—it’s powerful, easy to use, and makes the whole process smoother. In this guide, you’ll discover simple steps to use a cordless drill like a pro, even if you’ve never picked one up before.
By the end, you’ll have the confidence and skills to add shelves that hold your favorite books, decor, or essentials. Let’s dive in and make your space work better for you!

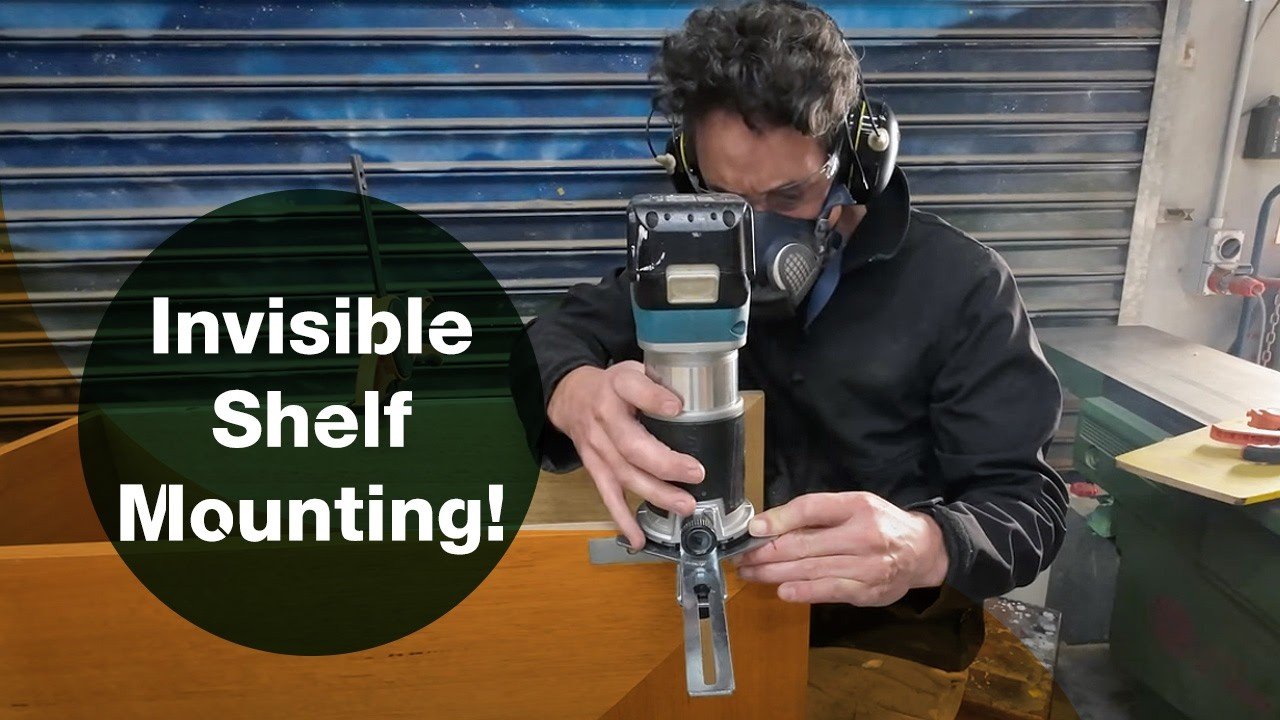
Credit: www.create-enjoy.com
Choosing The Right Drill
Using a cordless drill makes installing shelves easier. Picking the right drill helps you work faster and safer.
This guide explains what to look for in a cordless drill. You will learn about drill types, battery life, power, and drill bits.
Types Of Cordless Drills
There are several types of cordless drills. The right one depends on your shelf project and how often you use it.
- Drill Driver:Good for drilling holes and driving screws. It is light and easy to control.
- Hammer Drill:Adds a hammering motion. Best for drilling into hard materials like brick or concrete.
- Impact Driver:Best for driving long screws and bolts. It gives more torque but less control for drilling holes.
Battery Life And Power
Battery life and power are key for a cordless drill. They affect how long and how hard you can work.
| Battery Type | Voltage | Best Use |
|---|---|---|
| Nickel-Cadmium (NiCd) | 12-18V | Budget option, less runtime |
| Lithium-Ion (Li-Ion) | 12-20V | Longer life, lighter weight |
| Nickel-Metal Hydride (NiMH) | 12-18V | Moderate runtime and power |
Higher voltage means more power. Choose a battery that lasts at least 30 minutes of continuous work for shelves.
Essential Drill Bits
Drill bits come in many shapes and sizes. You need the right bits for different materials and screw sizes.
- Twist Bits:Used for wood, plastic, and metal holes.
- Masonry Bits:Made for brick or stone walls.
- Spade Bits:Great for drilling large holes in wood.
- Screwdriver Bits:Fit different screw heads like Phillips or flat.
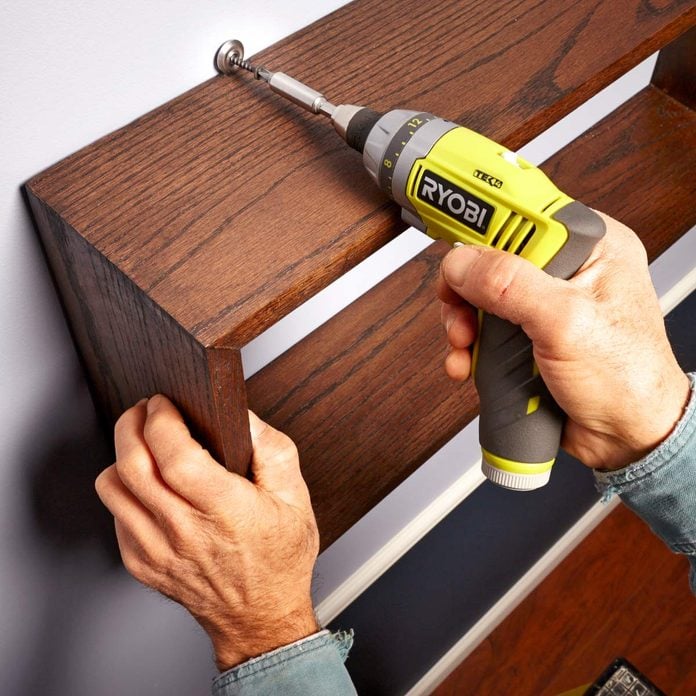
Credit: www.familyhandyman.com
Preparing Your Workspace
Using a cordless drill to install shelves requires a clean and organized workspace. Preparing your area helps you work efficiently and safely.
This guide covers key steps to get your workspace ready before you start drilling.
Gathering Tools And Materials
Collect all necessary tools and materials to avoid interruptions. Having everything on hand saves time and keeps your focus.
- Cordless drill with charged batteries
- Drill bits suitable for wall type
- Screwdriver or drill attachments
- Measuring tape and level
- Pencil or marker for marking
- Shelves, brackets, and screws
- Wall anchors if needed
- Safety goggles and gloves
Marking Shelf Placement
Mark the exact spots where you will install the shelves. Accurate marks ensure shelves are level and well placed.
| Tool | Purpose |
| Measuring Tape | Measure shelf height and width |
| Level | Check horizontal alignment |
| Pencil or Marker | Mark drill points on the wall |
Ensuring Safety Measures
Safety is important when using a cordless drill. Prepare your workspace to prevent accidents and injuries.
- Wear safety goggles to protect your eyes
- Put on gloves to avoid hand injuries
- Clear the area of obstacles and clutter
- Make sure the floor is dry and not slippery
- Keep children and pets away from the workspace
- Use a sturdy ladder if needed for high shelves
Setting Up The Drill
Using a cordless drill makes shelf installation easier. Setting up your drill correctly helps you work safely.
This guide shows how to prepare your drill before starting the project.
Installing The Correct Bit
Choose the right drill bit for your screws or anchors. The bit must fit tightly in the chuck.
To install the bit, open the chuck by turning it counterclockwise. Insert the bit fully and tighten the chuck by turning it clockwise.
- Use a screwdriver bit for screws
- Use a drill bit for holes
- Match bit size to screw size
Adjusting Speed And Torque
Set your drill’s speed and torque based on the task. Low speed and high torque work best for driving screws.
Higher speed is better for drilling holes. Many drills have settings or switches to adjust these.
- Use low speed for screws
- Use high speed for drilling
- Increase torque to drive screws deeper
Charging And Testing
Make sure your drill battery is fully charged before starting. A full charge prevents interruptions.
Test the drill by running it briefly. Check that it spins smoothly and the bit is secure.
- Charge battery until indicator shows full
- Test drill speed and direction
- Check for unusual noises or vibrations
Drilling Pilot Holes
Drilling pilot holes helps you install shelves safely and accurately. It guides screws and prevents wood from splitting.
Using a cordless drill for pilot holes makes the job easier. You get better control and avoid damage to walls.
Choosing Drill Bit Size
Select a drill bit slightly smaller than the screw’s diameter. This keeps screws tight and secure in the wall.
Different wall materials need different drill bits. Use a masonry bit for concrete or brick walls and a wood bit for studs.
- For wood screws, pick a bit 1-2 mm smaller than the screw width
- Use a masonry bit for brick or concrete
- Check your screw packaging for size recommendations
Steady Drilling Techniques
Hold the drill steady and straight to make a clean hole. Keep the drill perpendicular to the wall surface.
Start drilling slowly to avoid slipping. Increase speed gently once the bit grips the wall.
- Use both hands for better control
- Keep the drill level to avoid angled holes
- Apply light pressure; let the drill do the work
Avoiding Wall Damage
Mark the exact spot before drilling. This prevents unnecessary holes or cracks in the wall.
Do not push too hard. Excess pressure can crack drywall or damage tiles behind the wall.
- Use a stud finder to avoid drilling into pipes or wires
- Wear safety goggles to protect your eyes from debris
- Stop drilling if you feel resistance or hear unusual sounds
Installing Wall Anchors
Wall anchors hold shelves firmly to walls. They help support weight and keep shelves stable. Using a cordless drill makes installing anchors easier and faster.
This guide covers types of anchors, how to insert them with a drill, and how to secure them well for safe shelf installation.
Types Of Anchors
Choose the right anchor for your wall type. Each anchor suits different materials and weights.
- Plastic Expansion Anchors:Good for drywall and light loads.
- Molly Bolts:Used for hollow walls and medium loads.
- Toggle Bolts:Best for heavy loads on drywall.
- Concrete Anchors:Made for masonry or concrete walls.
Inserting Anchors With Drill
Use your cordless drill to make precise holes for the anchors. Match the drill bit size to the anchor size.
- Mark the spot where you want to install the shelf.
- Select the correct drill bit size for the anchor.
- Drill a hole straight into the wall at the marked spot.
- Clean dust from the hole to ensure a good fit.
- Insert the wall anchor gently into the hole.
Securing Anchors Firmly
Make sure the anchor is tight and stable before attaching the shelf. Loose anchors can cause shelves to fall.
| Anchor Type | How to Secure |
| Plastic Expansion | Push or tap gently until flush with wall |
| Molly Bolts | Tighten screw to expand anchor inside wall |
| Toggle Bolts | Insert toggle and tighten screw to lock |
| Concrete Anchors | Hammer gently then tighten screw |
Mounting The Shelves
Mounting shelves with a cordless drill makes the task faster and easier. Proper steps help keep shelves strong and secure.
This guide covers how to align brackets, drive screws, and check stability when installing shelves.
Aligning Brackets
Place the brackets on the wall where you want the shelf. Use a level tool to make sure they are straight. Mark the screw holes with a pencil.
- Hold the bracket against the wall.
- Use a level to check it is horizontal.
- Mark each hole with a pencil.
- Repeat for all brackets.
Driving Screws With Drill
Use the cordless drill to drive screws through the bracket holes into the wall. Select the right drill bit size for your screws. Drill slowly to avoid damage.
| Tip | Details |
| Drill Bit Size | Match screw diameter |
| Drill Speed | Low to medium speed |
| Pressure | Firm but steady |
| Check | Screws flush with bracket |
Checking Stability
After mounting, check the shelf’s strength. Press down gently and watch for any movement. Tighten screws if needed.
- Push down on the shelf edge.
- Look for any wobble or looseness.
- Tighten screws if the shelf moves.
- Recheck stability after tightening.
Tips For Efficient Drilling
Using a cordless drill can make installing shelves easier and faster. Knowing a few simple tips helps you work safely and well.
Focus on drill control, screw depth, and battery care to get good results every time.
Maintaining Drill Control
Hold the drill firmly with both hands. Keep your wrist straight to avoid strain. Use a slow speed when starting the hole. This helps the drill bit stay in place.
- Stand with feet shoulder-width apart for balance
- Keep your arms close to your body
- Apply steady pressure, not too hard
- Use the right drill bit for the material
Avoiding Overdriving Screws
Overdriving screws can damage the shelf or wall. It also weakens the hold. To stop this, use the drill’s clutch setting. This setting stops the drill when the screw is tight enough.
| Tip | How to Do It |
| Set the clutch | Choose a low setting before starting |
| Drive slowly | Use slow speed as you finish the screw |
| Check depth | Stop when screw head is flush with the surface |
Extending Battery Life
Good battery care keeps your drill ready to use longer. Avoid letting the battery fully drain. Charge it before it is empty. Store batteries in a cool, dry place.
- Use the charger that comes with the drill
- Remove the battery if you won’t use the drill for days
- Keep battery contacts clean and dry
- Avoid charging overnight to protect battery health
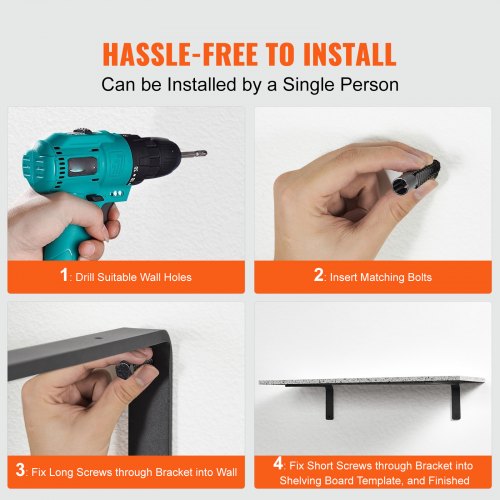
Credit: www.vevor.ca
Frequently Asked Questions
How Do I Choose The Right Drill Bit For Shelves?
Select a drill bit based on the wall material and screw size. Use masonry bits for brick or concrete and wood bits for wooden studs. Matching the bit to your screws ensures clean holes and secure shelf installation.
What Safety Tips Should I Follow Using A Cordless Drill?
Always wear safety goggles and keep fingers clear of the drill bit. Use a steady grip and apply moderate pressure. Ensure the drill’s battery is charged and avoid loose clothing near the drill.
How Do I Find Studs For Shelf Installation?
Use a stud finder to locate studs behind drywall. Mark the stud positions lightly with a pencil. Anchoring shelves into studs ensures better support and prevents wall damage.
What Drill Settings Work Best For Installing Shelves?
Set the drill to a low or medium speed for control. Use the clutch setting to avoid overdriving screws. Adjust torque based on screw size and wall material for precision.
Conclusion
Installing shelves with a cordless drill is simple. First, gather your tools and materials. Mark the wall where the shelves will go. Ensure your measurements are precise. Next, drill holes at marked spots. Insert anchors for added strength. Attach the brackets securely.
Finally, position your shelves on the brackets. Double-check everything for stability. Now, your shelves are ready for use. Enjoy your newly organized space. Practice makes perfect, so don’t hesitate to try. Your home improvement skills will grow with each project.
Keep exploring and learning. Happy drilling!